GOTEK Amiga

Since yesterday I’ve been making a backup of my NAS box that contains all the scans. I got a Synology 214SE in January with 2 2TB drives configured as RAID 1 / Mirror. These days the total amount of free space is around 200Gigs. I bought 2 3TB’s for this upgrade and while the backup takes time I can’t work with scans.

So while I’m taking a backup I might as well make a nice little post.

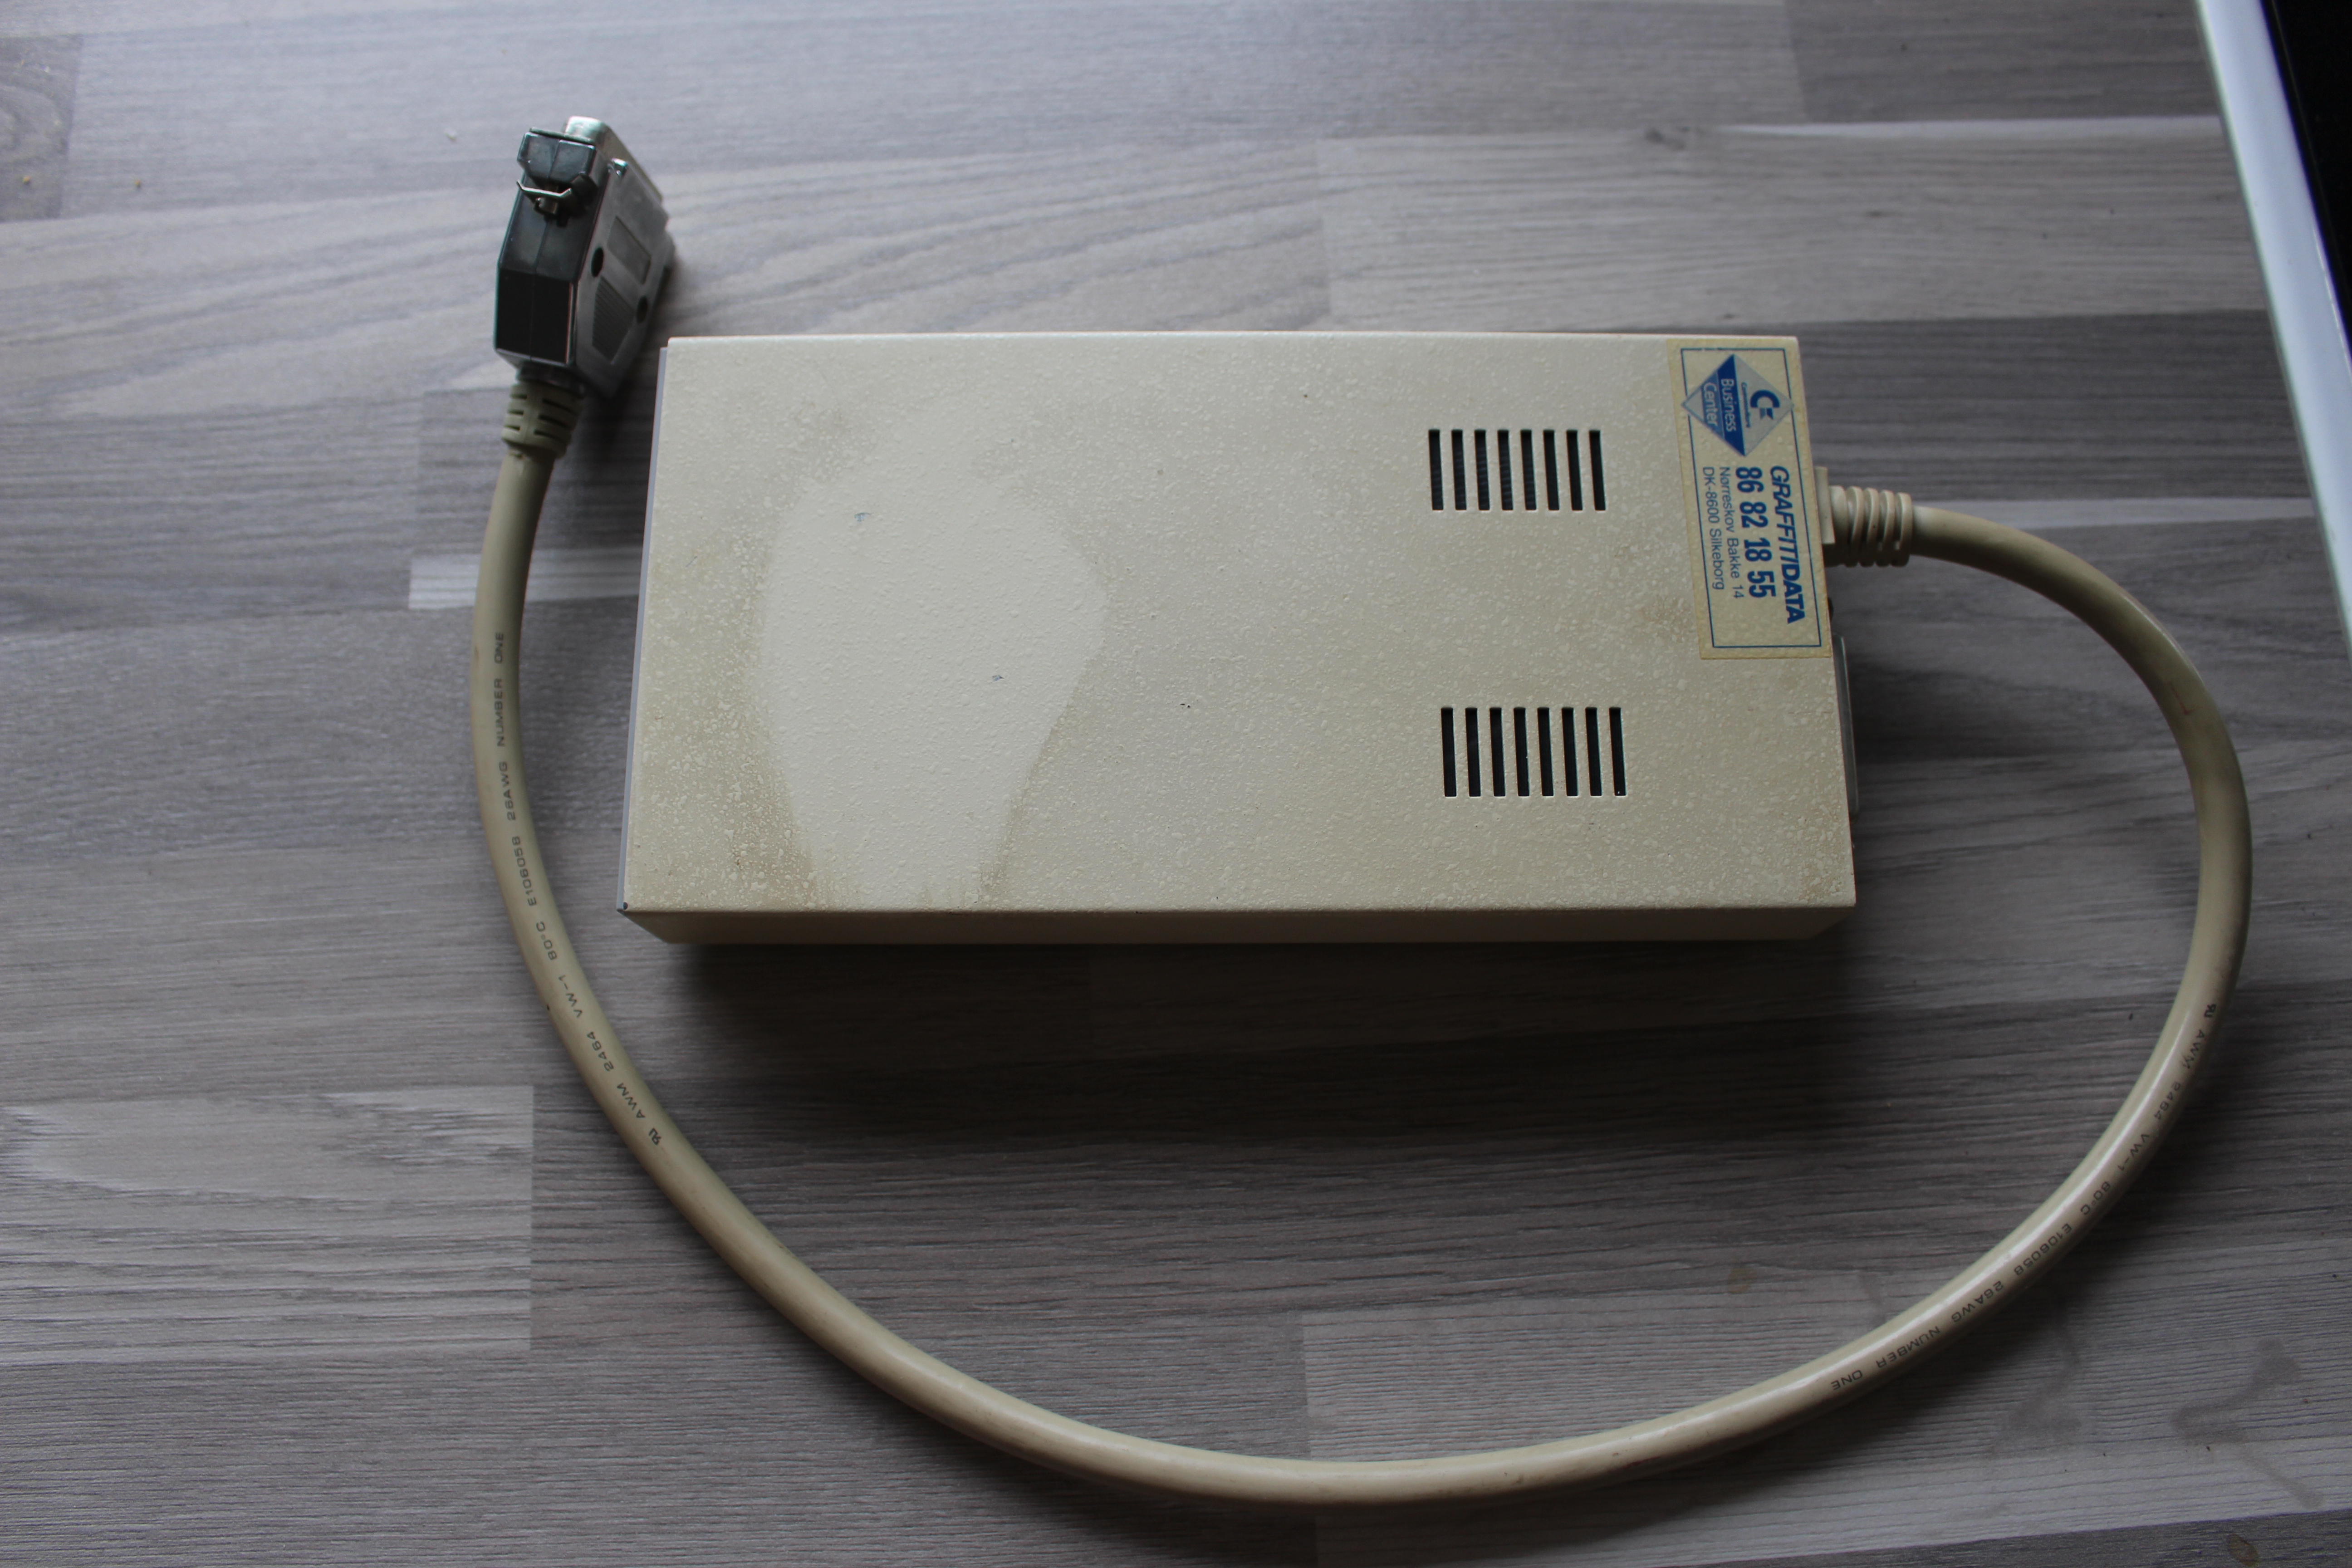
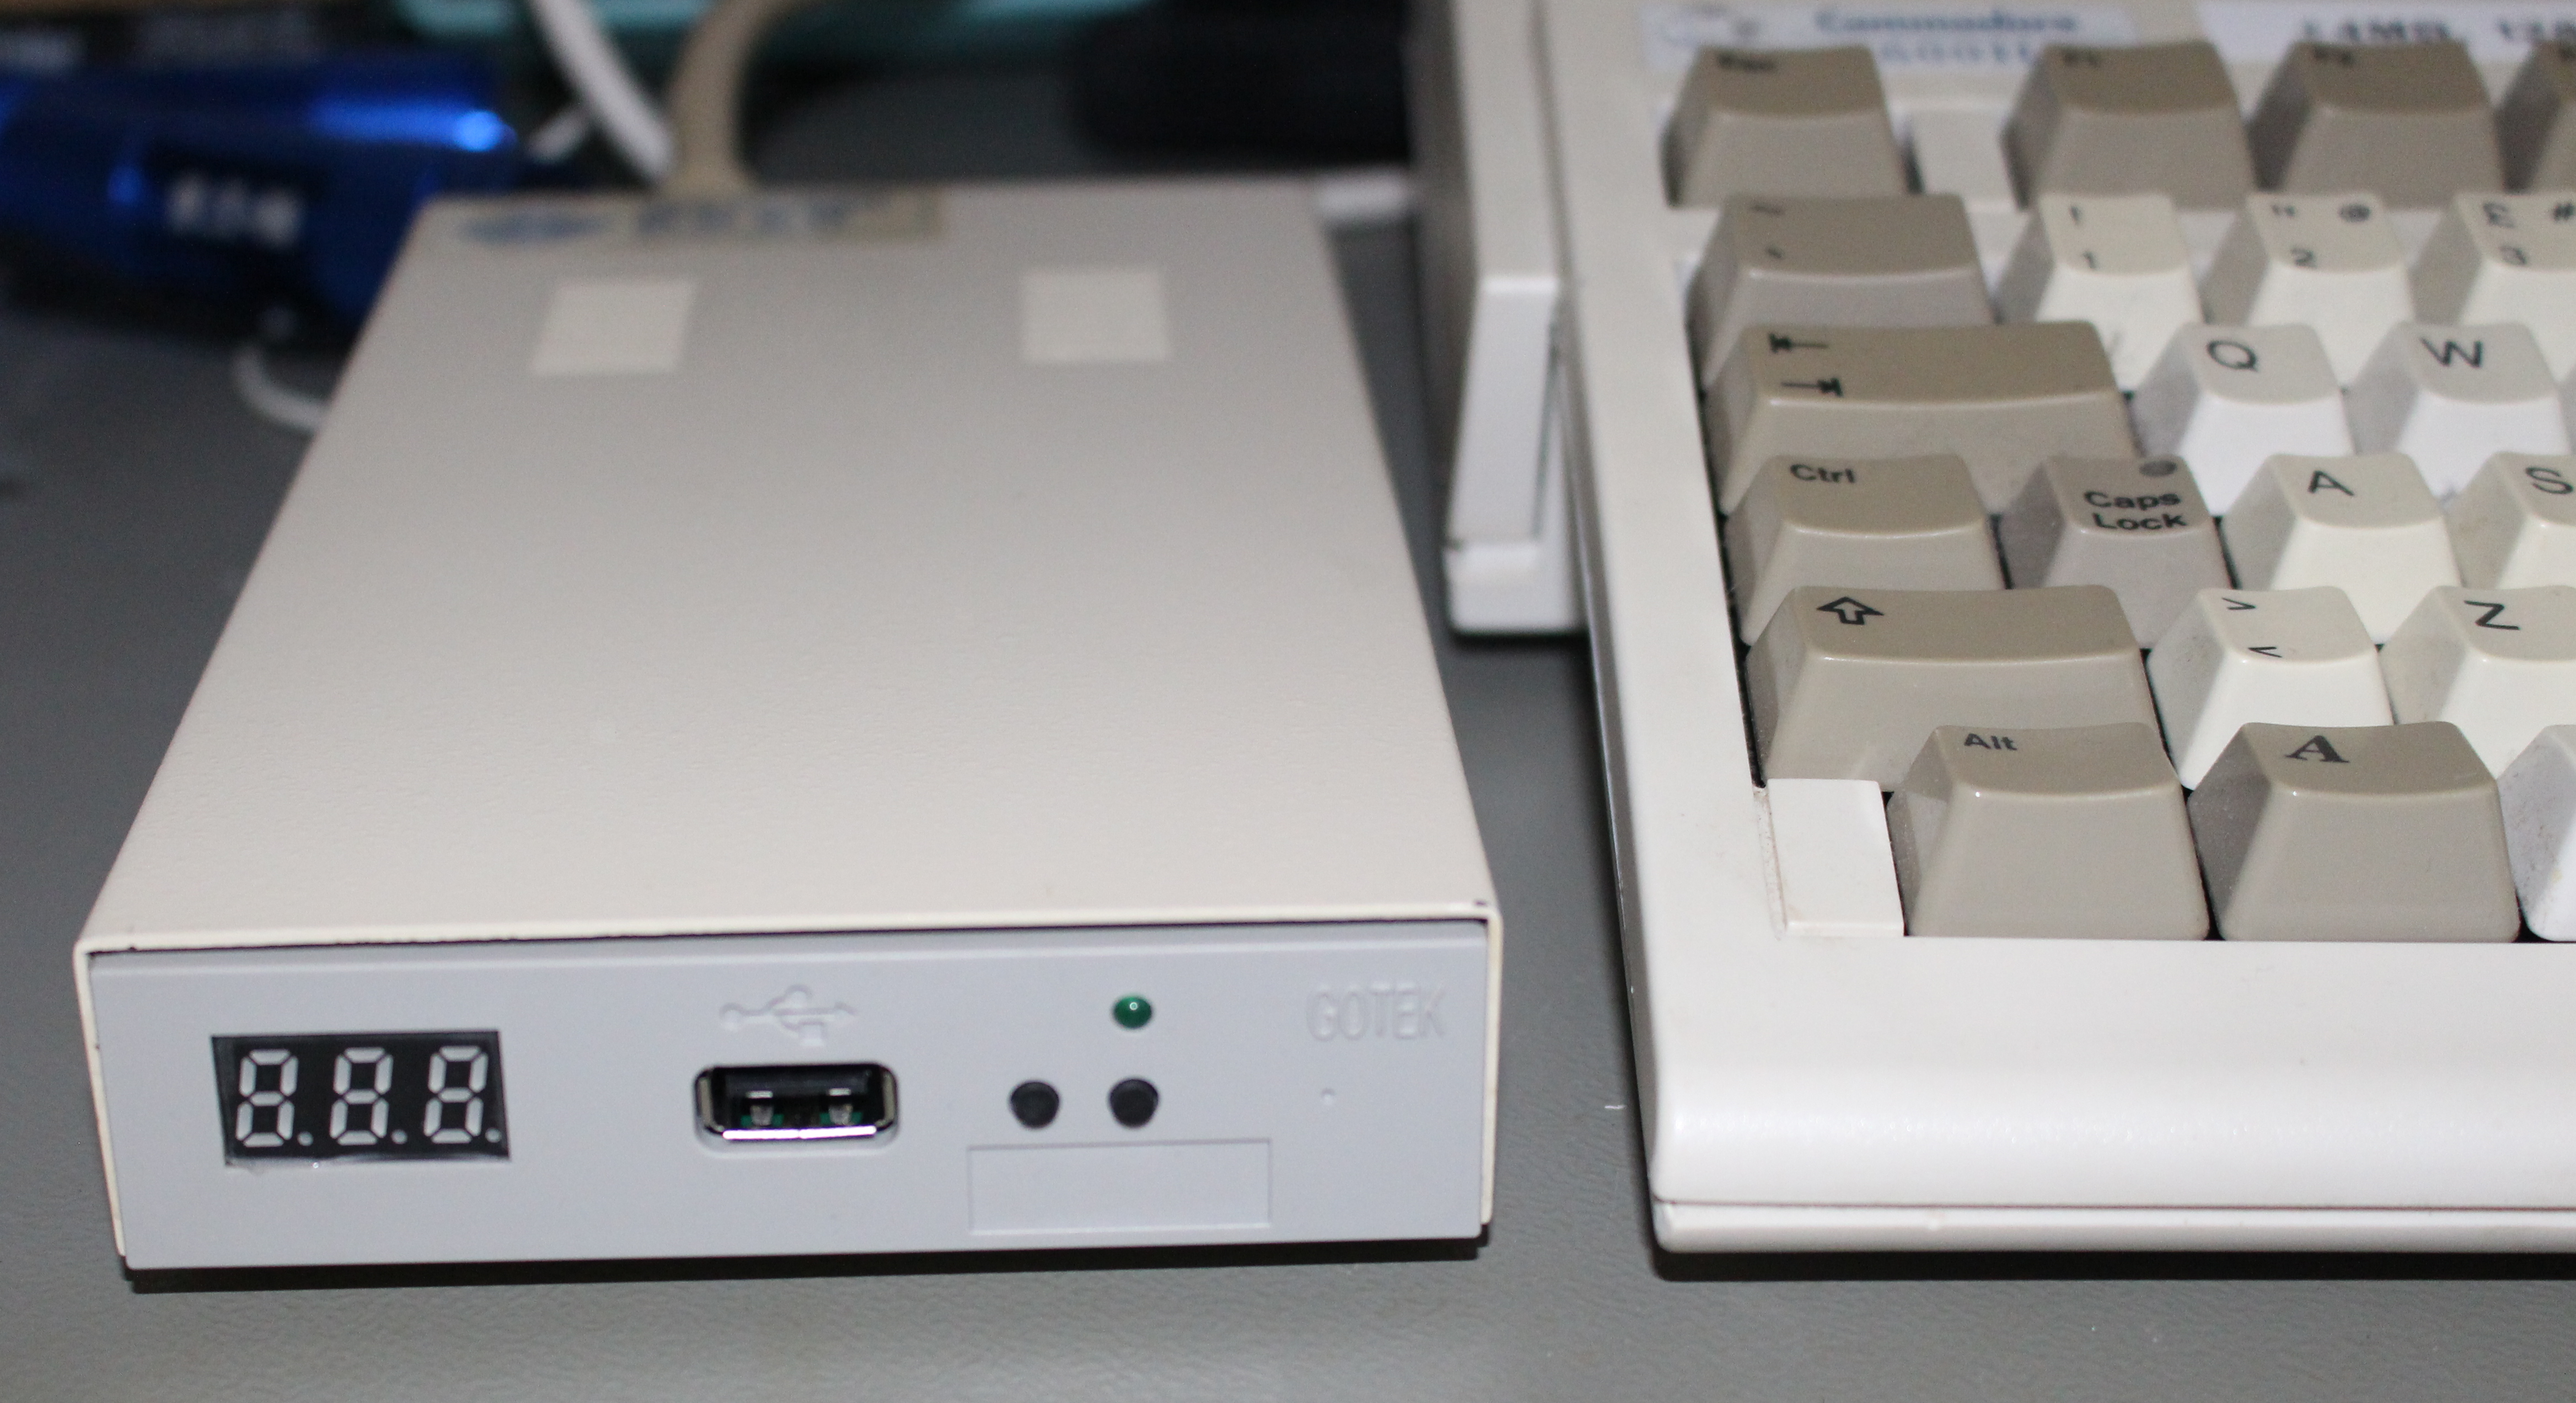
I’ve previously had some issues in adding a GOTEK drive into my external drive enclosures for the Amiga. So I’ve had this project shelved. Today I took one of the other enclosures and tried that. Yes this one works.

For you who don’t know what a GOTEK drive is, I’ll make a short explanation of it. It’s a floppy to usb emulator. You can use a USB drive and attach it to this device which is then plugged to the floppy controller of the computer, sewing machine, keyboard etc.

Hervé Messinger made a guide and a firmware so it can be used in the Amiga. See his project site: http://cortexamigafloppydrive.wordpress.com In the current firmware (1.05) there are some qirks that still needs fixing, i.e. cannot format a disk, nor use track copy applications like X-Copy.

The GOTEK drive can be aquired for around $19 on eBay (price update 2015-02-21).

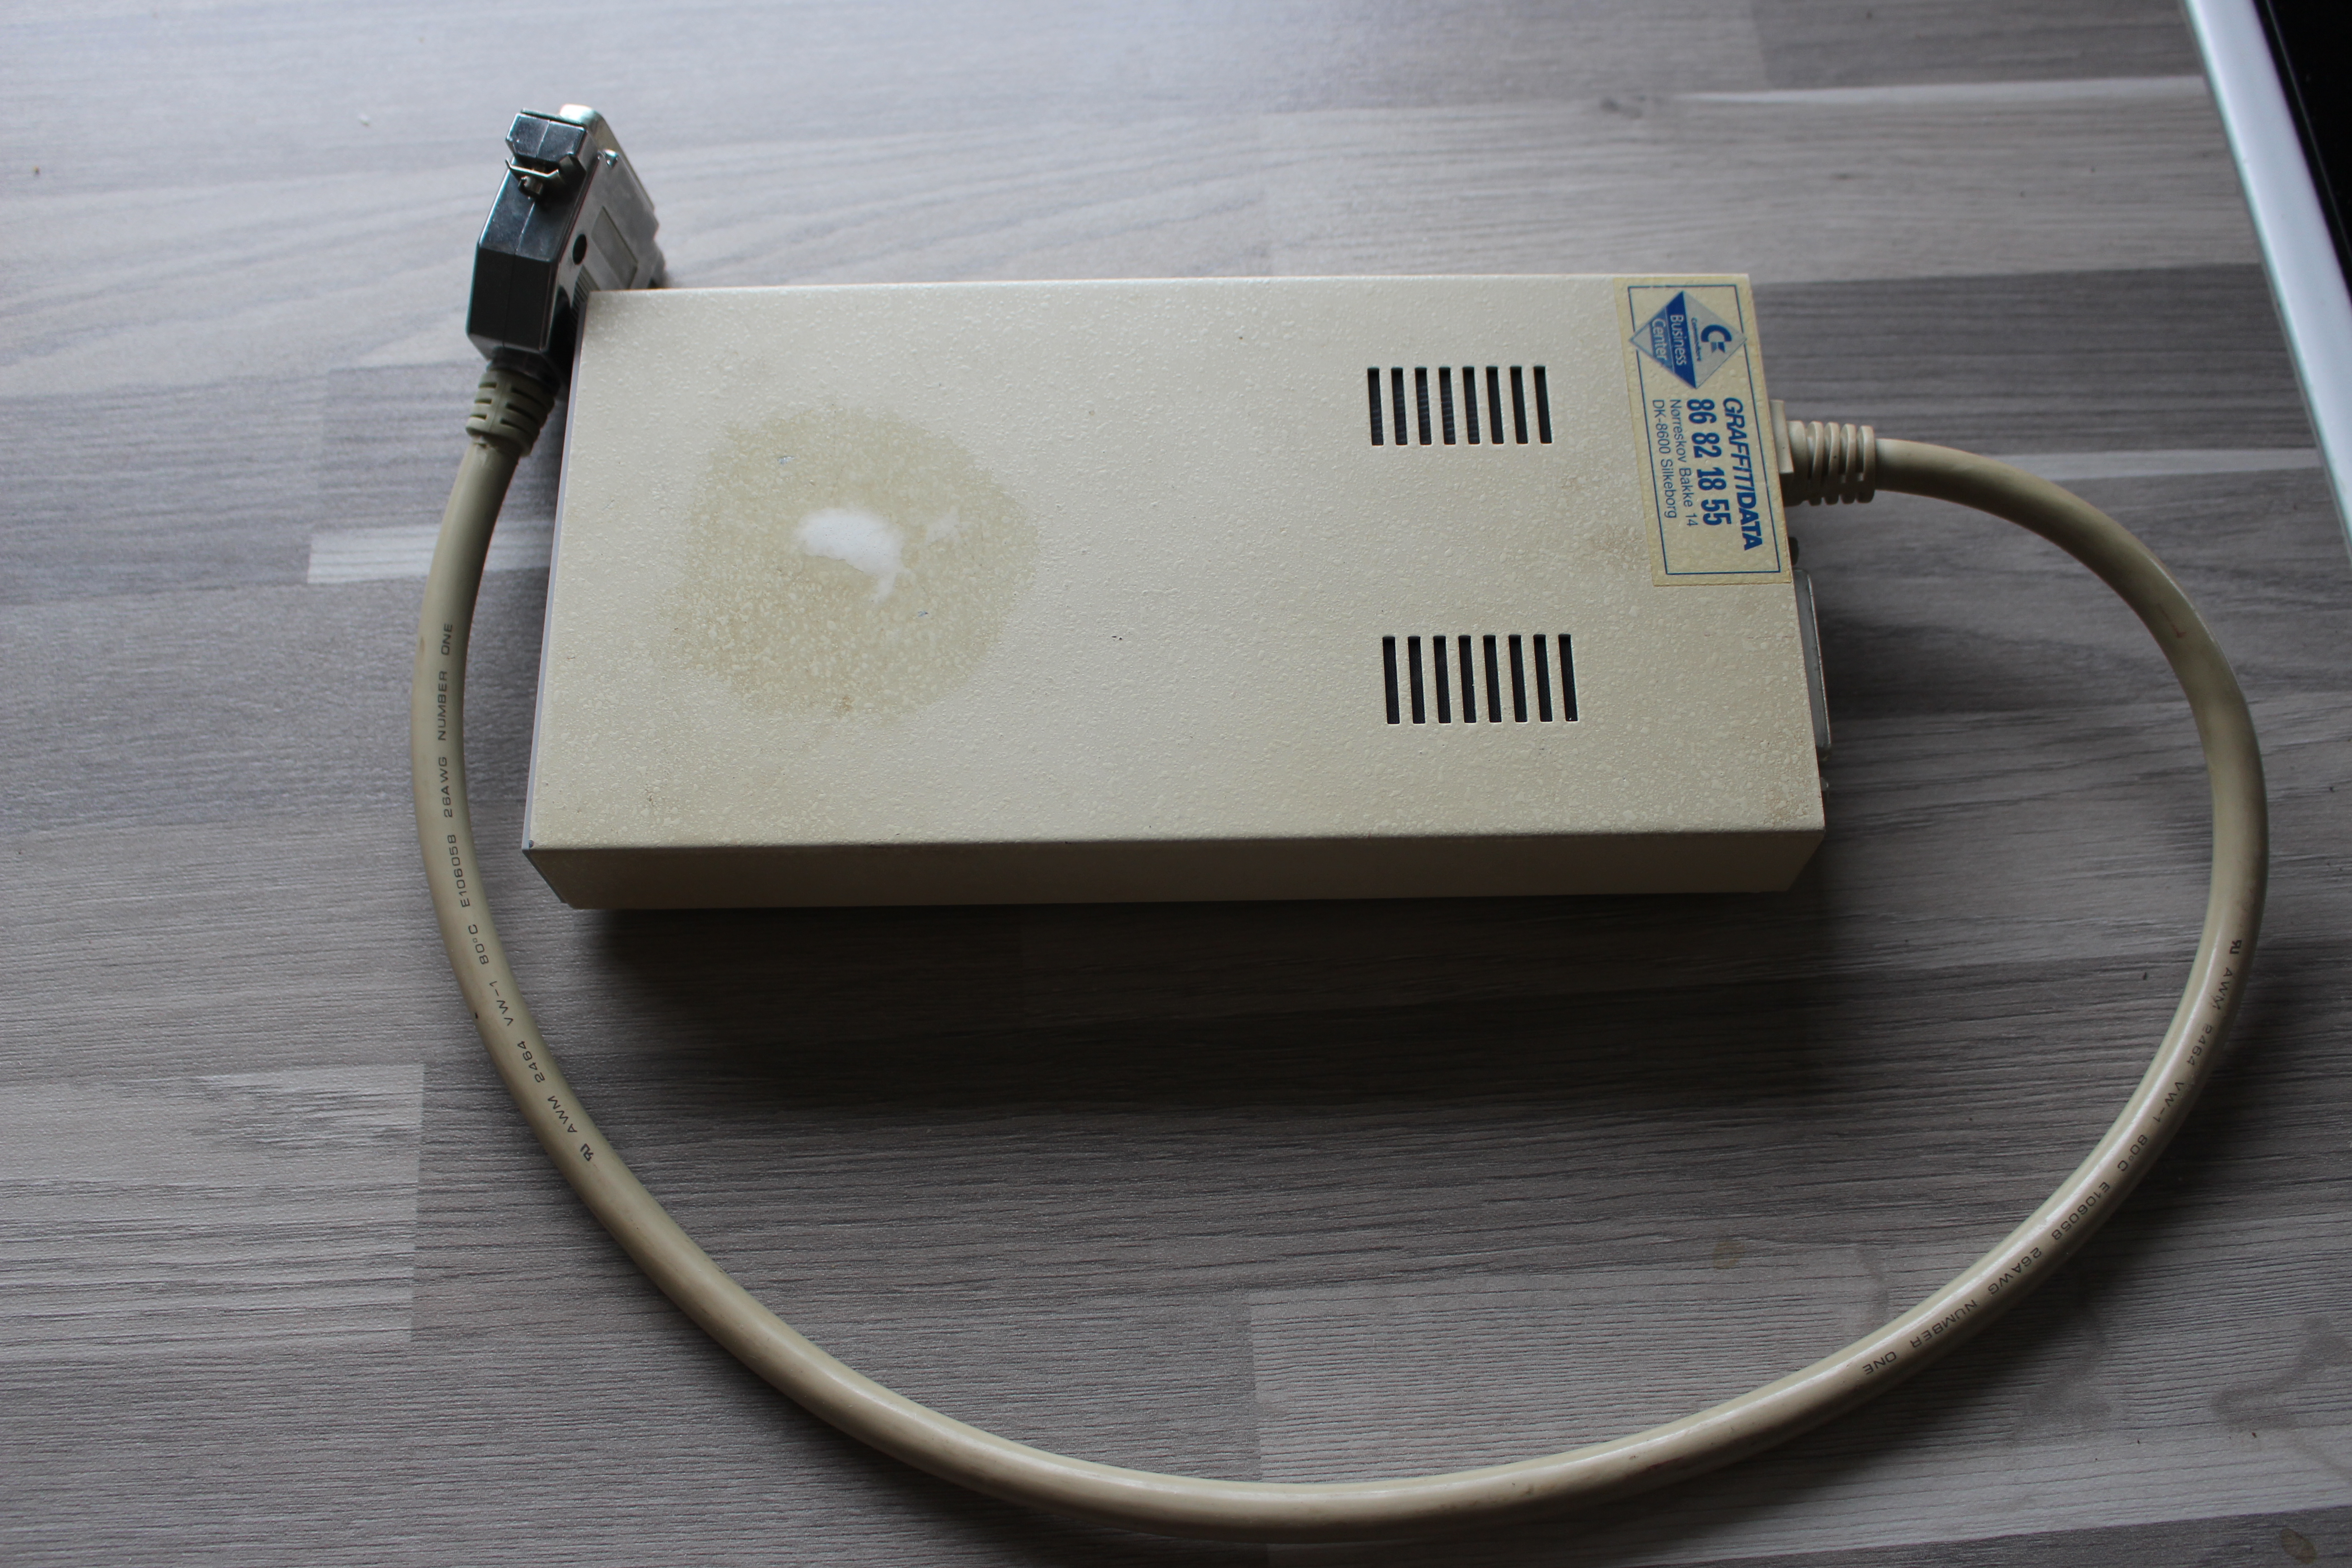
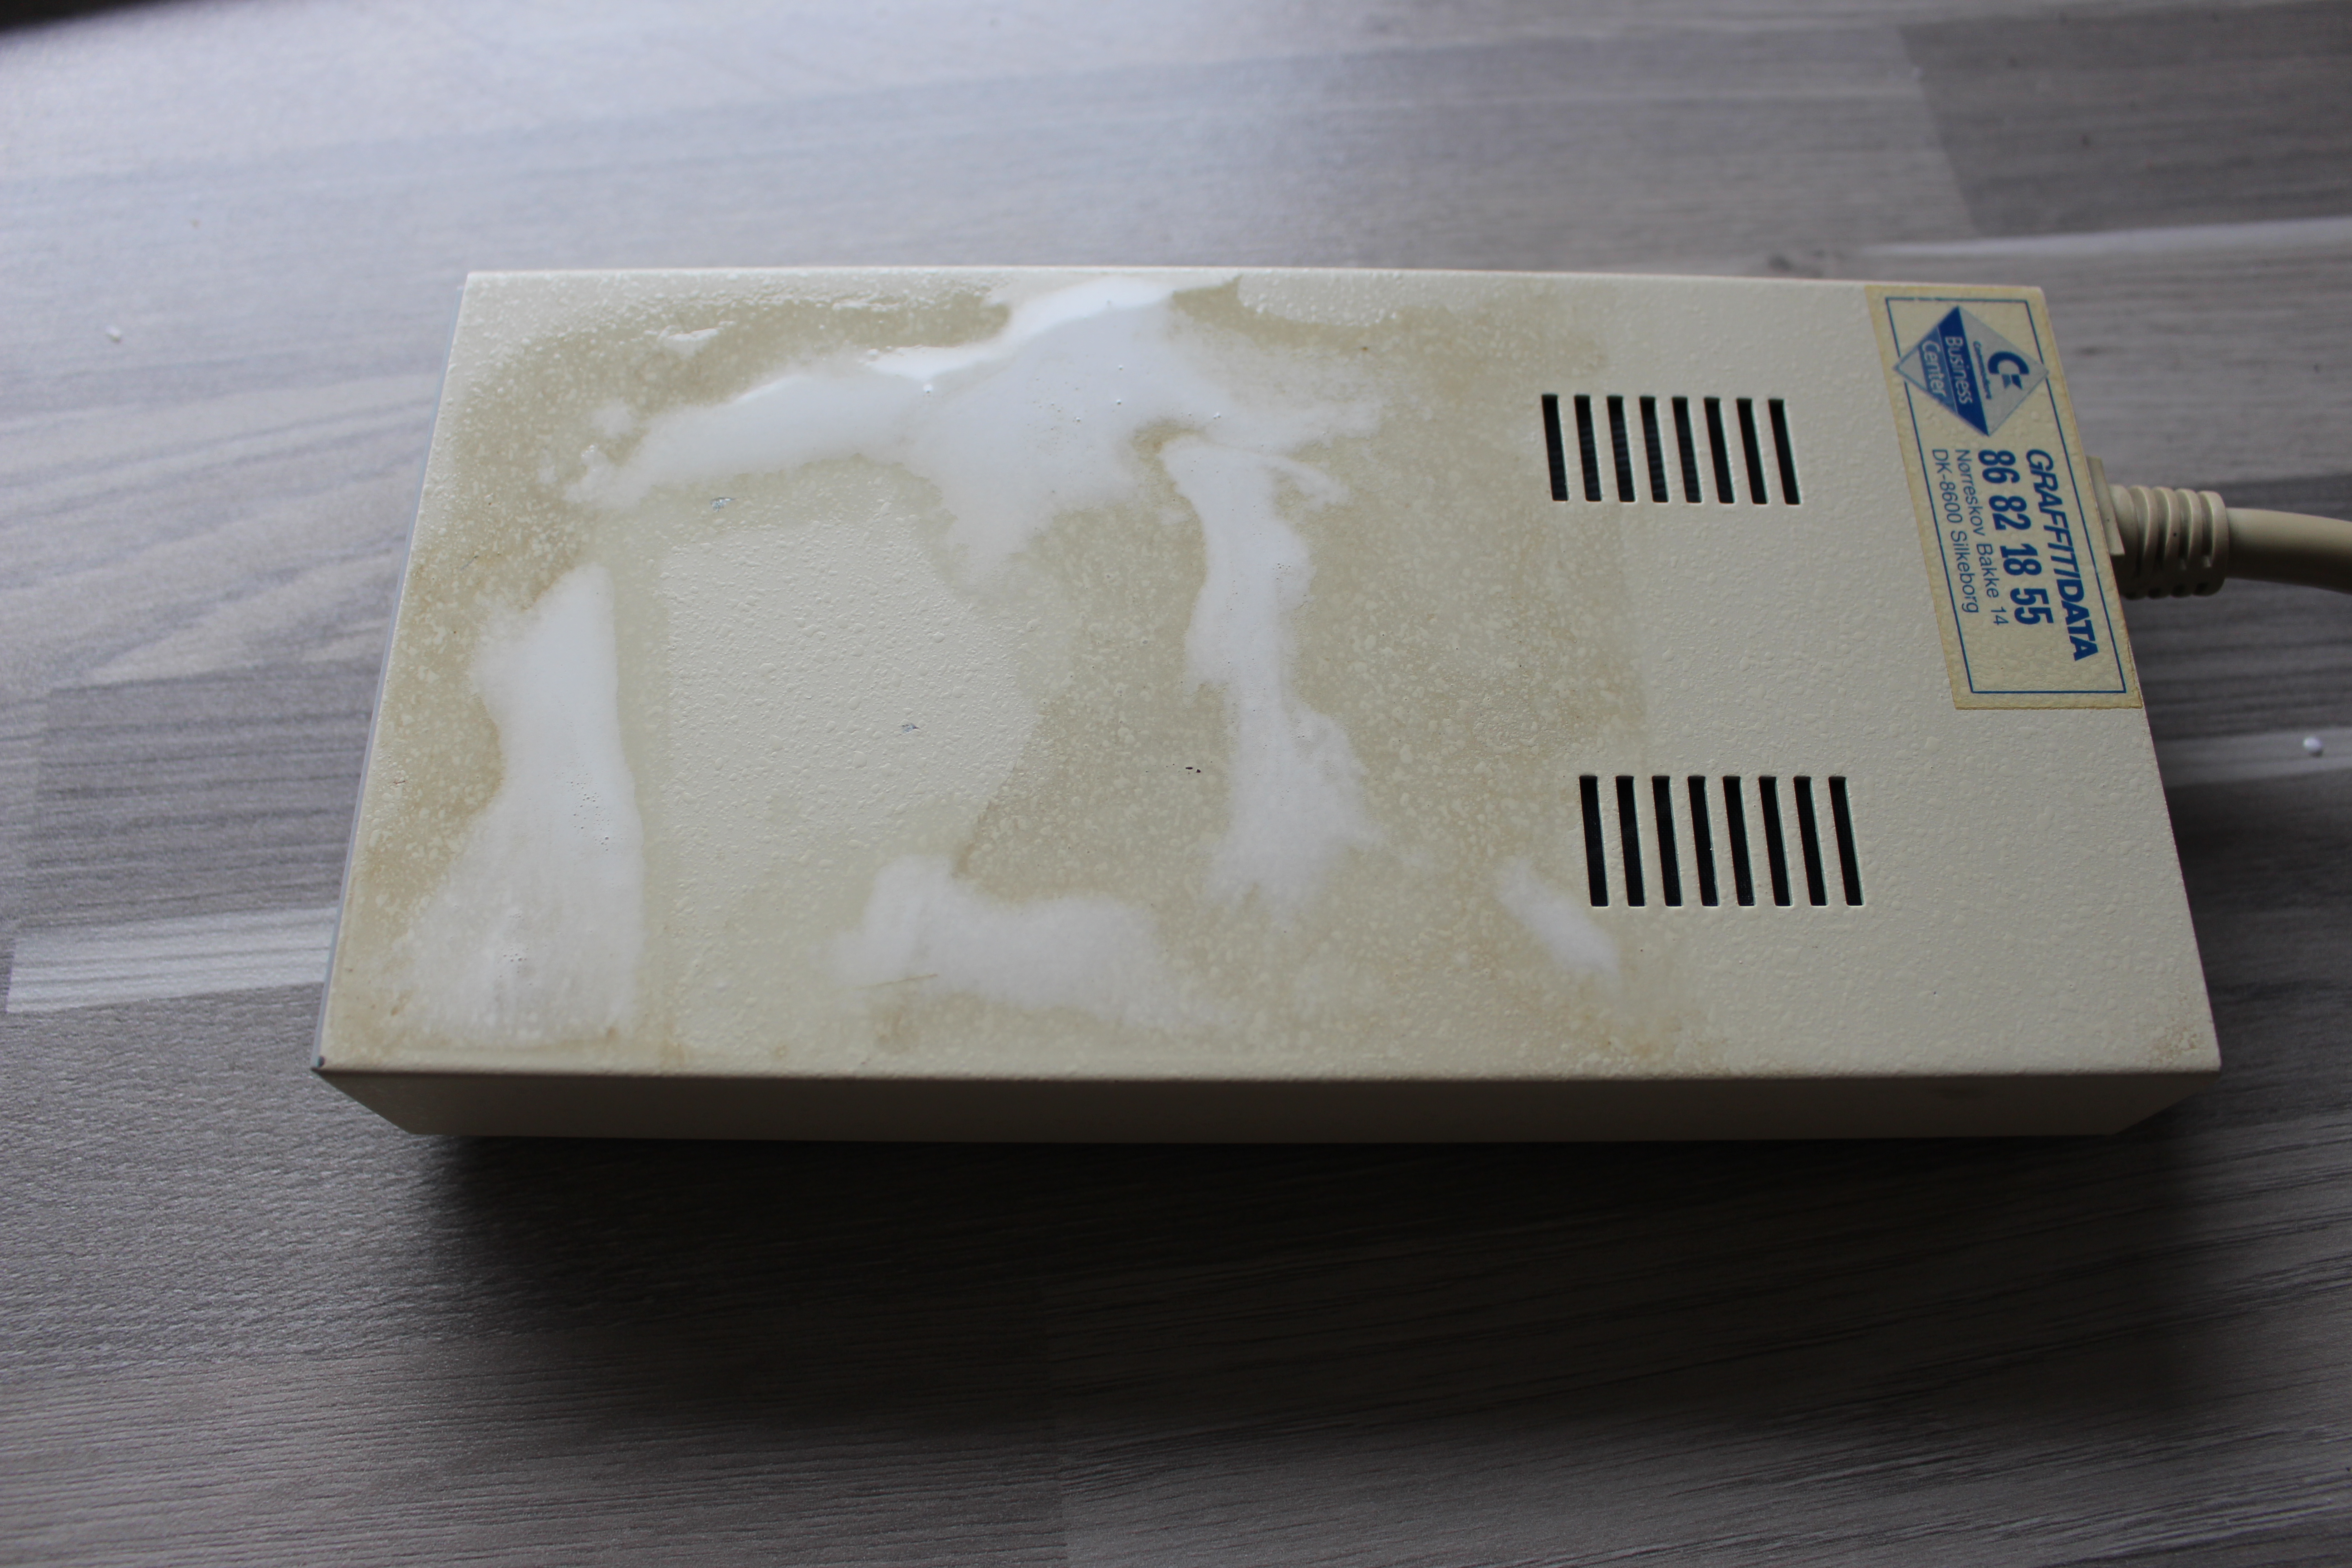
After replacing the floppy drive with the GOTEK I noticed how dirty the enclosure was.

Foamclean to the rescue. The pictures will speak for themselves.

IMG_0335 IMG_0336 IMG_0337 IMG_0340For all support about the GOTEK drive please ask in Hervé’s site.

If you live in Denmark, I can assist in flashing the firmware if required, but I’d suggest that you learn to do that, so you can upgrade the drive when a new firmware comes out.

No it really isn’t that hard flashing this yourself.

And a word of caution. Remember that Hervé was the one who created this firmware. He get’s nothing from any of the guys selling these drives preflashed with the Amiga firmware.


Battery replacement

There are quite a few guides on the net, how to replace an existing rechargable battery with a coin battery. Targeted mostly for big box Amiga’s and accelerators, but this can also be used for other similar replacements.

You all know it’s neccessary to change the rechargable battery. If you don’t I’ll tell you why: the battery contains what is commonly mentioned as battery acid, though for these batteries it’s base. Regardless it corrodes the electronics so the battery needs to be removed and the affected area needs to be neutralized. The battery can be removed by using cutters (be careful not to damage the PCB) or just desoldering it. A wash with either lemon juice or vinegar can be neccessary if the battery has leaked. Just drop some lemon juice/vingar and scrub with i.e. a toothbrush. Remove the liquid and wash with either water or isopropyl alcohol.

DSCF1133Before removal.


DSCF1136After removal, some area has been damaged, but luckily not much.


If you’re going to replace with a coin battery like the CR2032, which are quite common these days, you’ll need to add a diode to prevent recharging of the battery with 5v.

The drawing below should explain it all.Amiga-BatteryThe schematic on the new battery.

IMG_0328How it needs to be soldered, plus is to the right and minus is to the left.

Some diode theory 101:

Notice the black ring on the diode, this should be to the farthest side away from the coin battery. Notice the same “ring” on the schematic, that lone vertical dash, thats how you identify which is which. The left side here on the drawing is called anode, and the right side is called cathode. If you turn the symbol 90 degrees CCW, the symbol almost looks like an A, and from the other side it looks like a vertically-mirrored K (just pronaunce the cathode as kathode).

The cathode blocks all the voltage (to a certain degree) that lies on the kathode, whereas the voltage that lies on the anode passes on to the cathode, though loosing around 0.6-0.7 volts.

This way we prevent 5v that’s used to charge the old battery to also charge the non-rechargeable CR2032 battery.


DSCF1142


DSCF1146

It’s hard to see on this pic, but the black wire extended from the red is a diode all wrapped in a shrink tube. The solder pads here have been dripped with hotglue to prevent shorts.


Amiga-Battery_schematicOn this schematic taken from the Amiga 2000 schematics, the battery we’re replacing is in the lowest, rightmost corner (BT800). Looking up the Datasheet of the MSM6242 real time clock, the lowest voltage for battery backup is 2v. So with the CR2032’s 3.3v minus the 0.7v (= 2.6v) the battery supply is still enough to sustain the real time clock.

Components used: CR2032 socket, 1n4148 diode.

You can use most regular diodes like the 1n4141.

Update: 2019-04-02

Araranet has created a small pcb which works as a drop in replacement for the old barrel batteries, The A4000battkit, ready for sending to pcb companies like jlcpcb.com.