EDIT: This post was moved from my old blog.
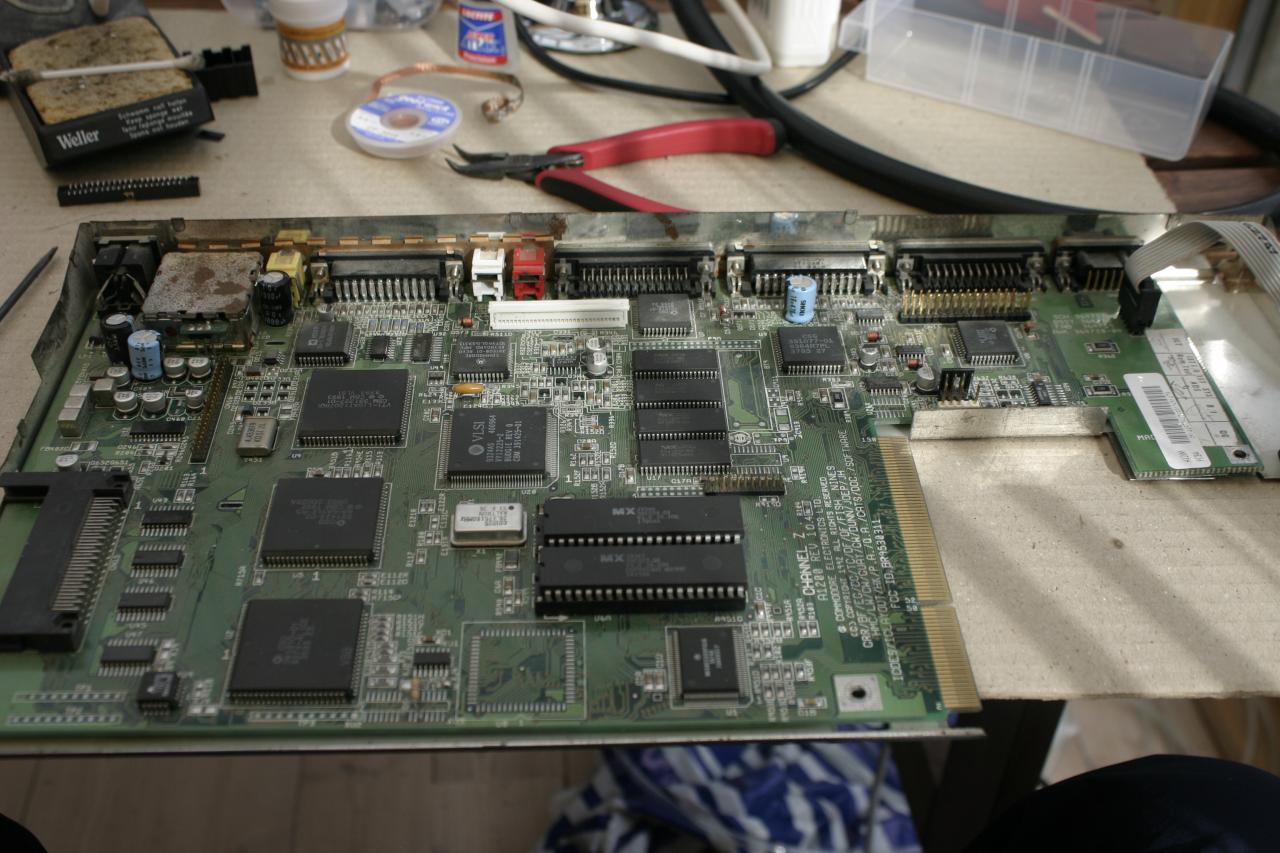
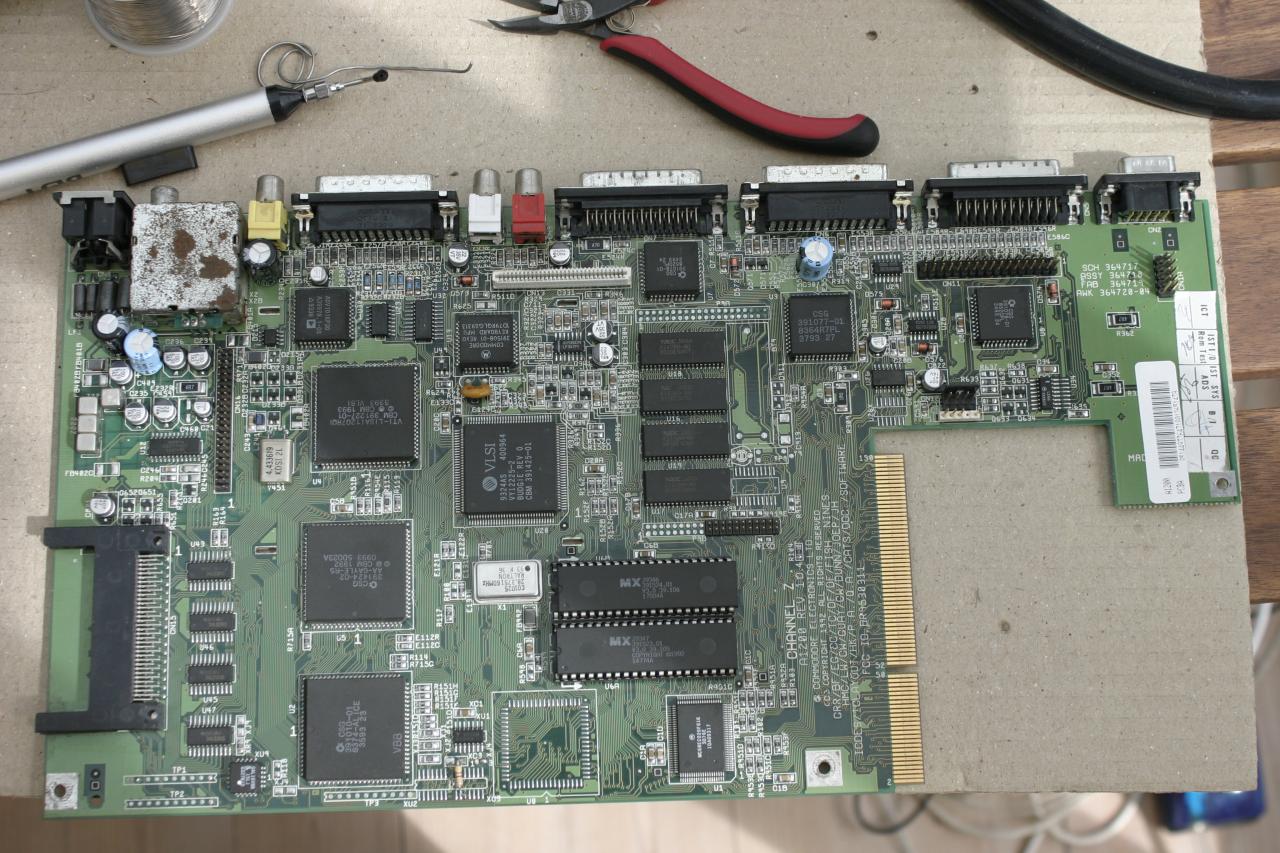
Yesterday I started on repairing the motherboard of an old Amiga 1200. For the first test it seemed to work fine. Then I started looking closer at the board.
The initial inspection, everything seems to look fine, a little rust on the tv tuner shielding, a lot of dust
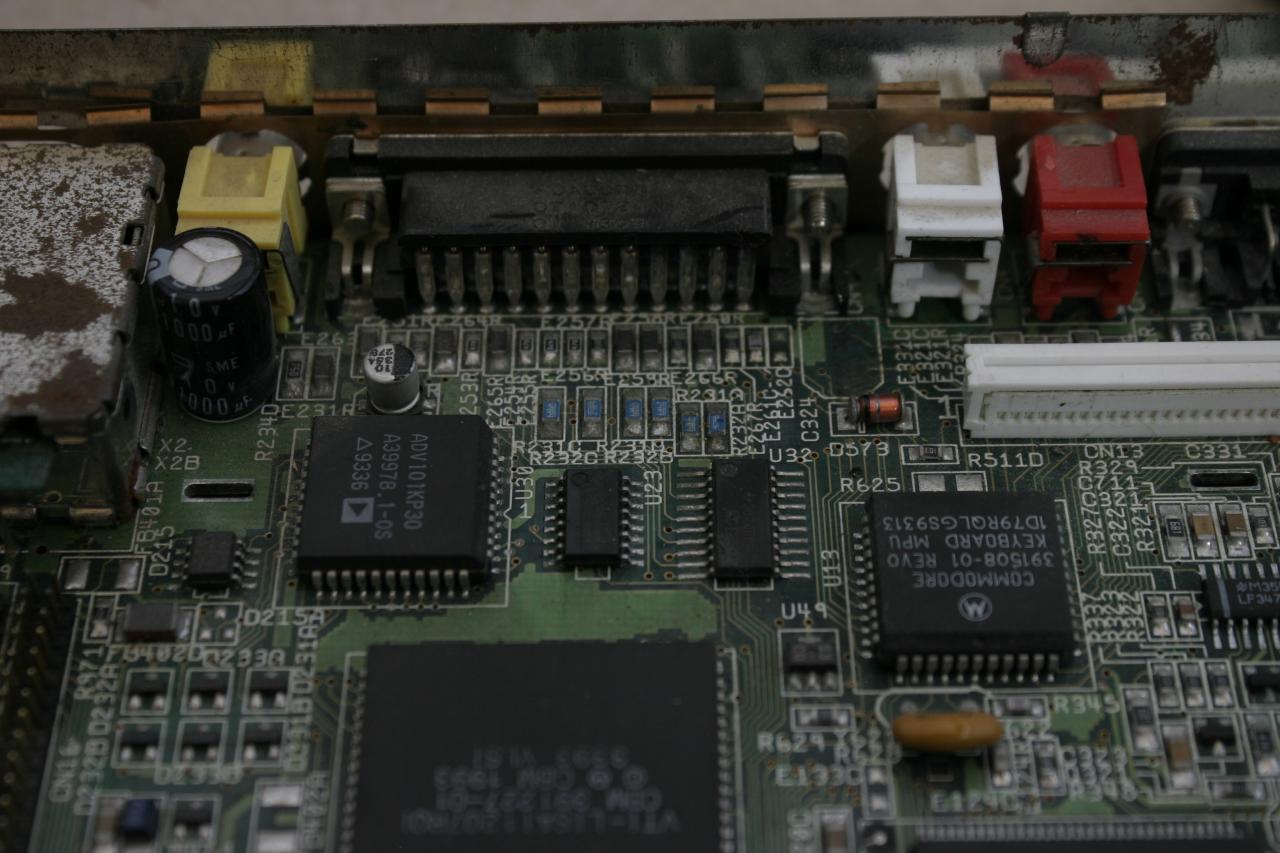
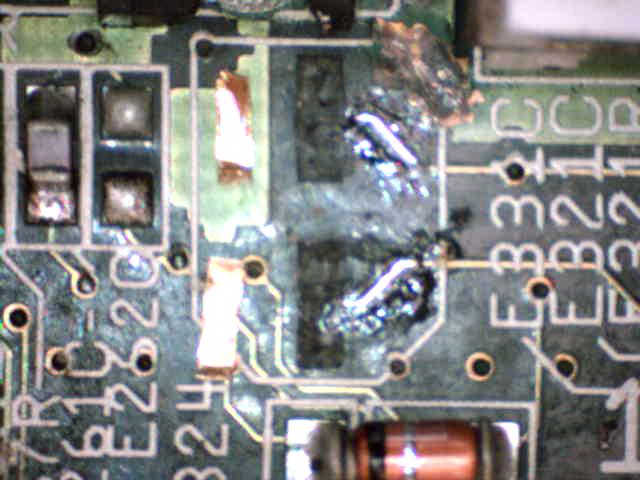
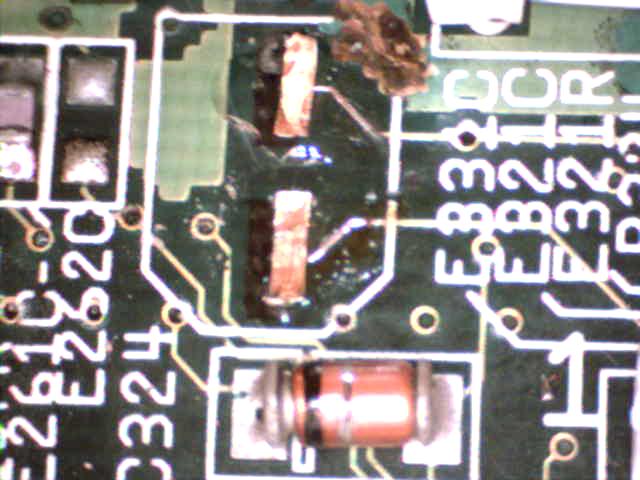
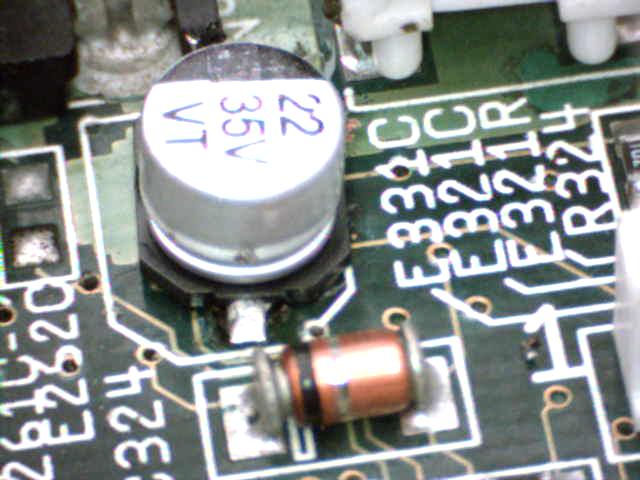
 Looking closer on the blue resistors, those small blue ones in the middle of the picture, the solderings are matte, they should be shiny. This is typical for old computers where the smd capacitors have leaked acid.
Hold on. There seems to be a capacitor missing, just to the left of the white connectors. The solder pads are gone too. This capacitor is used for one of the audio out, if this is missing, no sound will be heard from on of the stereo channels. I checked the other channel, which was missing too, but solderpads were intact.
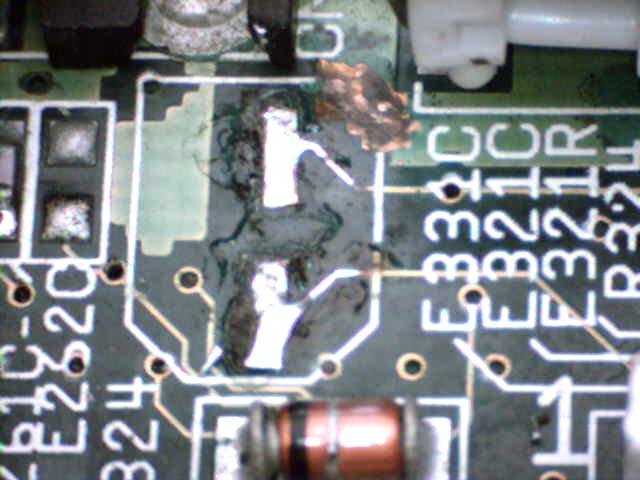
 Working with lemon juice on a cotton stick to neutralize the acid from the capacitor, I gave it a good cleaning around the area. After that, a trip to the dishwasher. And letting it dry for ½ day. I probably won’t power it on for another week or so, so all the water should be evaporated for that time.
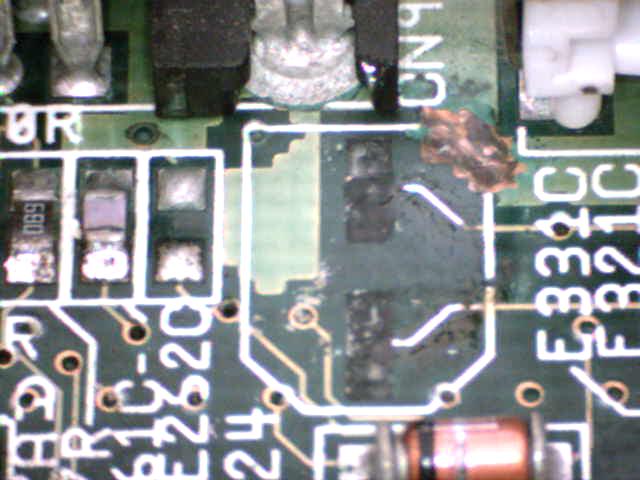
The following pictures were taken from a USB microscope bought for $1 on ebay, quality is not perfect, sorry about that.
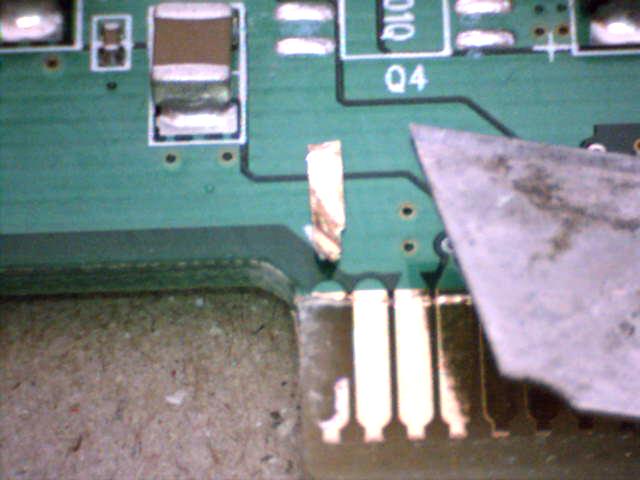
I scraped off the protective layer of the rest of the wires, and tinned them afterwards. Time to look for something that can be used as solder pads, as I didn’t dare solder the new capacitor onto the wires directly, they are just too fragile.
 I found an old PCI board this is a promise SATA150 controller.
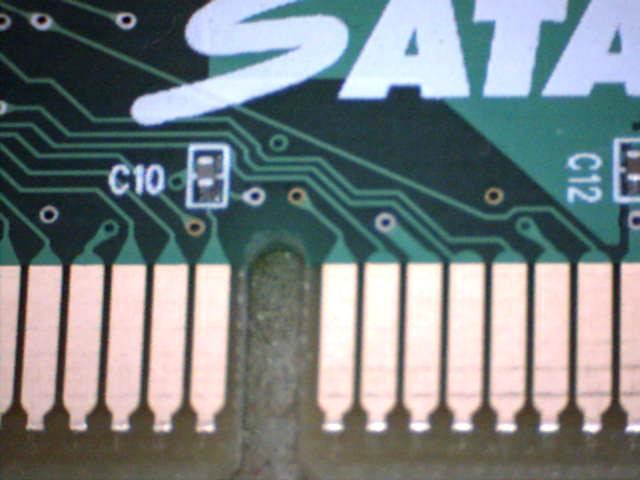 Using a simple knife, this one isn’t particularly sharp, I managed to remove a couple of connector legs.
 Doing a quick measure to see if they are allright, looks like it
 I used some loc-tite glue to glue the pads to the pcb. I found out later I should probably have used another kind of glue as this one got liquid again when heated up. Epoxy glue is a much better option here.
 After a little work I managed to tin the connectors, and get a connection to the wires. It’s not the best solution, but it’s better than the alternative. I also tinned the copper surface to prevent it from oxidizing.
 Soldering the cap onto the newly made solderpads were less of a hazzle, glue seems to be effective again
 Almost finished board, this now has it’s SMD capacitors replaced, a trip to the dishwasher and cleaned some acid infected solderings. Only the 4 non SMD electrolytes are missing from replacement. Only the electrolytes were replaced.
There are plenty of guides out there how to replace SMD capacitors, I find them the easiest to replace from regular old fashion caps.It’s basically
- Spin the house around till it falls off.
- Use the solder iron to remove the broken pin from the solderpads.
- Clean the solderpads with a desoldering wire.
- Apply alittle solder paste to each pad
- Attach the cap (remember in the right direction), eventually adjust it so it looks nice too.
- Heat the solder paste with your solder iron until it gatheres around the pad and cap leg. Instead of solder paste you can also use a thin solderwire. I use that when it’s easy to access the pads. I use a 0.25mm wire for that. 0.6mm should be good too.
Updated 28/6-11
New status – I’ve tested the amiga board, and everything runs perfectly (floppy, sound, video, harddrive), except for the right mouse button. Activating the right mouse button gives a click in the sound, and it’s not functioning, I’m affraid that I’ll have to replace paula.
did you ever resolve the RMB issue? I’m having the same symptoms on an A1200 I just recapped.
No I haven’t had time to look at it as it isn’t high on my priority list 🙂
RMB is caused by borken ground via, behind keyboard connector to right of audio cap. You have to threat thin wire through and solder both sides. That will fix it.
Seen this issue loads of times, its due to cap leakage.