
In this article I’ll tell you how to take pictures of boxes that are larger than scanners, if you send in your pictures to me, I’ll make nice 3D boxes for a virtual museum out of them.
The setup:
- Required is a camera of course, and a table.
- Set the camera to highest resolution and fine pixels.
- Turn off flash.
- Recommended is to have a nice white light source (not a flash) and a tri-/monopod.
In case it isn’t obvious, the drawings below explained.
- The brown is a table.
- The white with the Commodore logo with a aqua/cyan border represents the box.
- The black is the camera.
- The gray with yellow beams are light sources.
- The red spots are the camera helping dots, they may differ or not be there at all depending on camera.
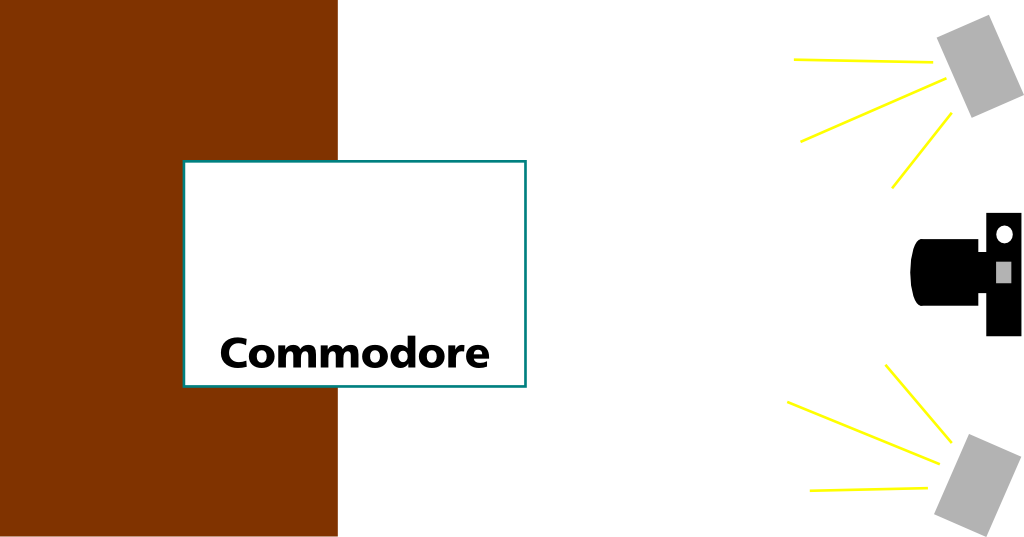 The light source should be from behind in a angle where you don’t see reflection on the box. It can also be from above. Flourescent light is a good source.
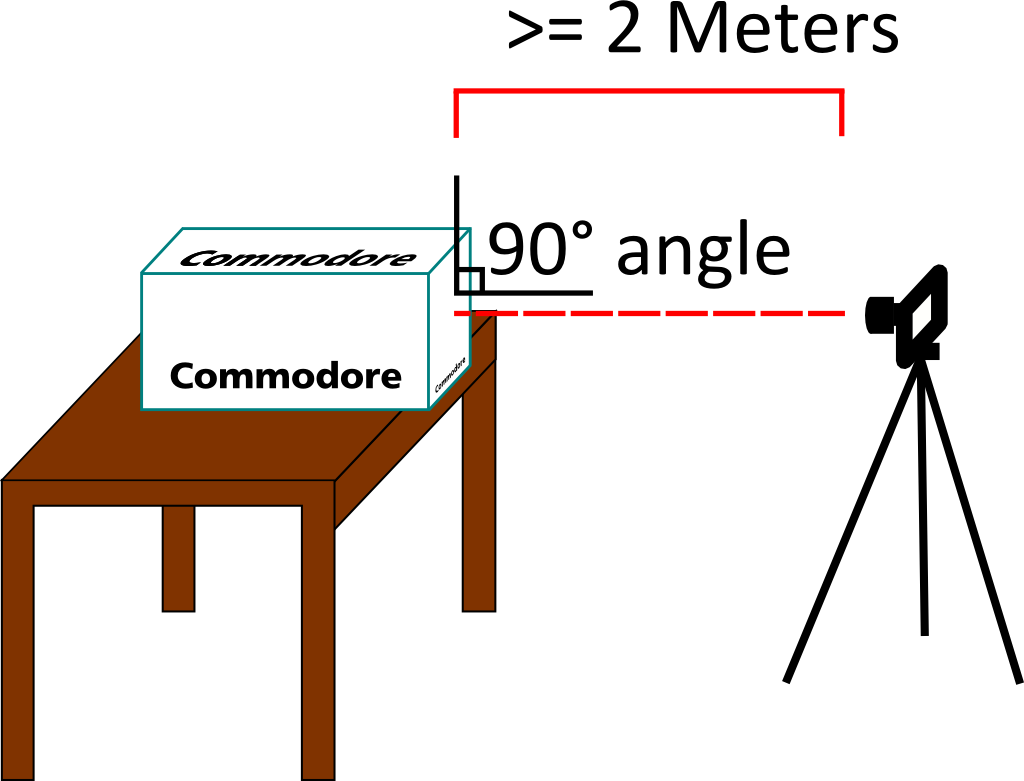 Place the box on the table, letting it stick out from the table edge, as shown on the drawing. The camera must be in a 90 degree angle centered on the side. Some lenses warp the edges if you come too close to the edges, so if you have i.e. a DSLR midrange or lower, you might want to take a few steps back. I have a Canon 700D and using the standard lens I need to be further than 1 meter, 2 meters are good for me. For other camera’s like pocket models, I think you can be closer to the box taking the picture.
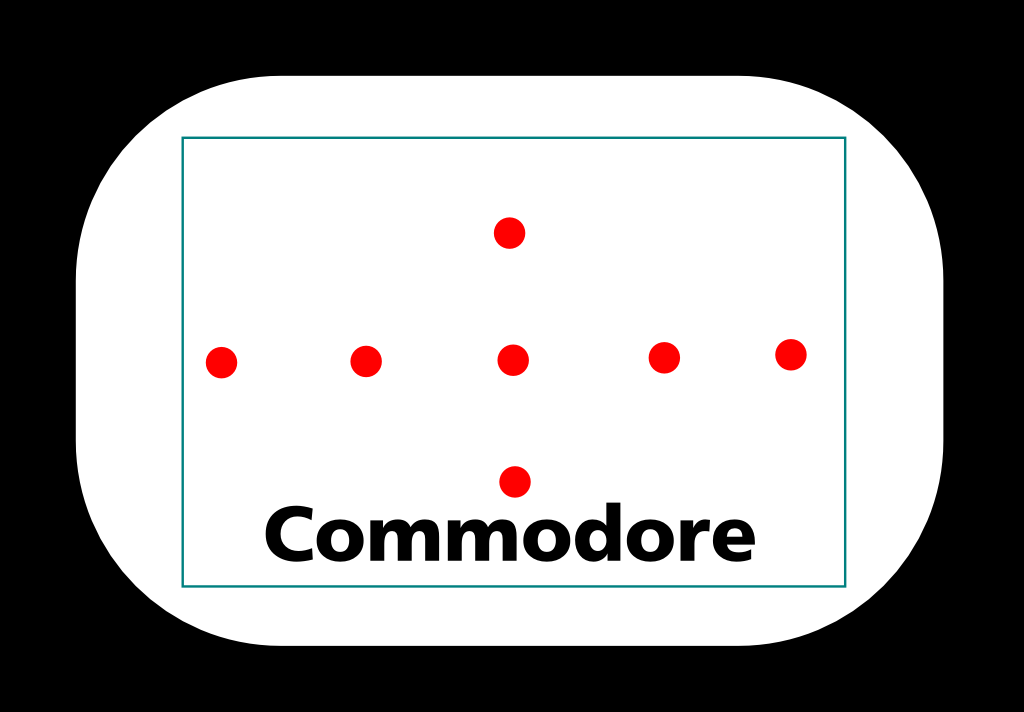 Make sure you fill out the viewport of the camera, though still having a small margin. 90 degree angle and centered on the box.
Make sure you take pictures of all 6 sides, even if the box only has printing on fewer sides, all 6 sides are required for making a 3D box.