 Amiga 4000 Pilot Production Release #300, thanks to Jozsef Vamosi.
Amiga 4000 Pilot Production Release #300
Reply
Amiga 4000 Pilot Production Release #300, thanks to Jozsef Vamosi.
 Commodore Amiga 4000 User’s Guide
 Addendum to the A4000 User’s Guide English, French, Italian, German, Swedish, Thanks to René Pedersen.
 A4000 Benutzerhandbuch (Deutsch)
 User’s Guide for Amiga Hard Drive, part of the original manual set for the Amiga 4000.
Thanks to Thomas Rønne Viborg.
 User’s Guide for ARexx, part of the original manual set for the Amiga 4000.
Thanks to Thomas Rønne Viborg.
 User’s Guide for AmigaDOS, part of the original manual set for the Amiga 4000.
Thanks to Thomas Rønne Viborg.
After using my Amiga 4000D with CyberstormPPC and CyberVisionPPC for several hours, the enclosure got quite warm to the touch. This made me a quite anxius as I don’t want the hardware to die because of heating.
I found out that the PSU fan pulled air from the back into the enclosure, I wonder if that was by design or someone having flipped the fan in the wrong direction. This needed turning so it would transfer the hot air from inside through the PSU to the outside of the enclosure. While at it, I could improve the flow a little, and reduce the noise of the fan. I don’t want to use a lower voltage with a lower fan speed, this is due to I prefer to keep my hardware cool and in good order.
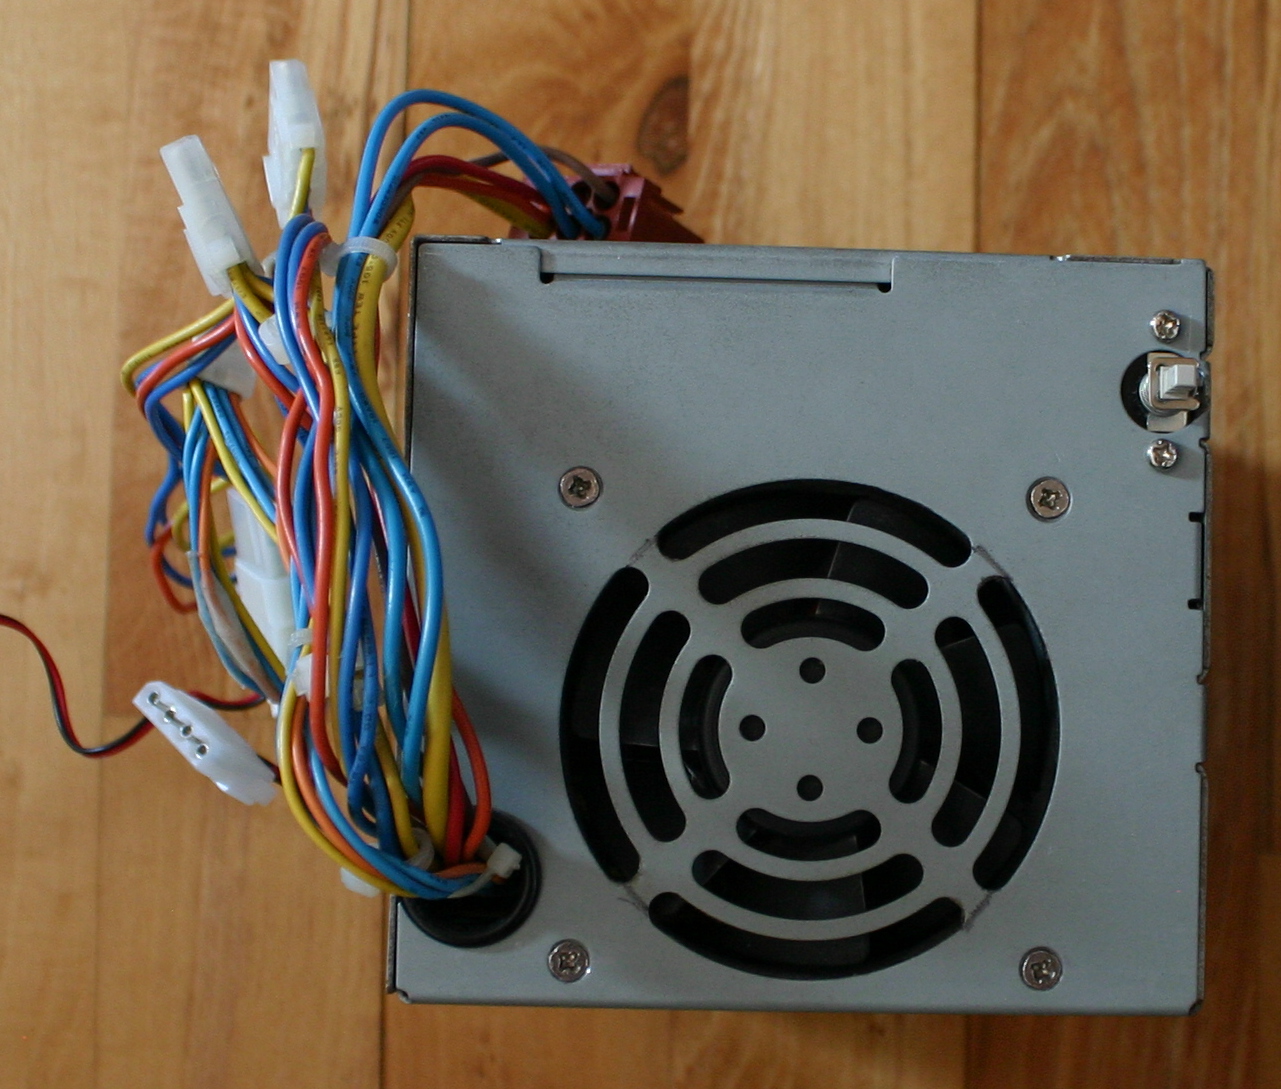 Taking evertything apart is easy, so I find no need to explain how to do that. The before picture of the PSU. You can vaguely see my pencil marks where to cut.
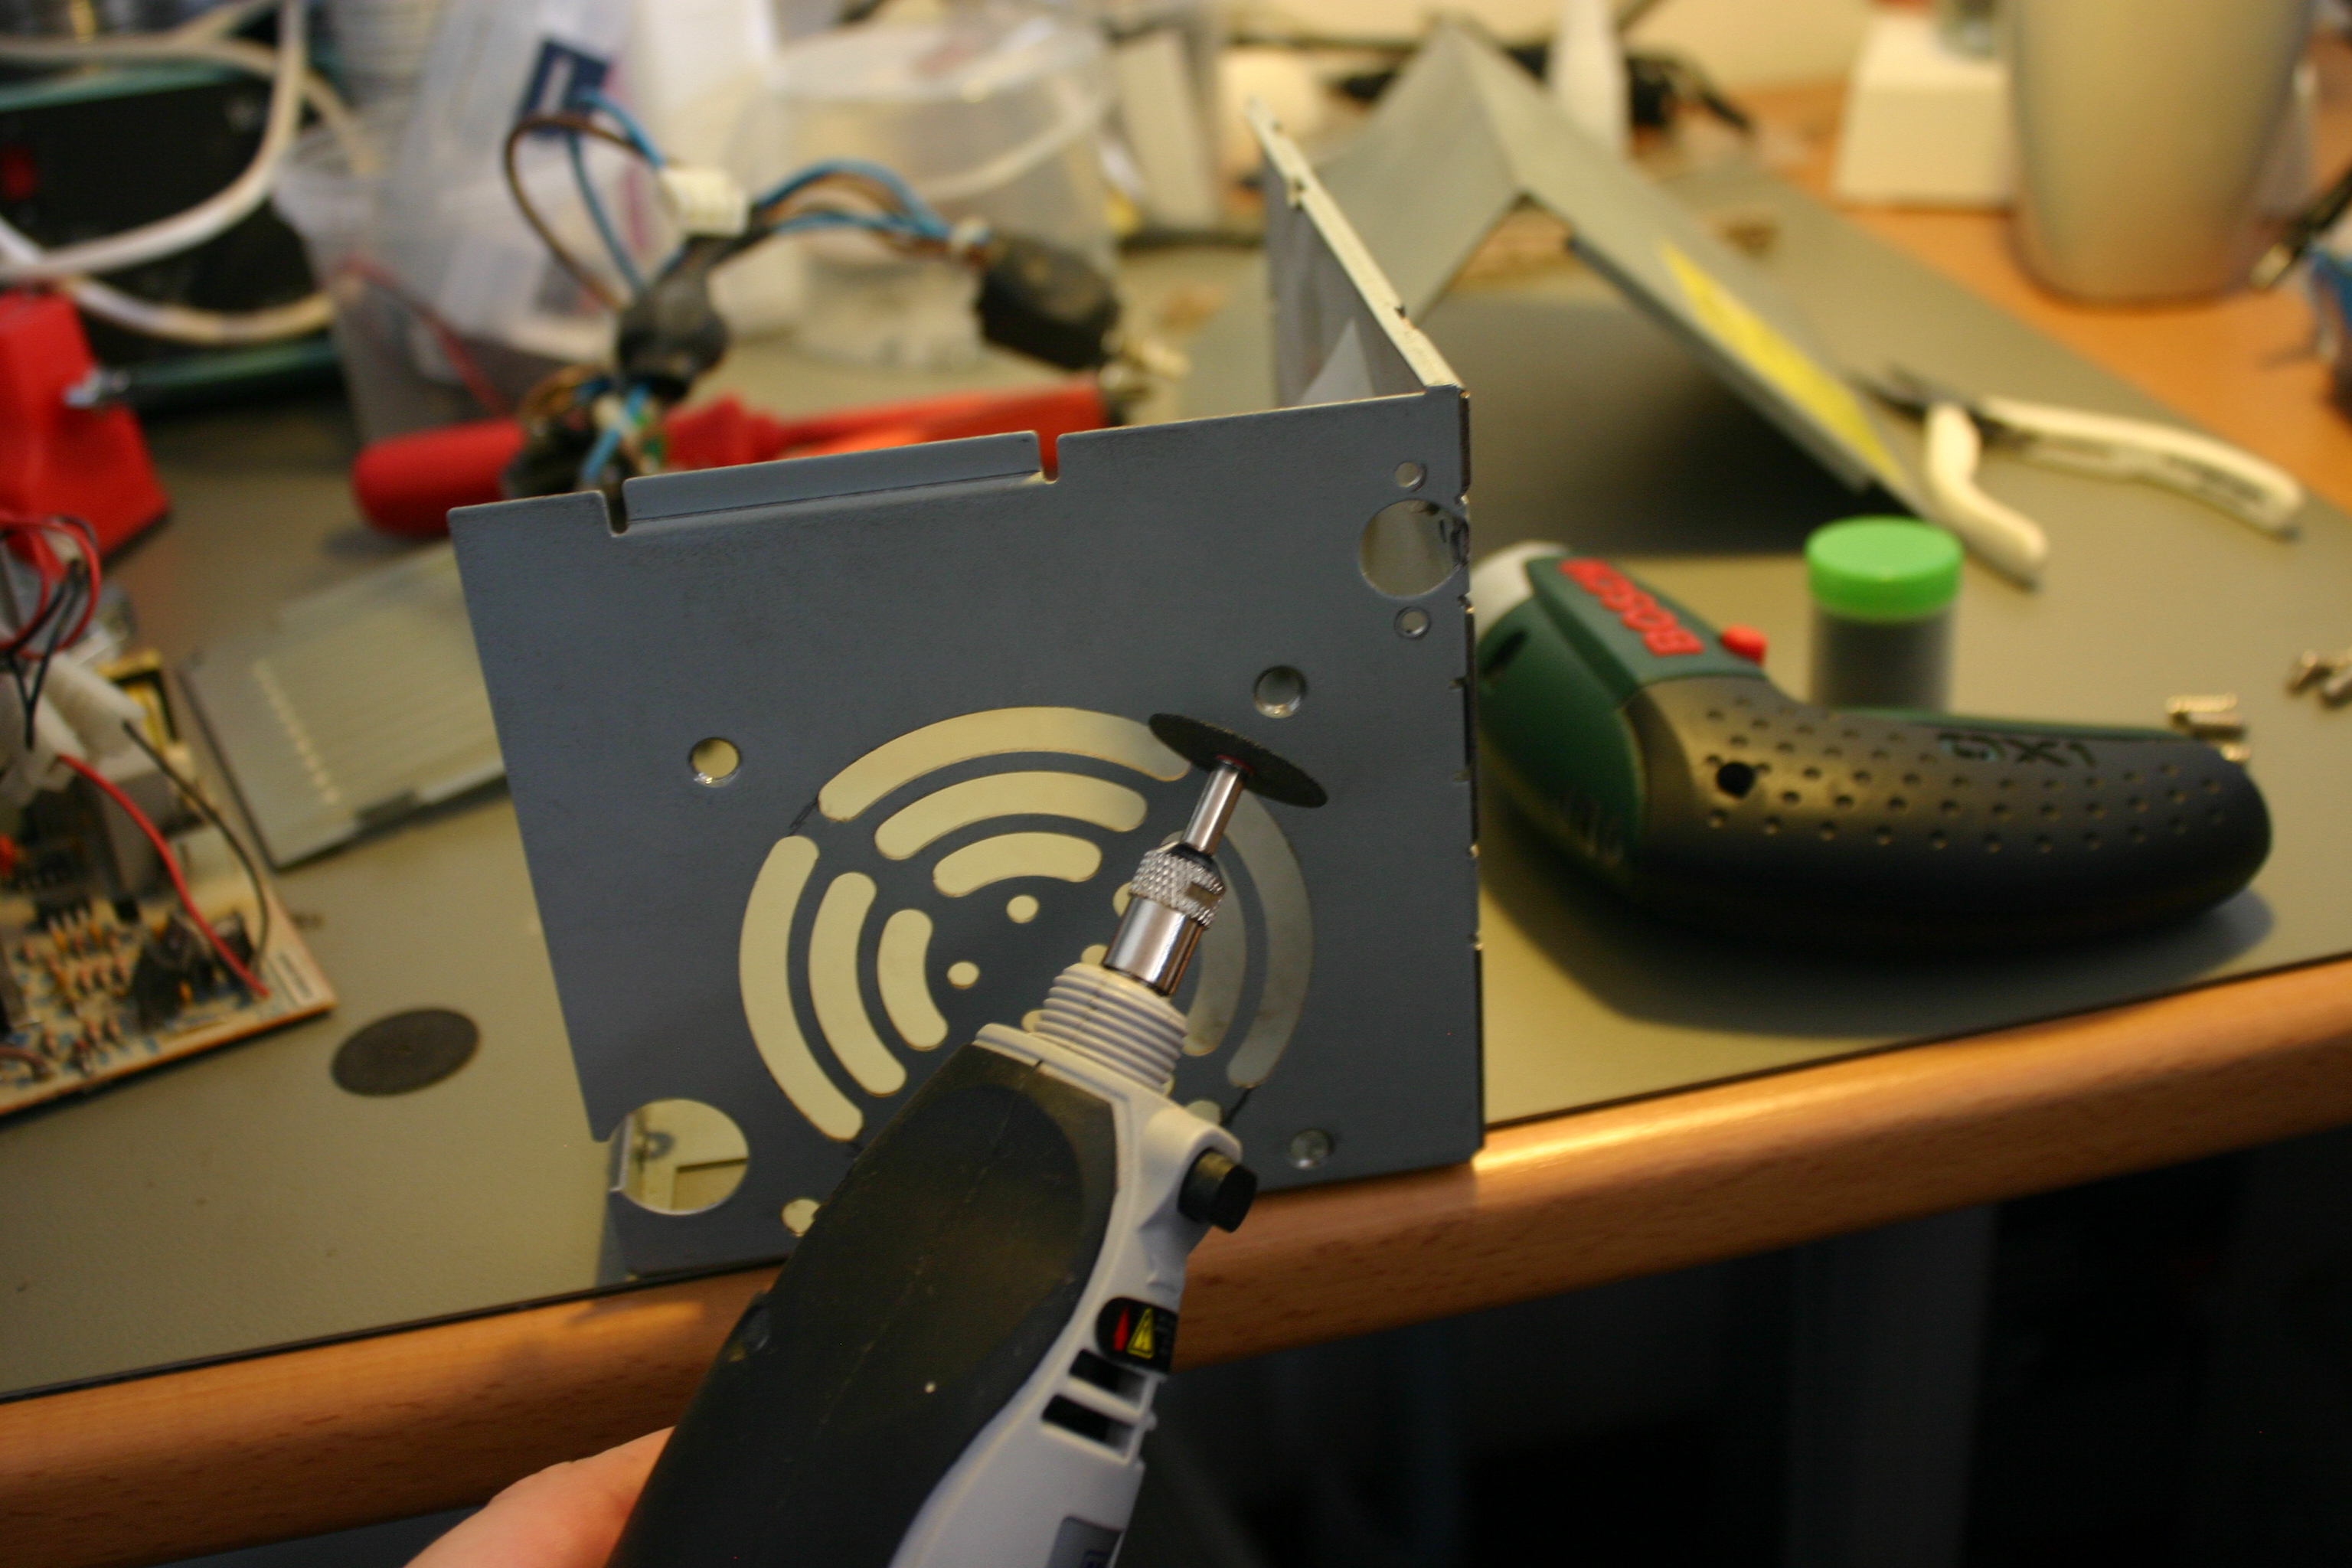 Time to get busy with a dremel and a cut-off wheel.
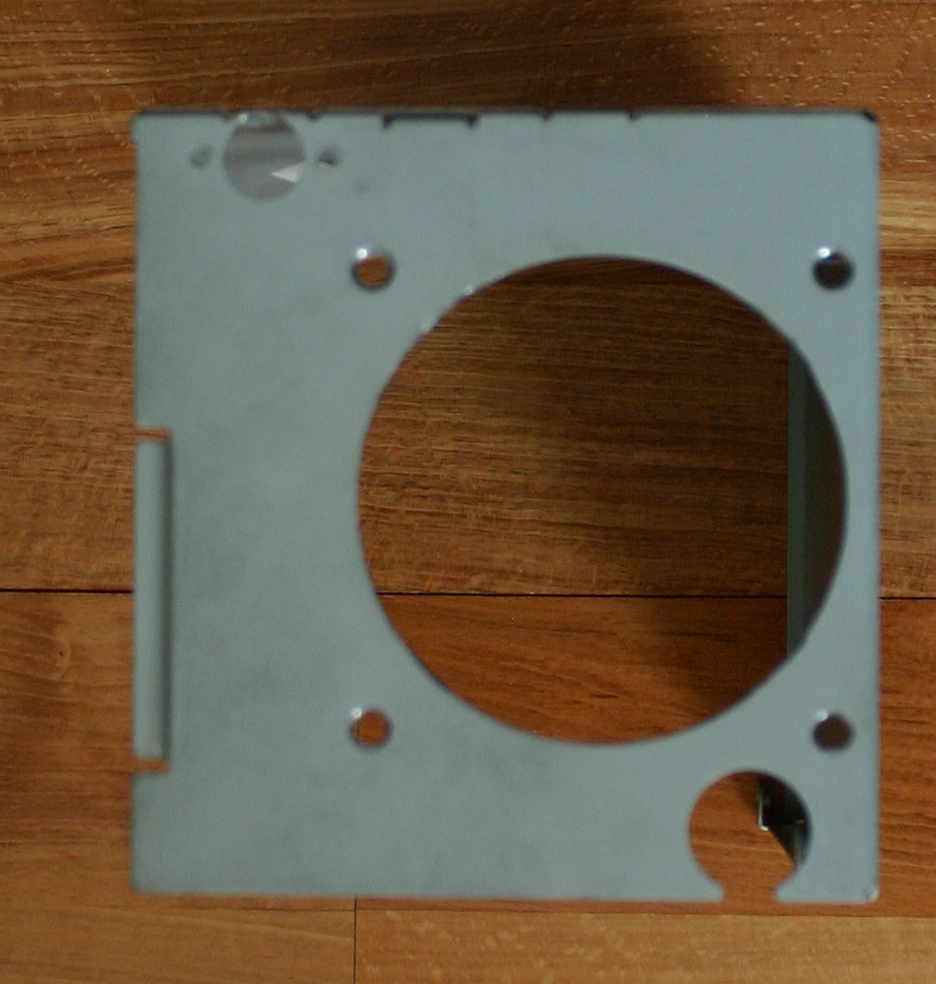 Pretty good result.
The area where I can pull air from the front isn’t that large, I still want to keep the holes for the different parts, like to fasten the external drive bay, putting wires through the hole, and the front bezel in the middle top.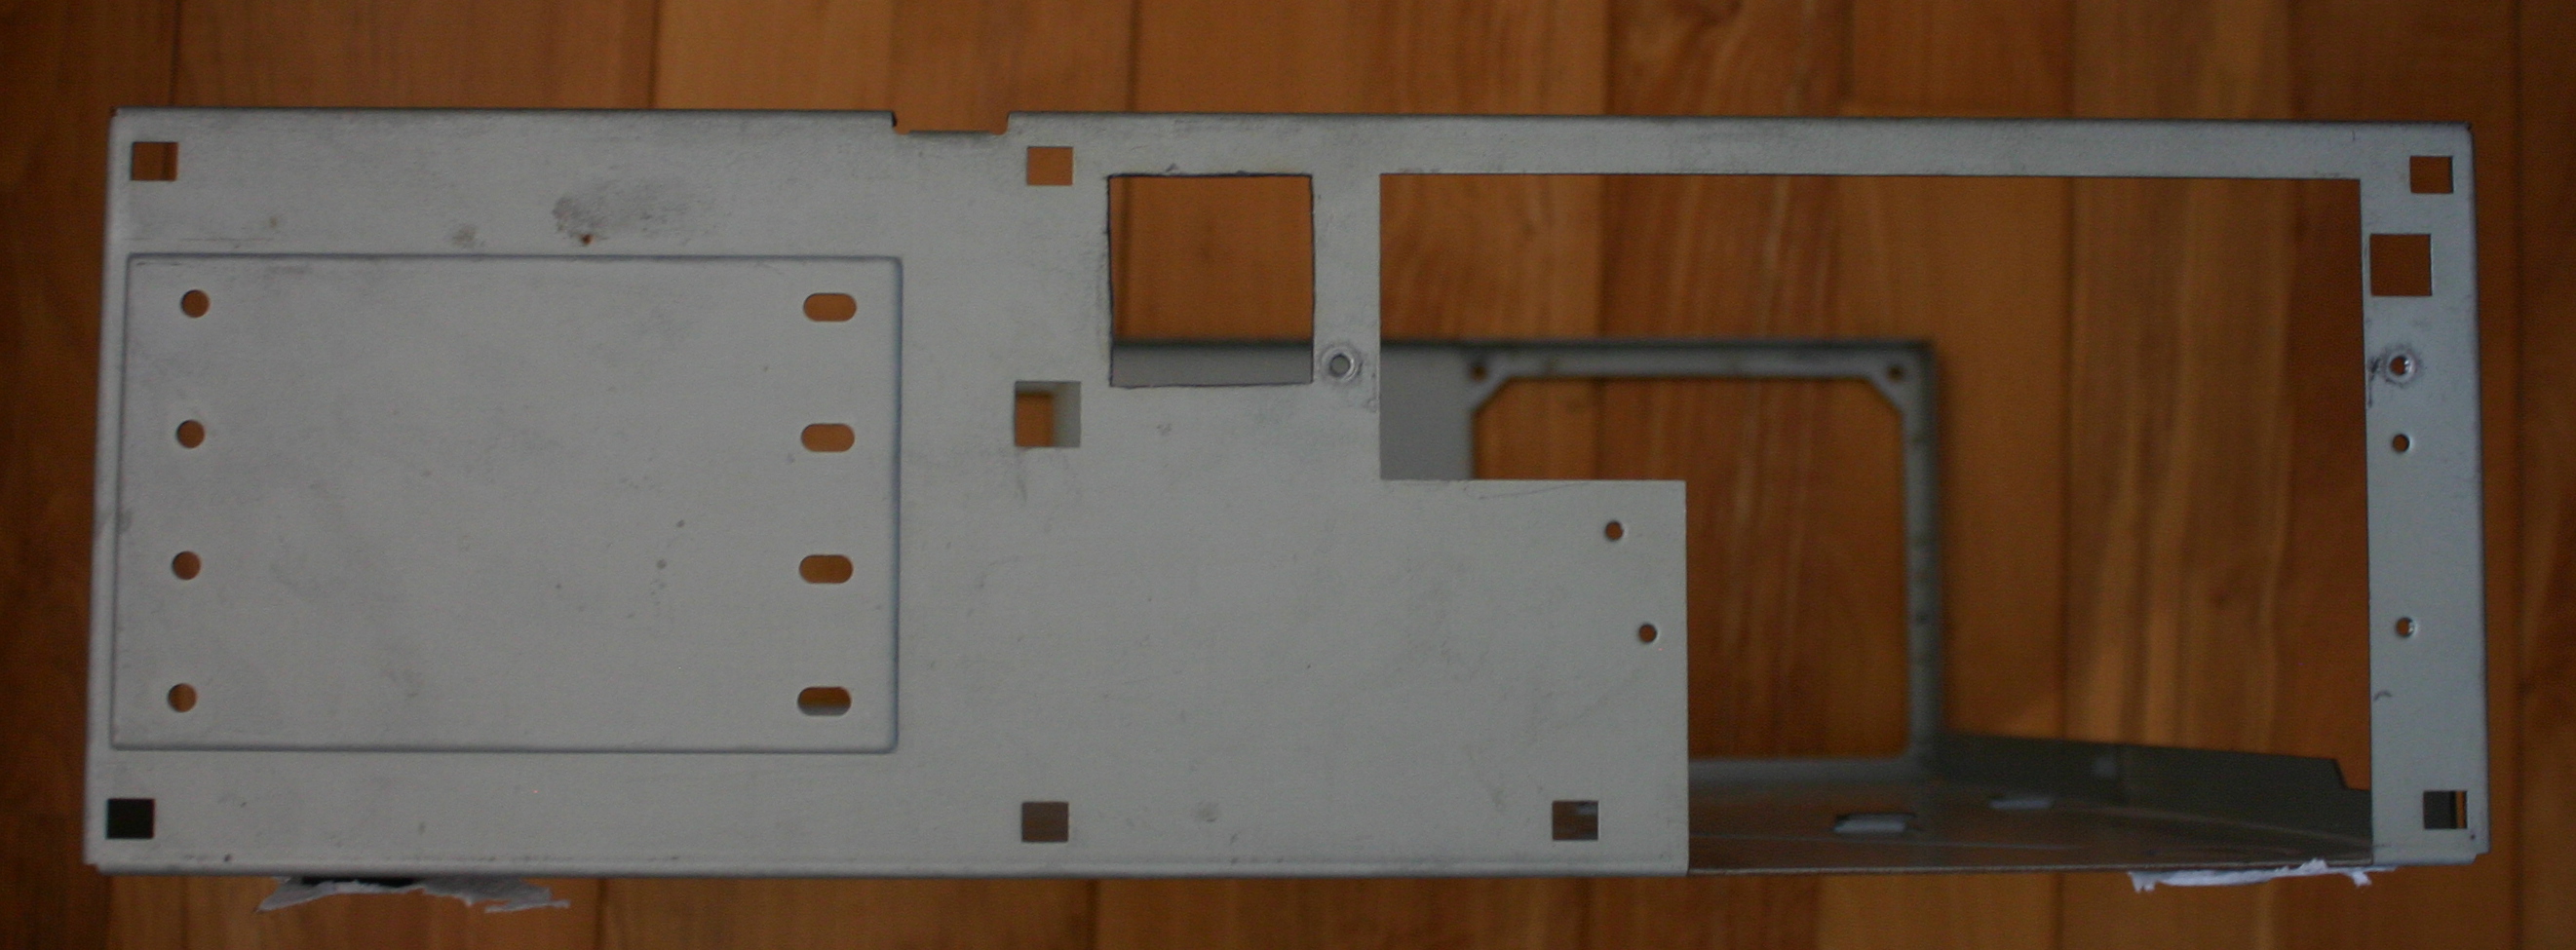 The dremel is a great tool for this, and mine isn’t even an original one, but something cheap bought in an Aldi store.
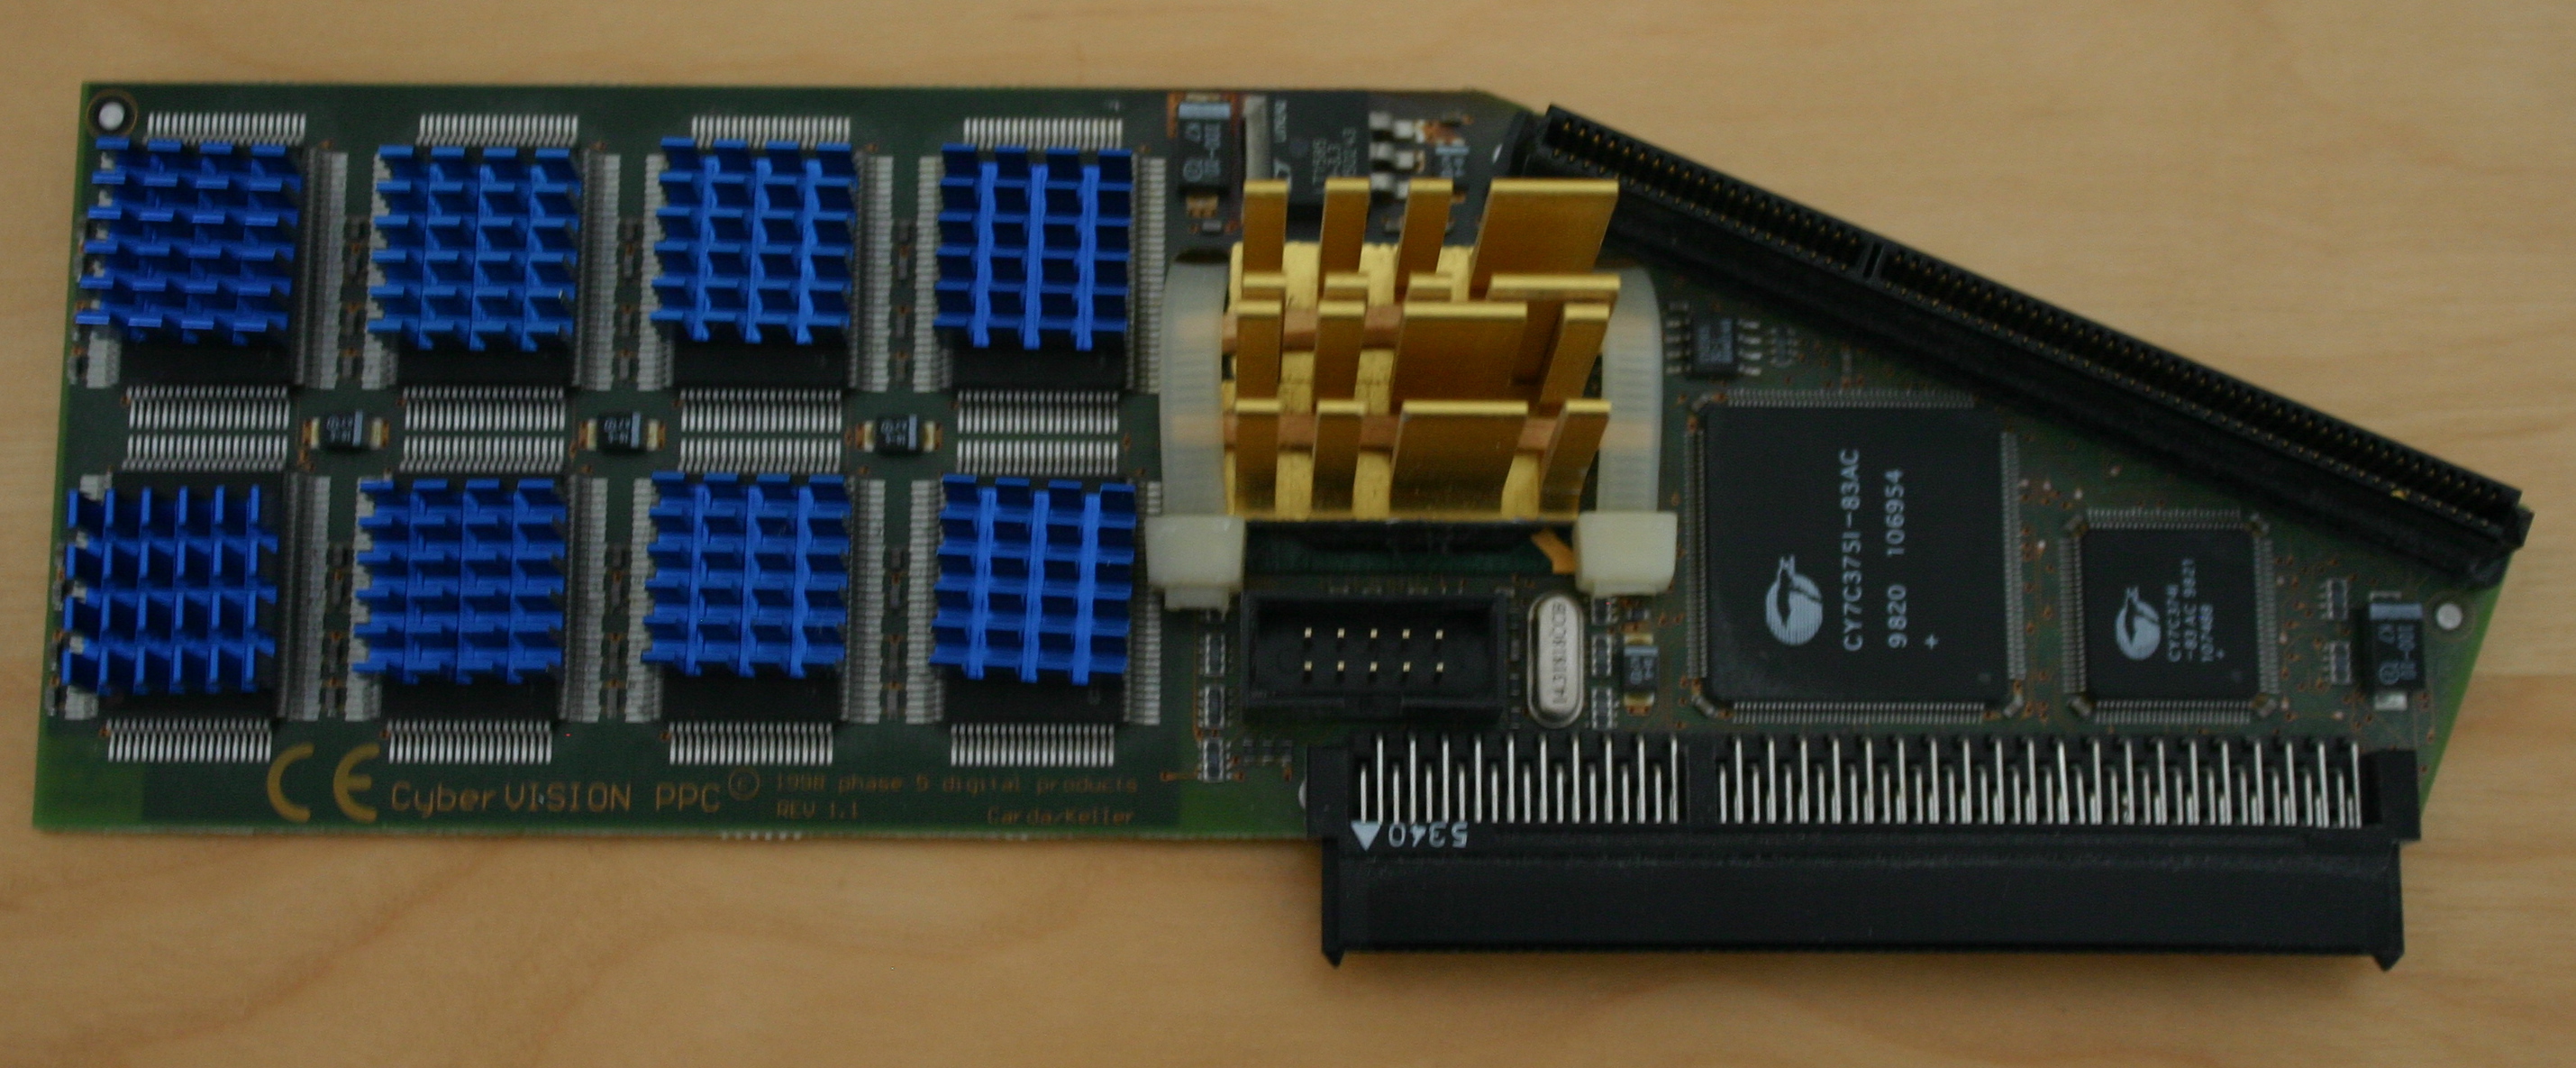 Time to add heatsinks to the CyberVision. I recieved this one with the GPU mounted heatsink, no need in changing that. But I added the heatsinks on the ram chips, these I got off eBay. I added the heatsinks long before this project, and eventually that was a mistake as they are mounted in the wrong direction for best cooling. Oh well, they work better than with no heatsinks.
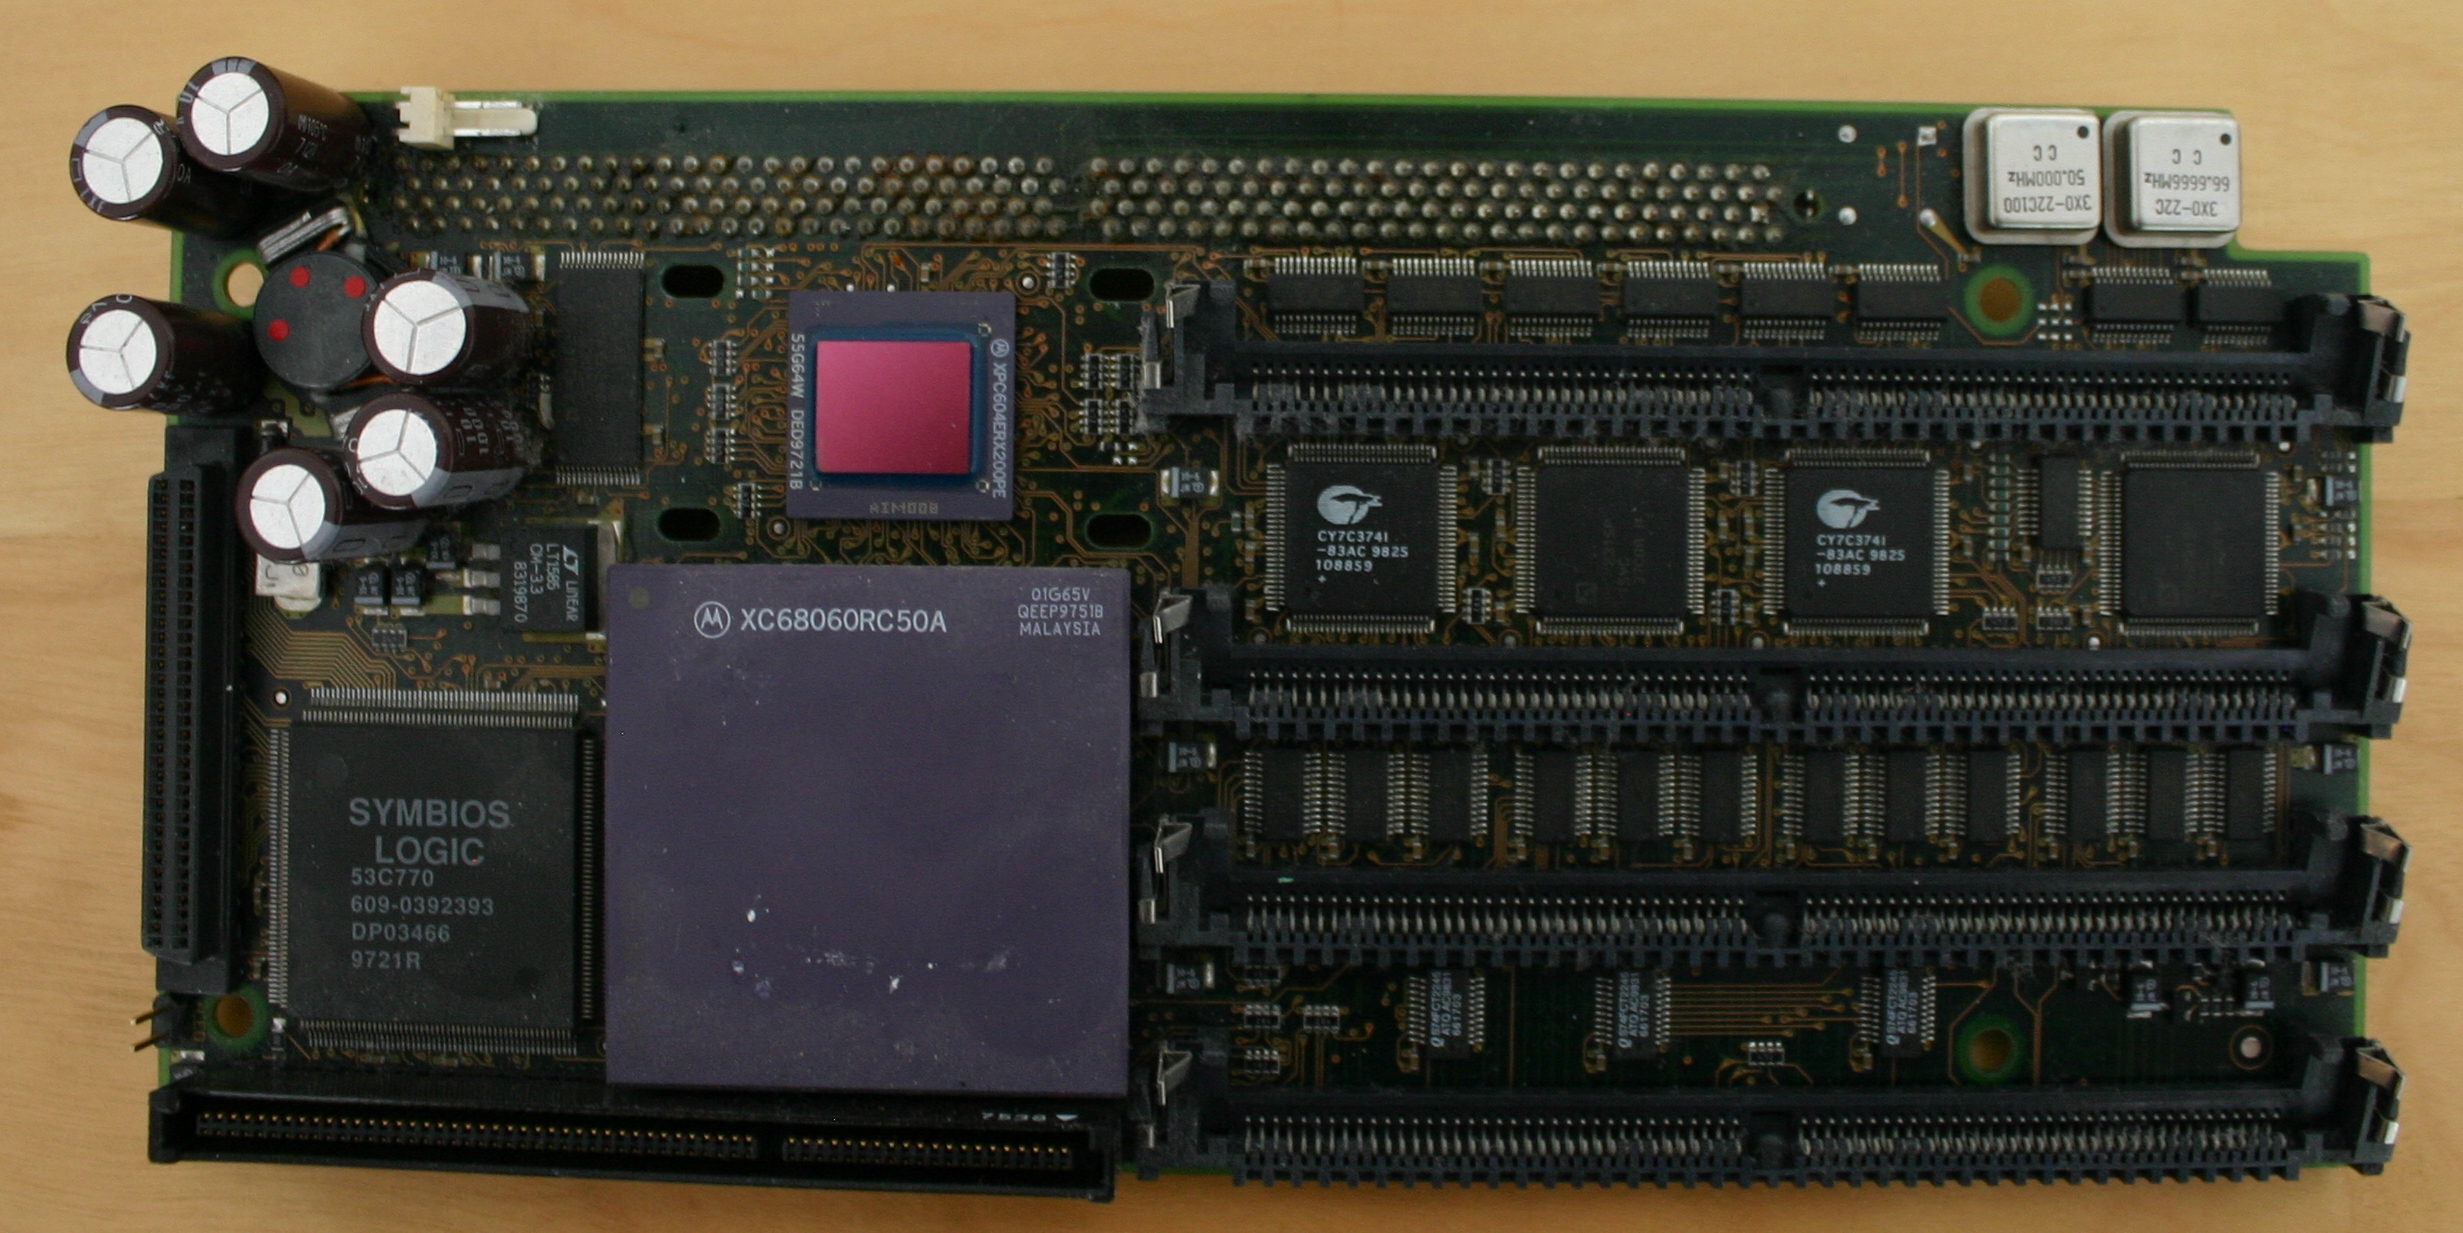 For some reason I didn’t take a picture of mounting a heatsink on the 68060 cpu. I used an old heatsink from a 80486 cpu, added compound paste, wiped off the corners and used LocTite glue on those corners. I also added some paste to the PPC CPU before reattaching the heatsink and it’s fan.
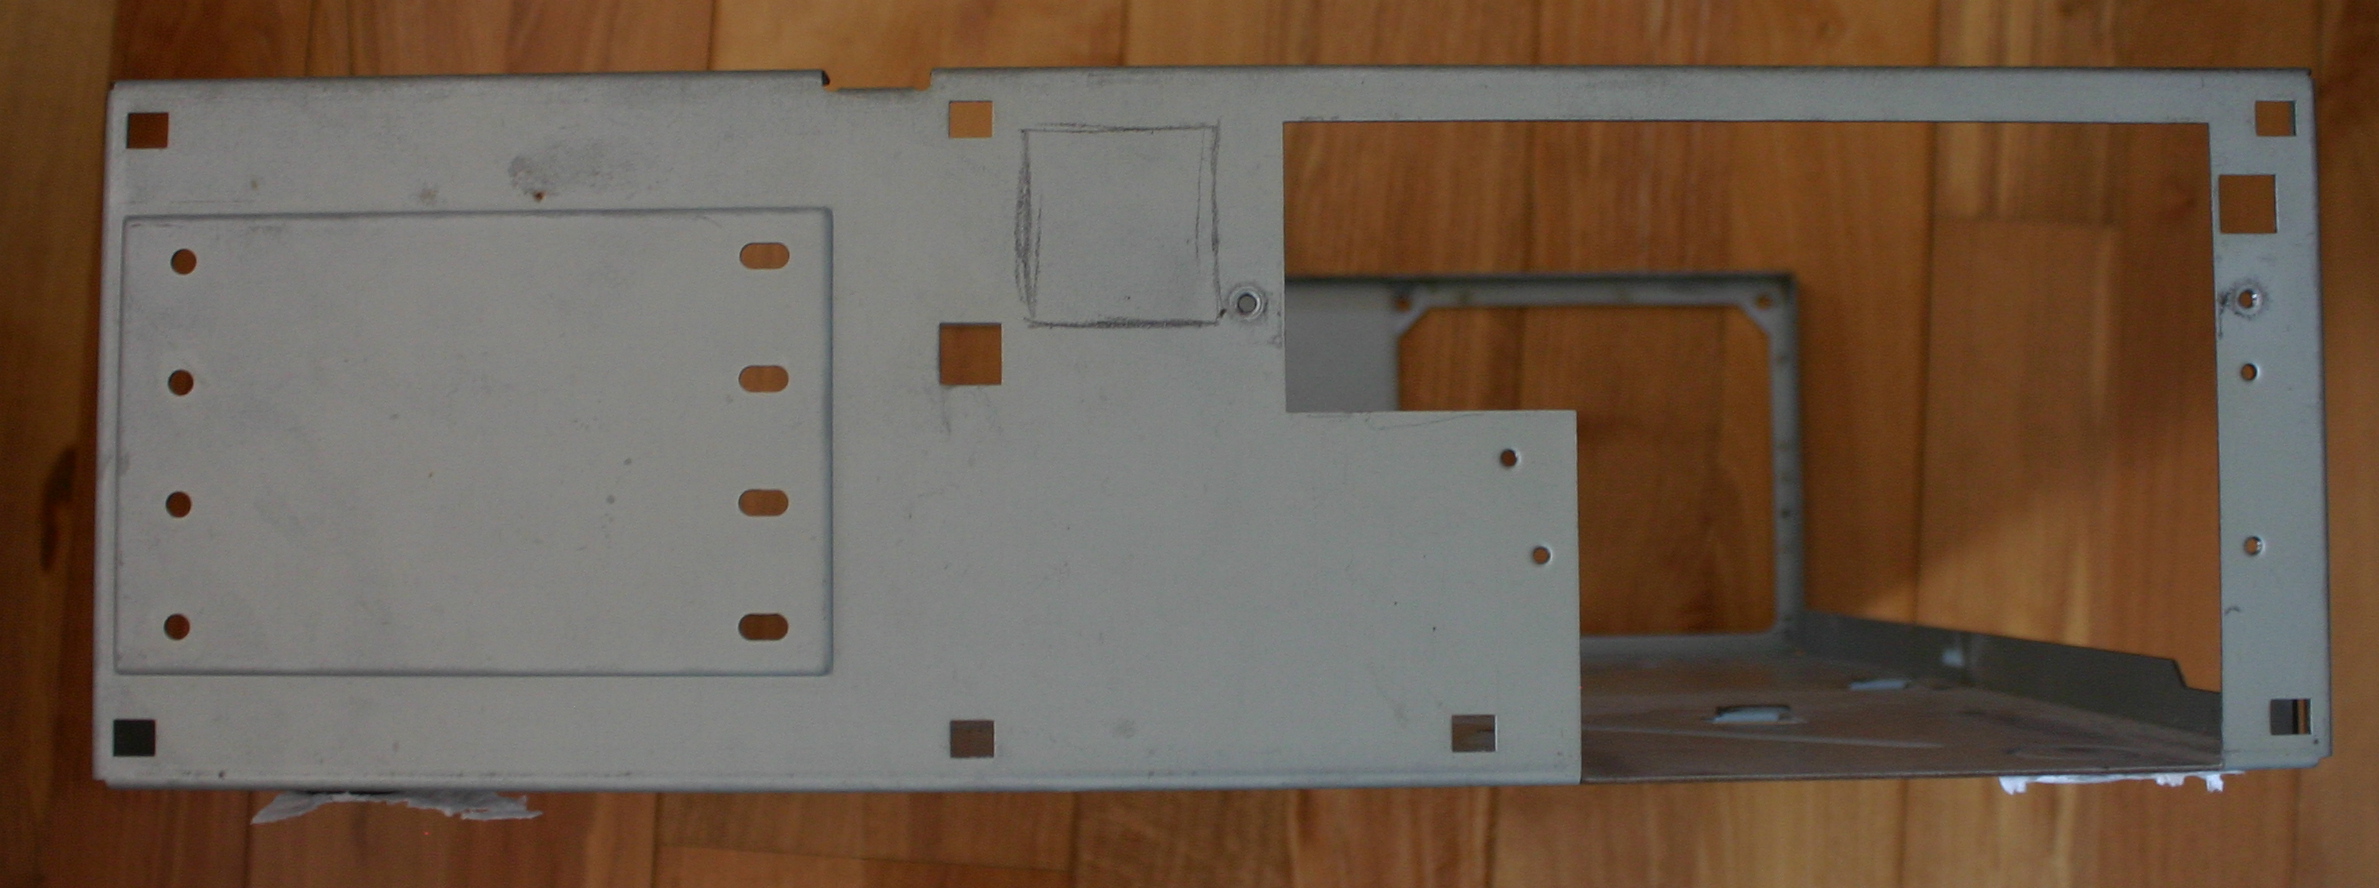
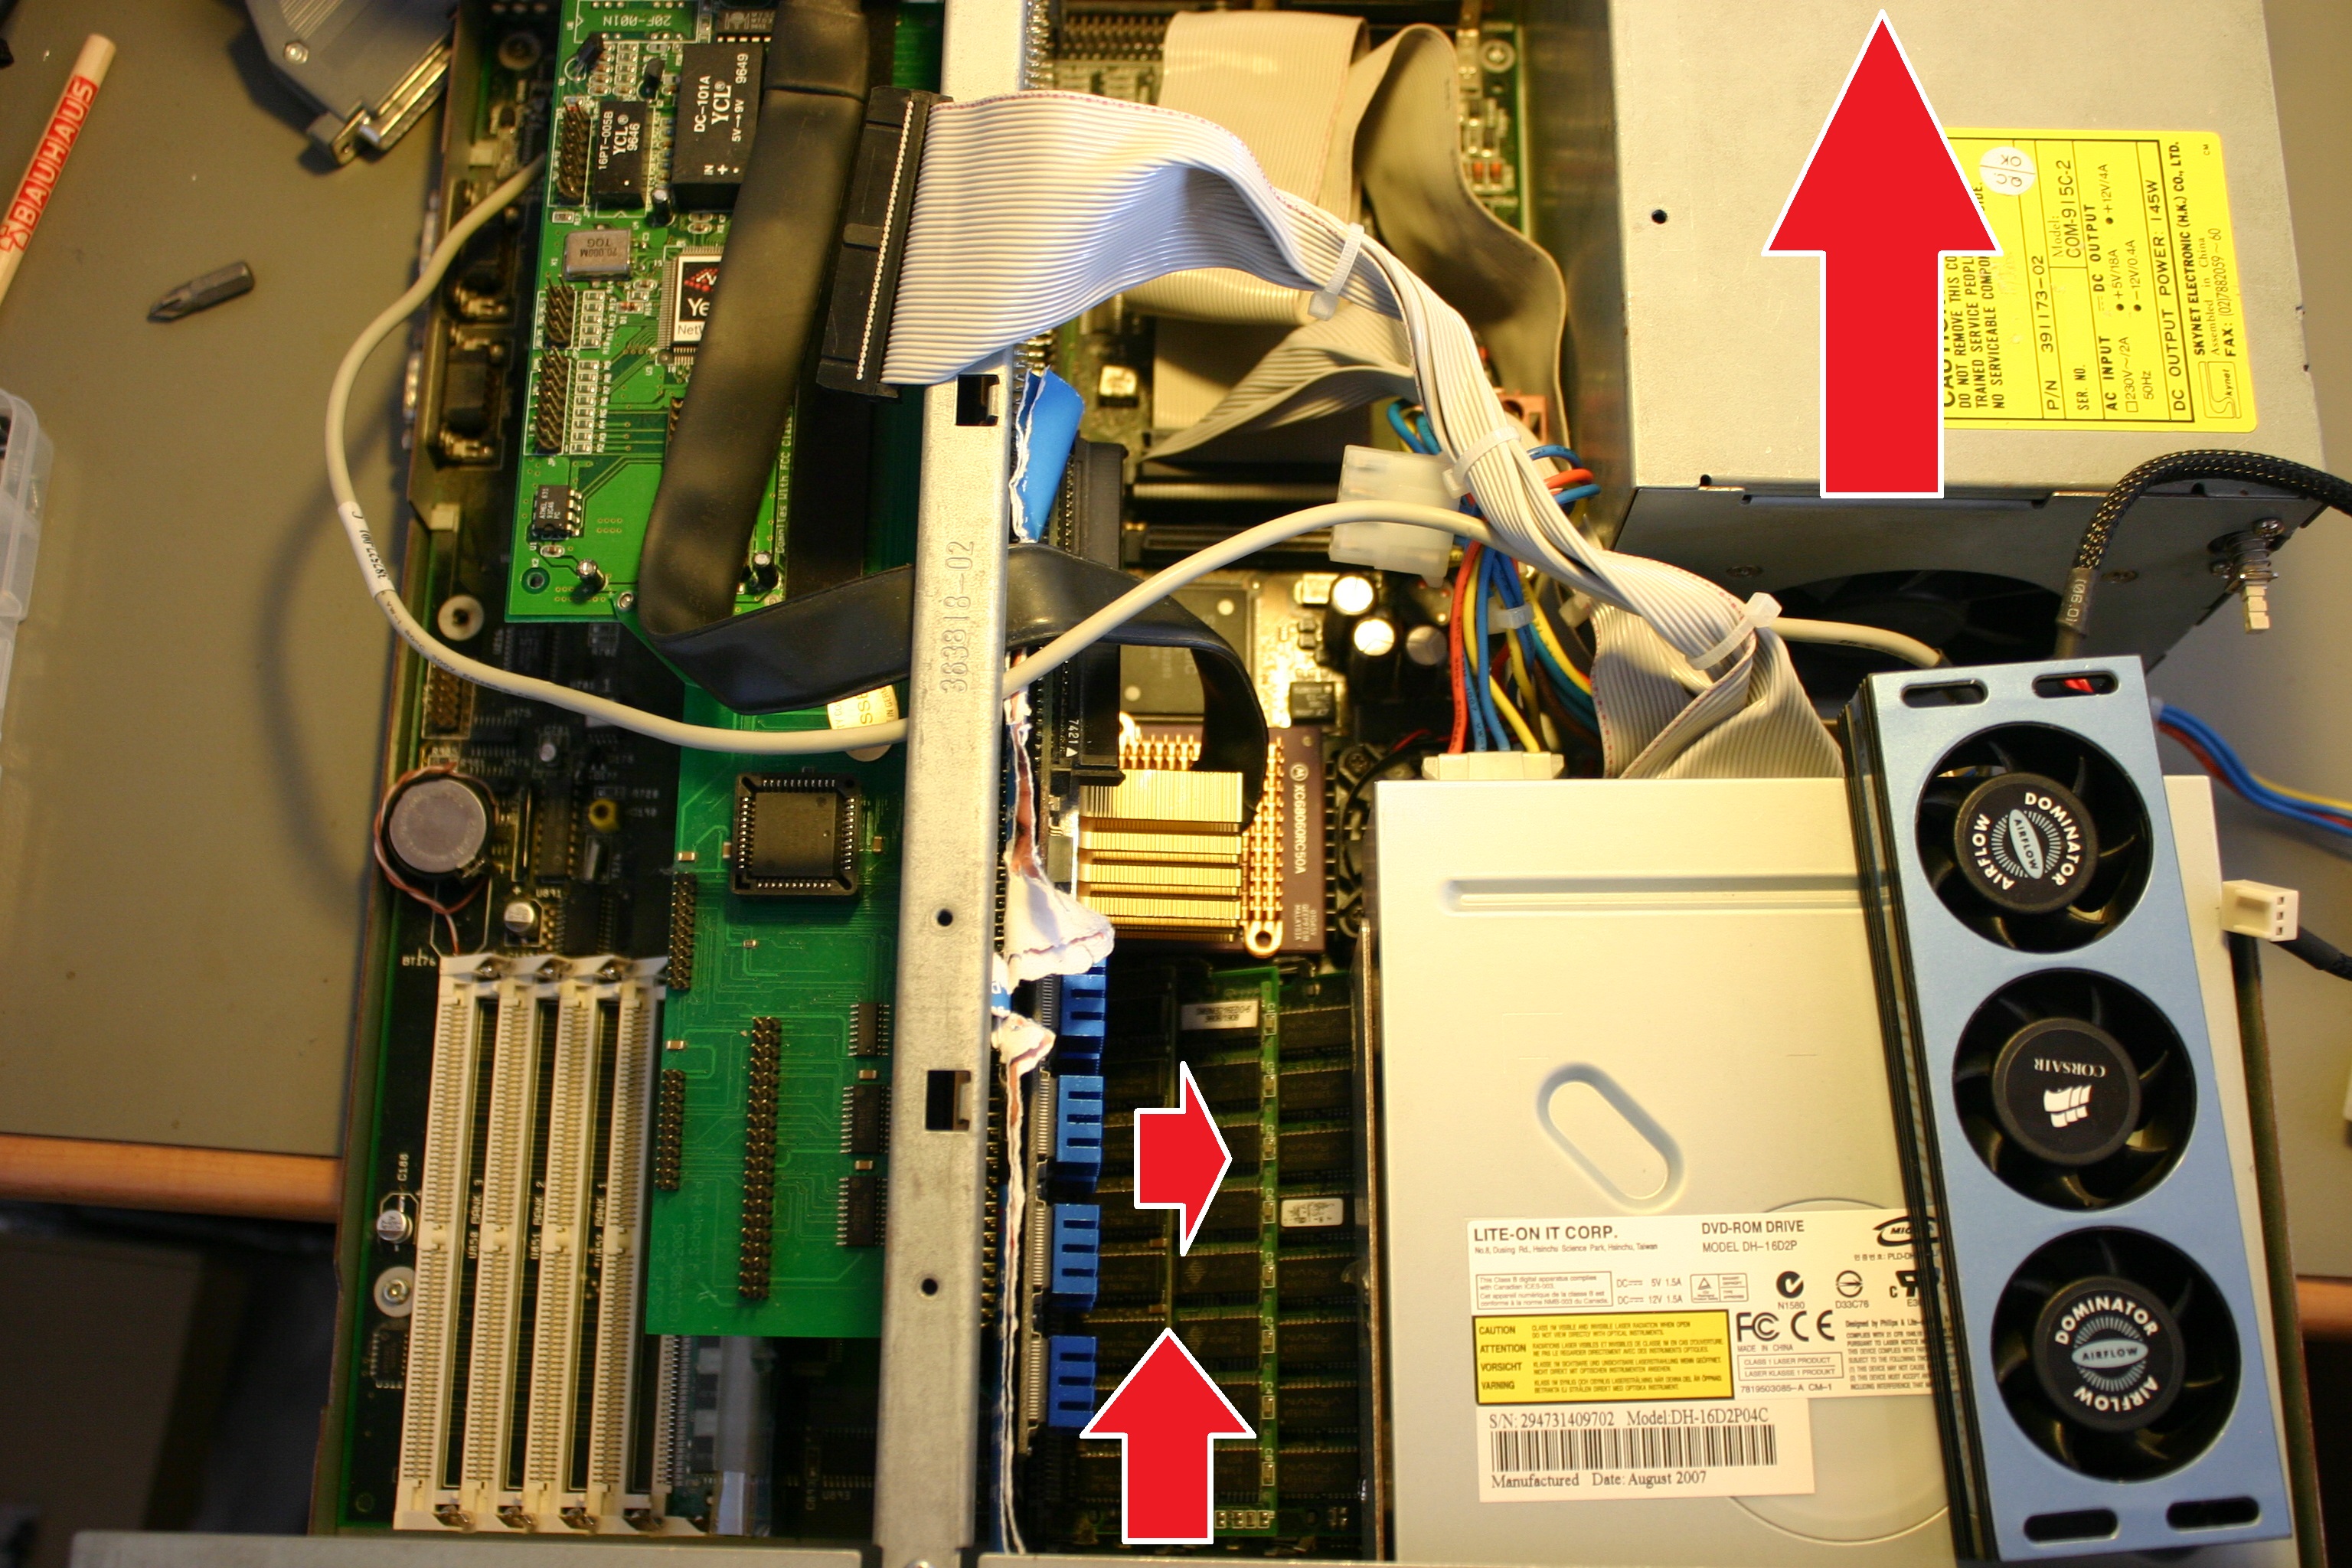 I had a stick of fans from some Corsair ram for my PC, these I soldered a molex connector and gave it 7v (using 5v as ground and 12v as reference). The flow of air is marked with the arrows. In through the front, down on the Cyberstorm ram (you might be able to spot the heatsink on the 68060 CPU if you click on the image to see the full size), and out through the PSU.
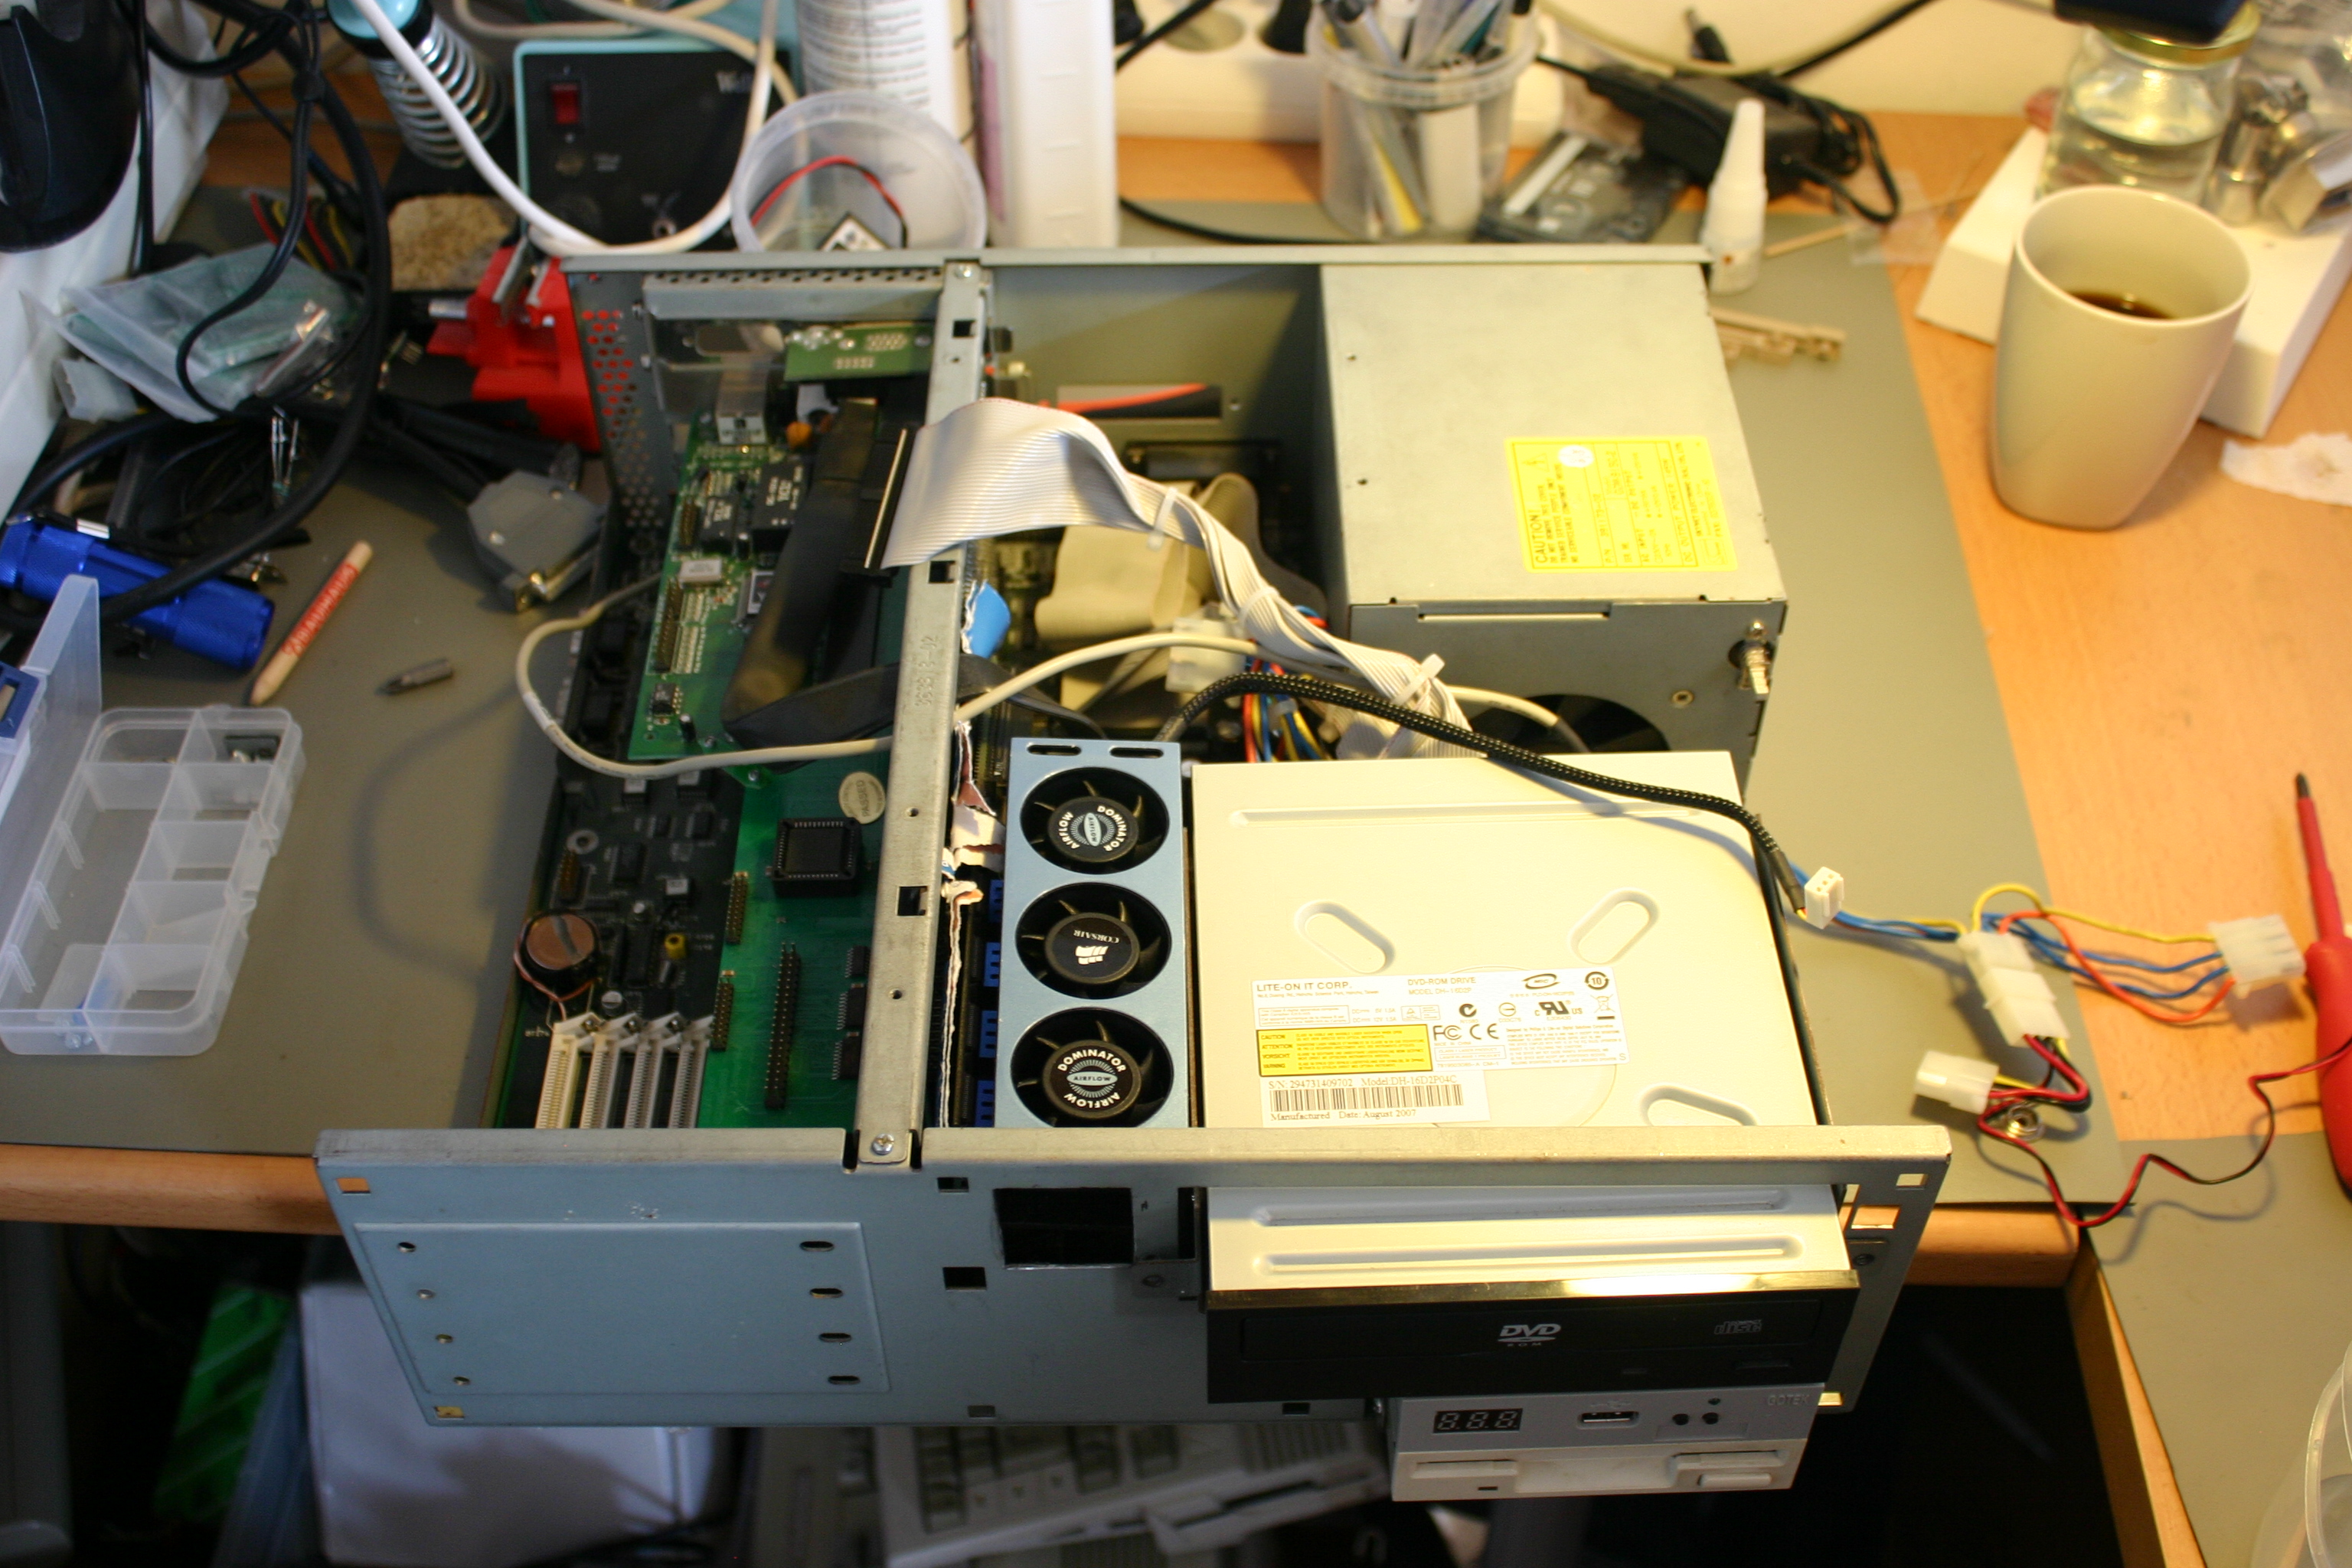 The (almost) finished project. It’s not perfect, but it works pretty well. I’m still looking for a better way to attach the ram coolers, acryllic glass comes to mind. After several hours of usage the enclosure is now still cool to the touch, only the area around the PSU is warm, but not as warm as it was before.