 Thanks to Microtop/Starion, an Italian C16 box is now added.
C16 Italian 3D box
Reply
Thanks to Microtop/Starion, an Italian C16 box is now added.
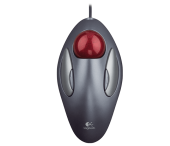 I wanted to see if any new trackballs still work with the Amiga, finding the Trackman Marble‘s specs it does say USB/PS/2 protocols.
So today I picked up this nice trackball. I plugged it into my Jerry+ adapter which takes PS/2 protocol mice (and trackballs) it worked perfectly. It didn’t come with a USB to PS/2 adapter, but I don’t need that for the Jerry adapter.
The Trackman Marble runs at a nice speed, and if you get used to using trackballs it’s a good piece of hardware.
The Jerry/Jerry+ adapters are like other standard PS/2 to Amiga adapters, works perfectly. The Jerry adapters has USB interface instead of PS/2 so you don’t need to use the USB to PS/2 adapter to use this. I bought my Jerry adapters off a seller on ebay I believe it is this guy. He might also be found on Amibay as well.
The price is really becoming for ~$30 as referenced on the Logitech website.
Below in the video I show the trackman in use. Though a little handicapped with the camera in one hand and trying to show the trackball together with the monitor in the other hand.
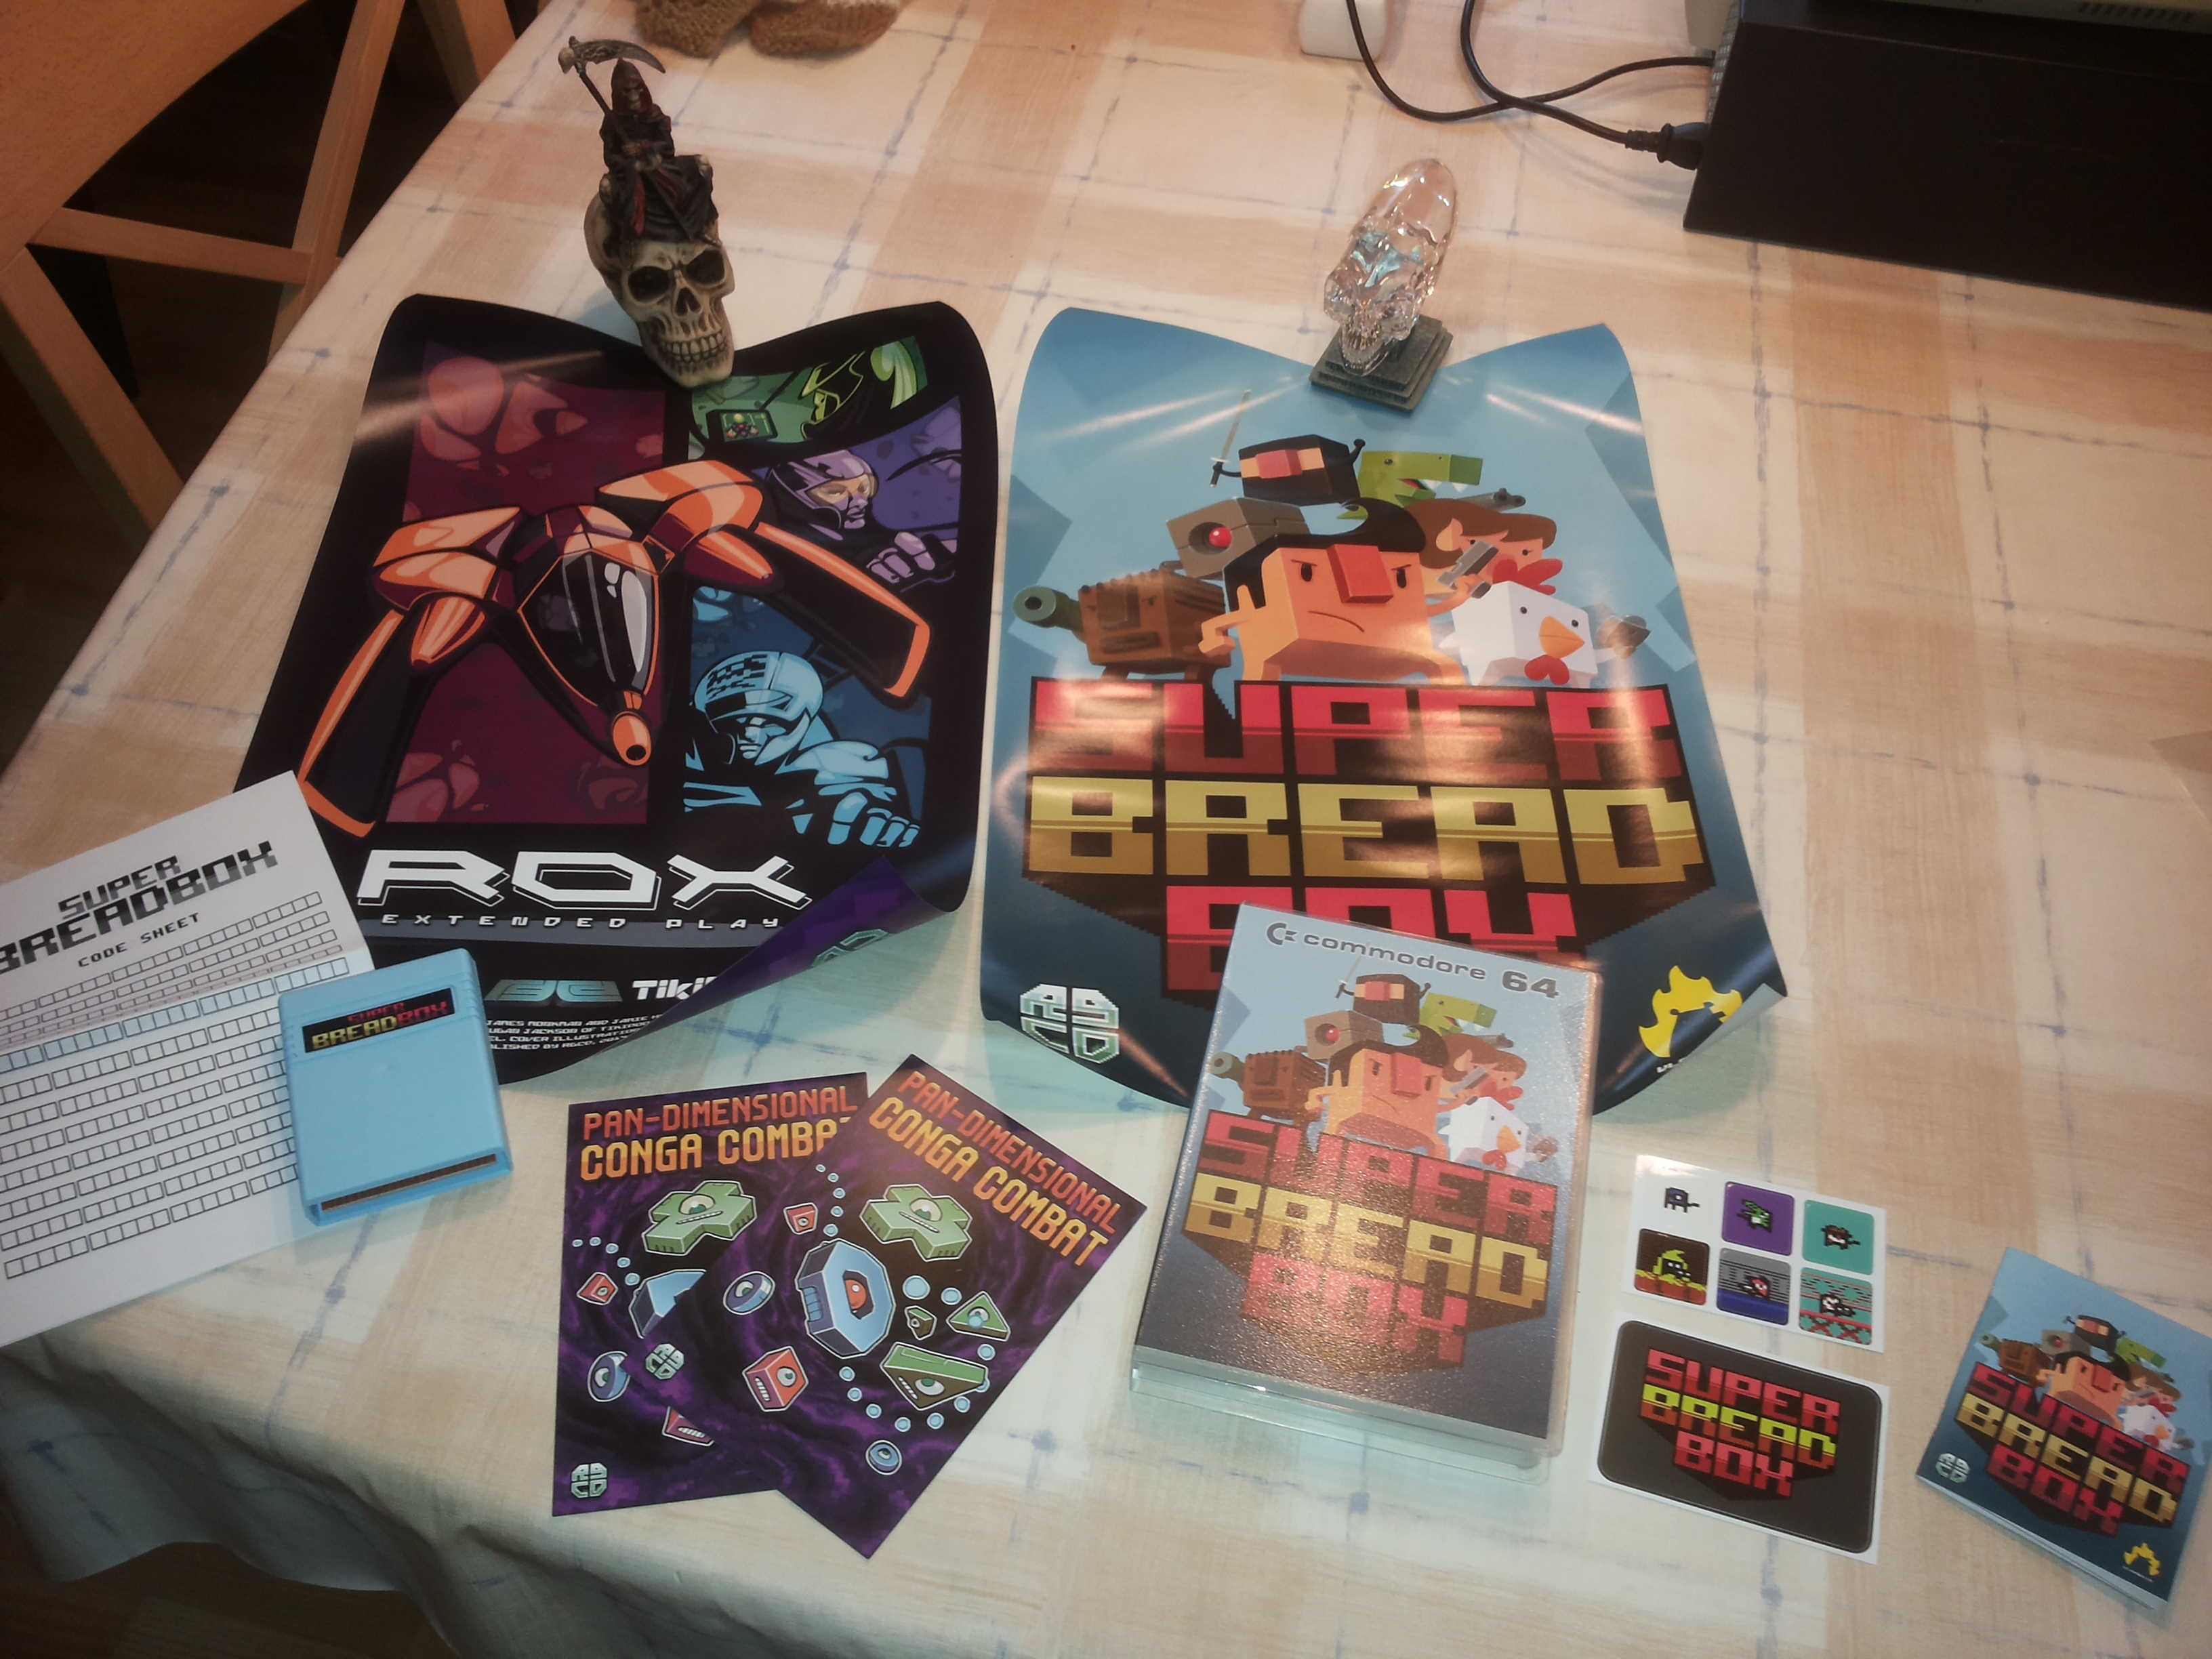
The skulls didn’t come with the package.
I’m dumping quite a lot of disks in different formats. For that I’m using the Kryoflux, but quite often are the disks dirty, and the dirt gets stuck to the read head of the drive.
I’ve shown how to clean a 5 1/4″ diskette before. And how to clean a Commodore 1541-II drive (the other models are quite similar).
The PC diskettedrives are no different, but to be honest they aren’t as easy accessible to clean when inside an enclosure as the stand alone commodore drives. I found in a forum -at writing hour I cannot find the reference again, sorry, I think it was vintage museum forum- how to make a cleaning disk yourself.
I’ve tested this method myself and very happy to have my drive cleaned again. One of the heads were dirty, real dirty, nothing could be read from the disks I tried.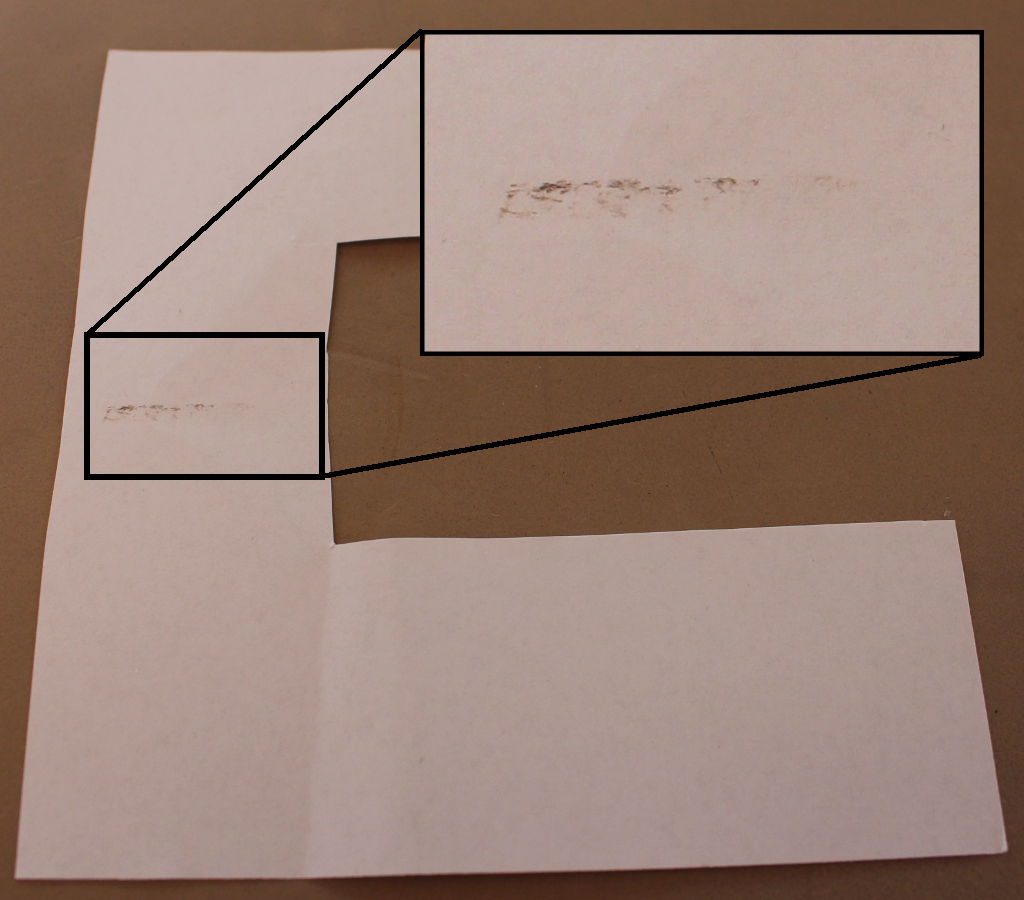 Just look how much filth I removed using my first inlay. Now here’s how to do it.
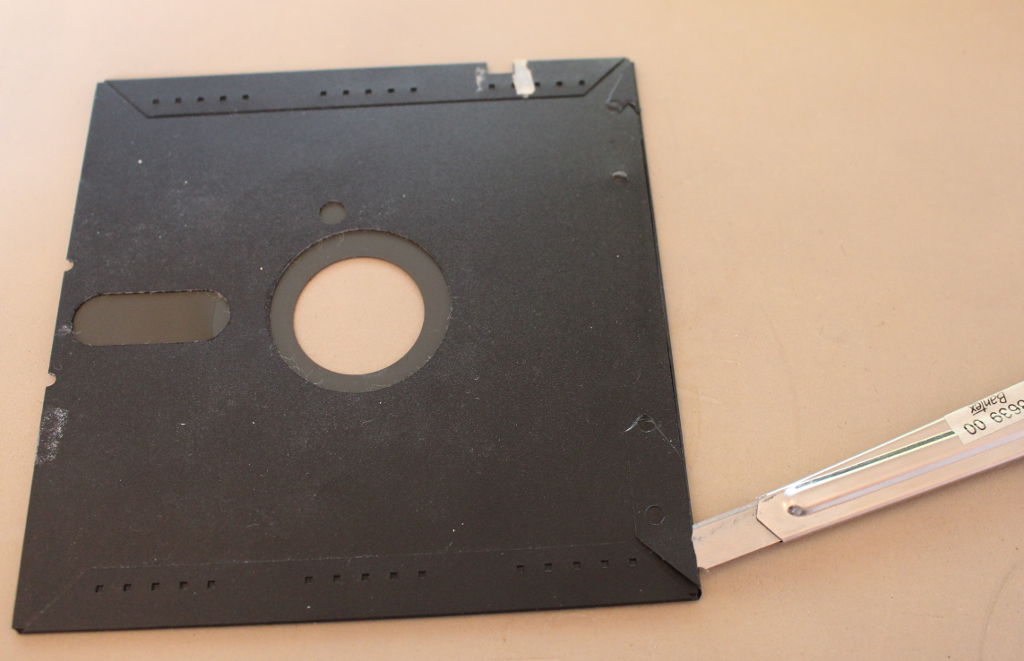 Take a disk and gently cut open the back. I recommend you take an already defective disk.
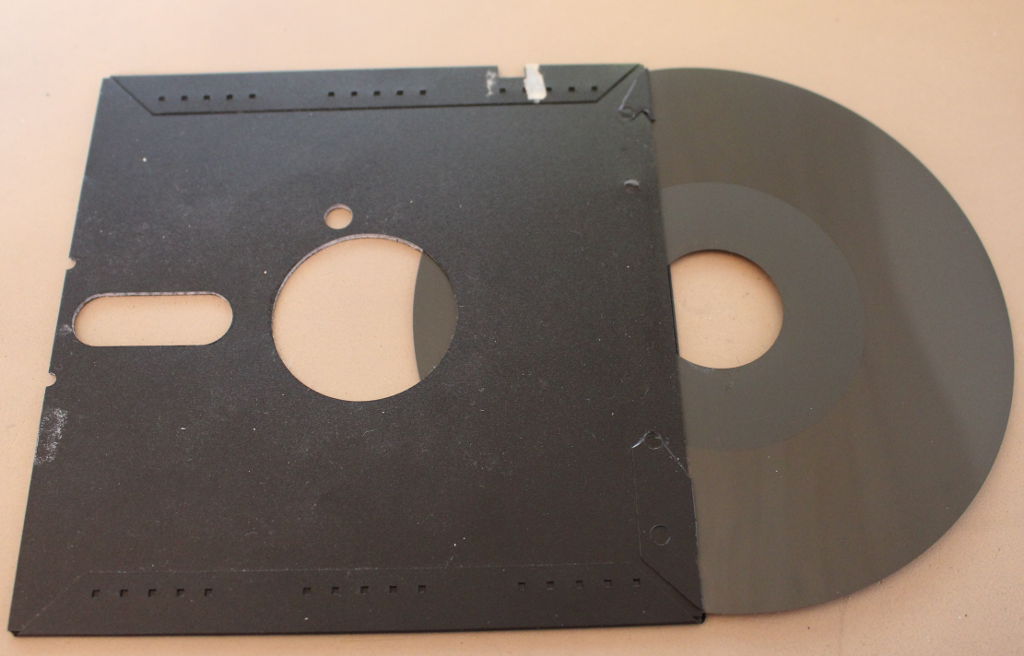 Pull out the magnetic disc.
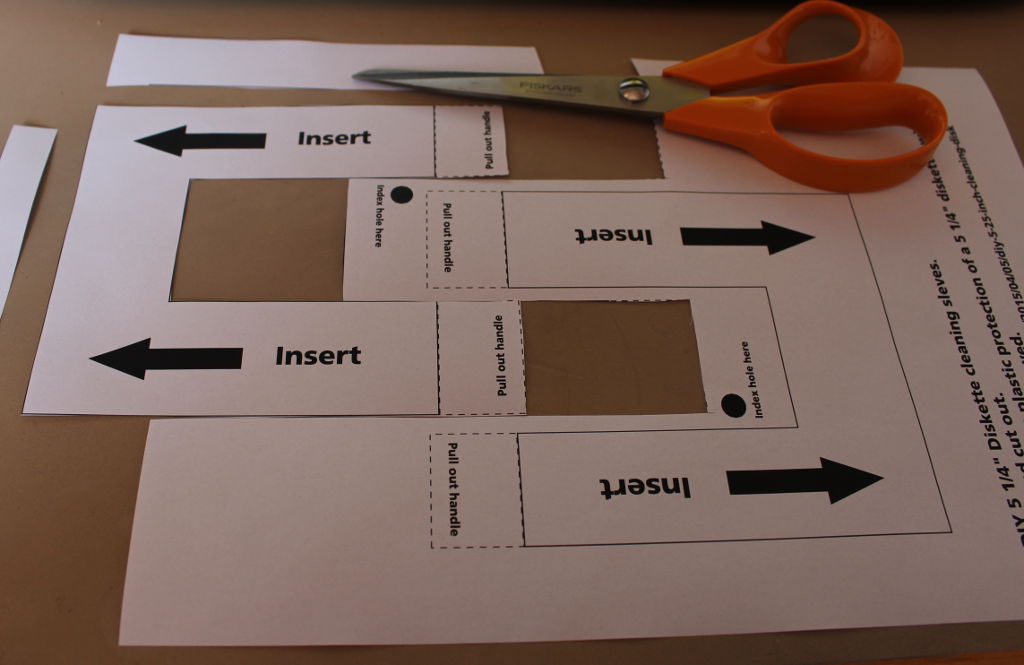 Print out the template (download link below), or you can make your own. You can use regular printing paper for this. Alternatively you can use coffee filters (don’t print on these).
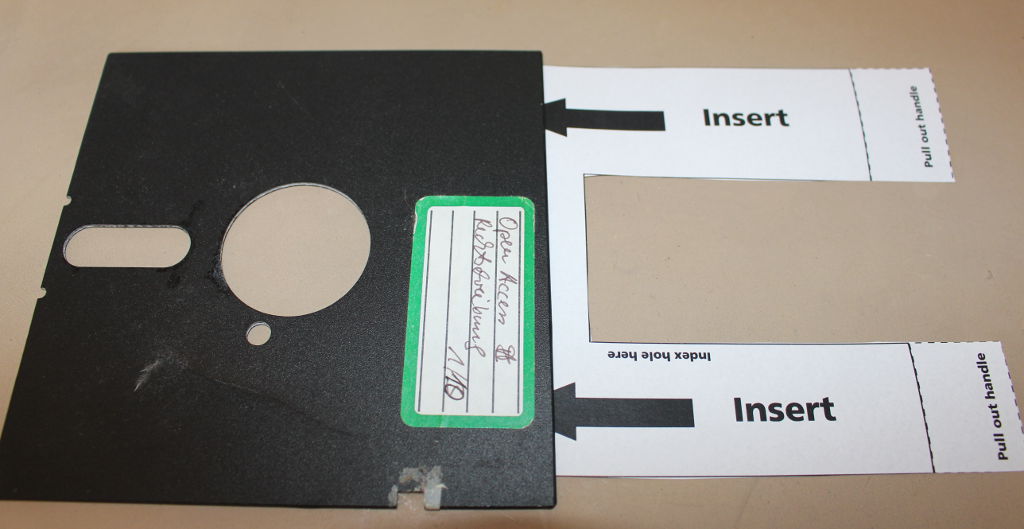
Insert the new inlay into the disk.
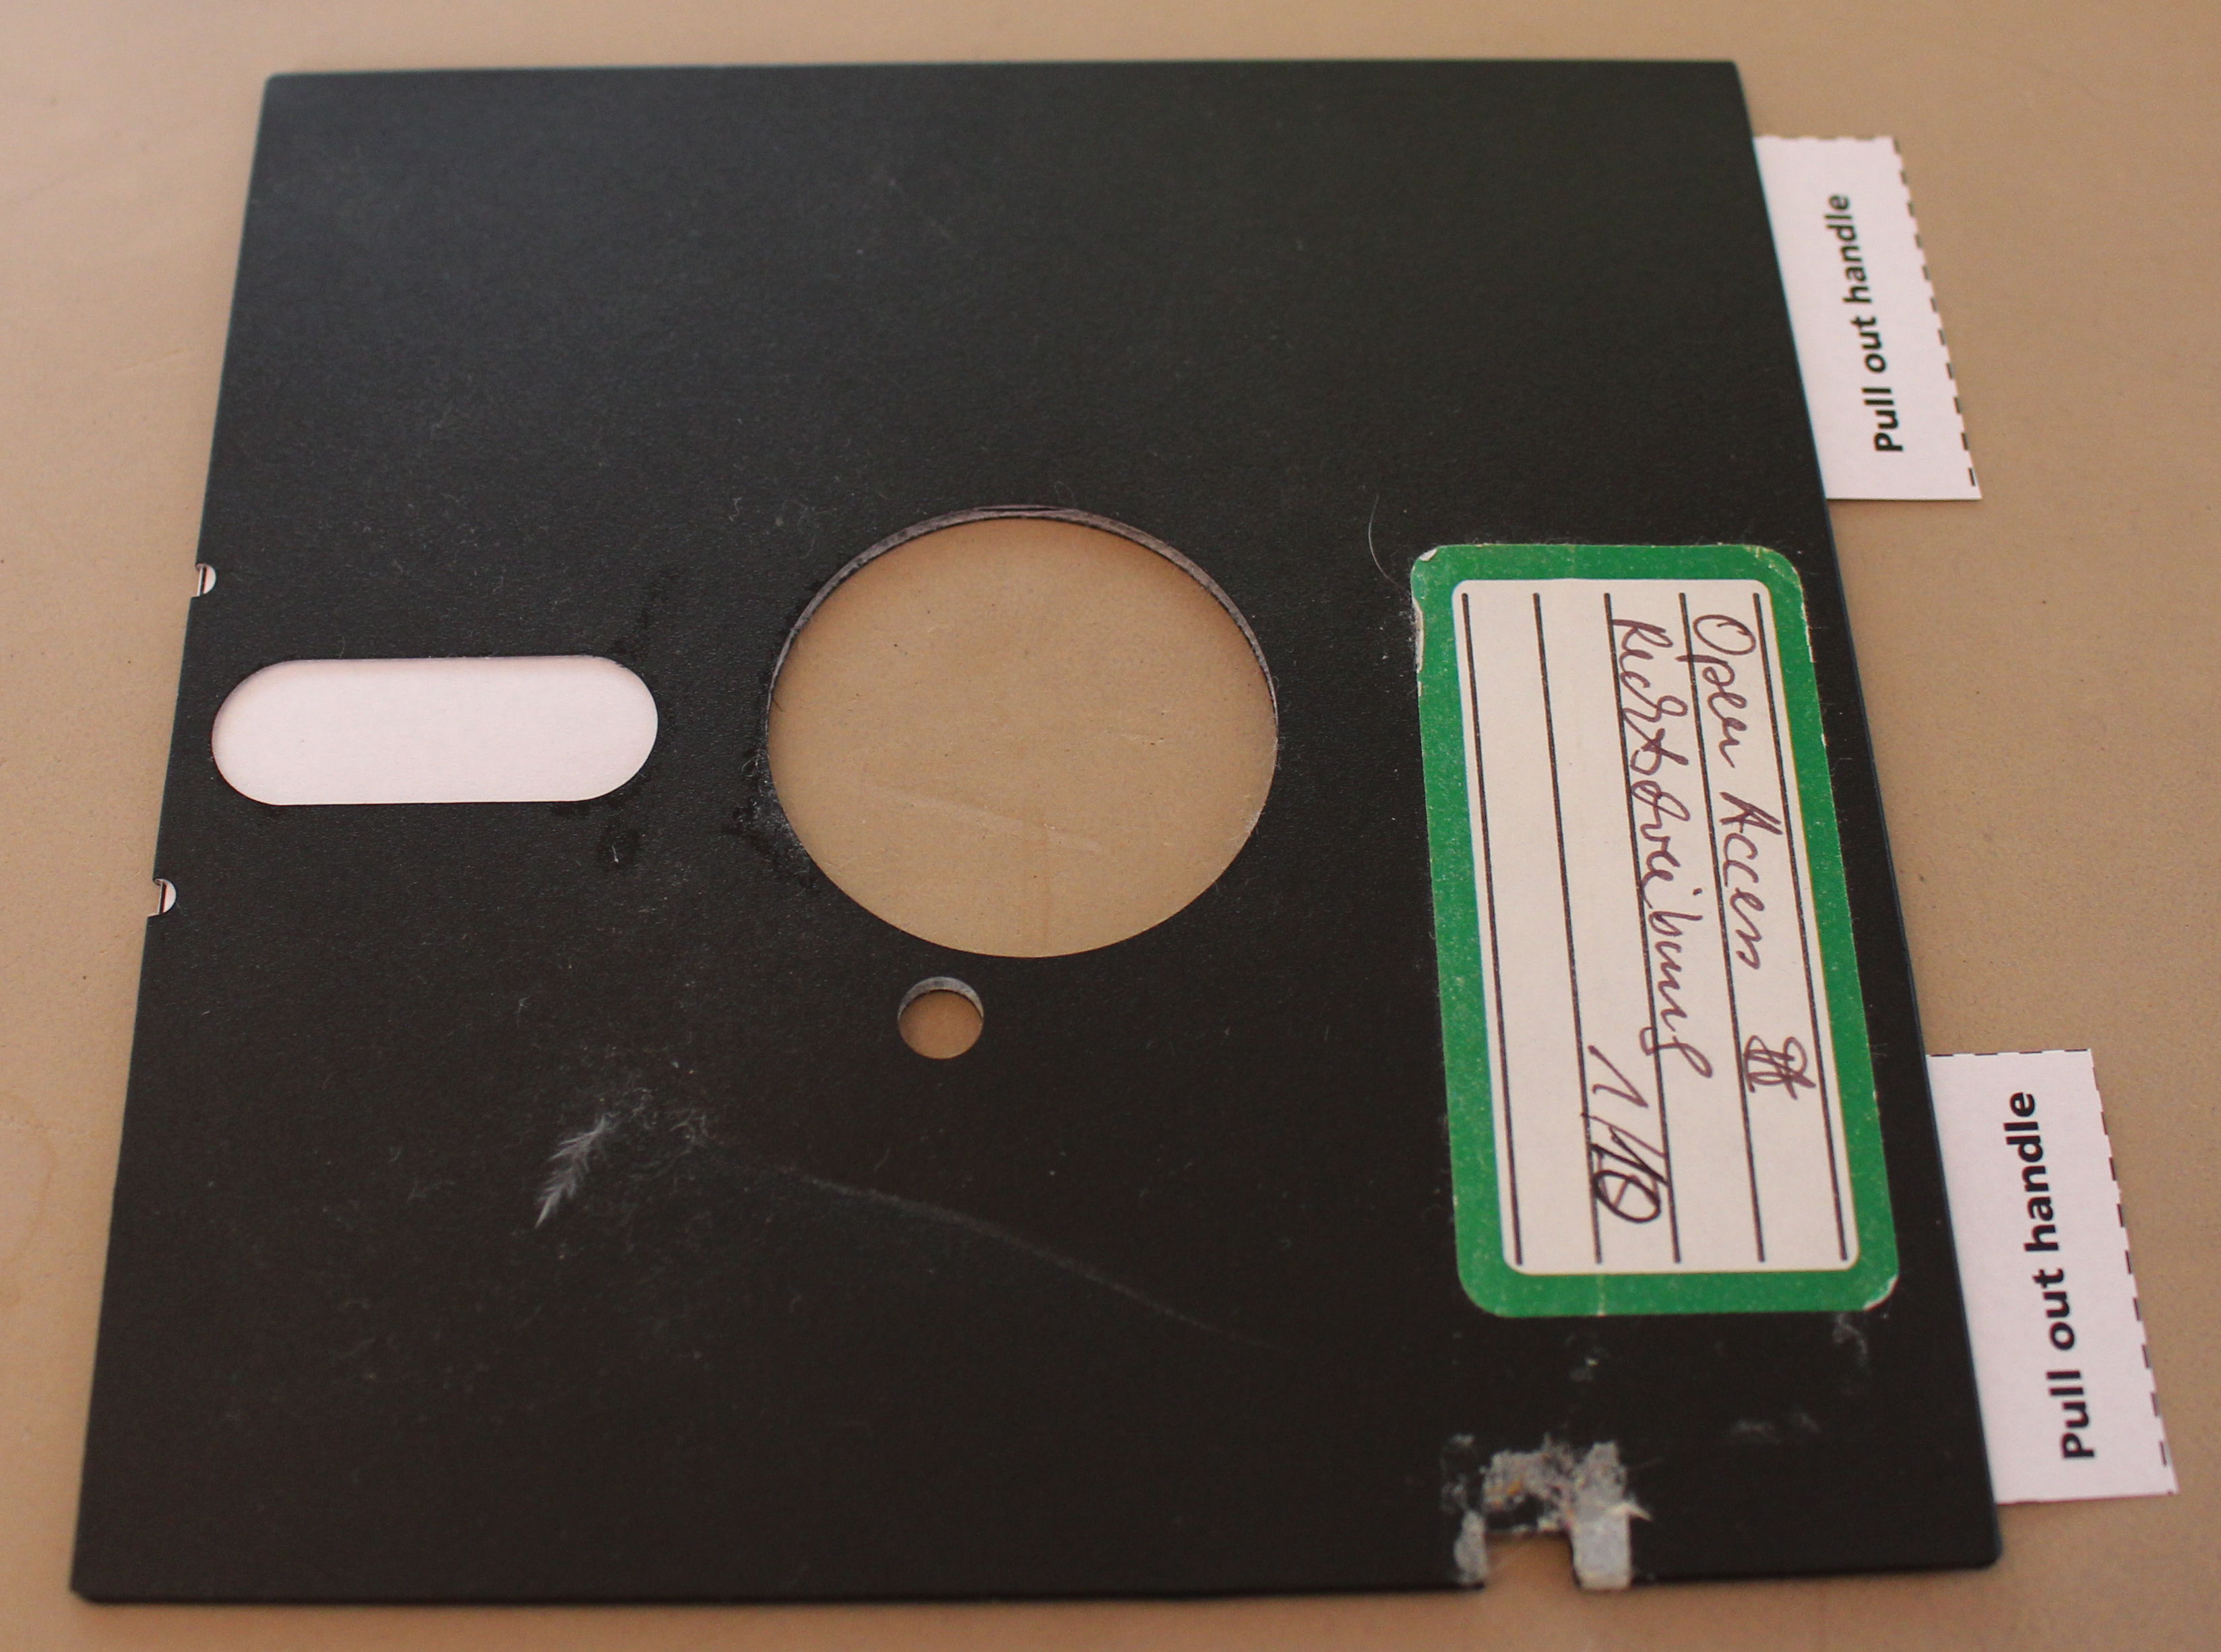 Make sure the rotation hole is clear, else the spinning might tear up the paper.
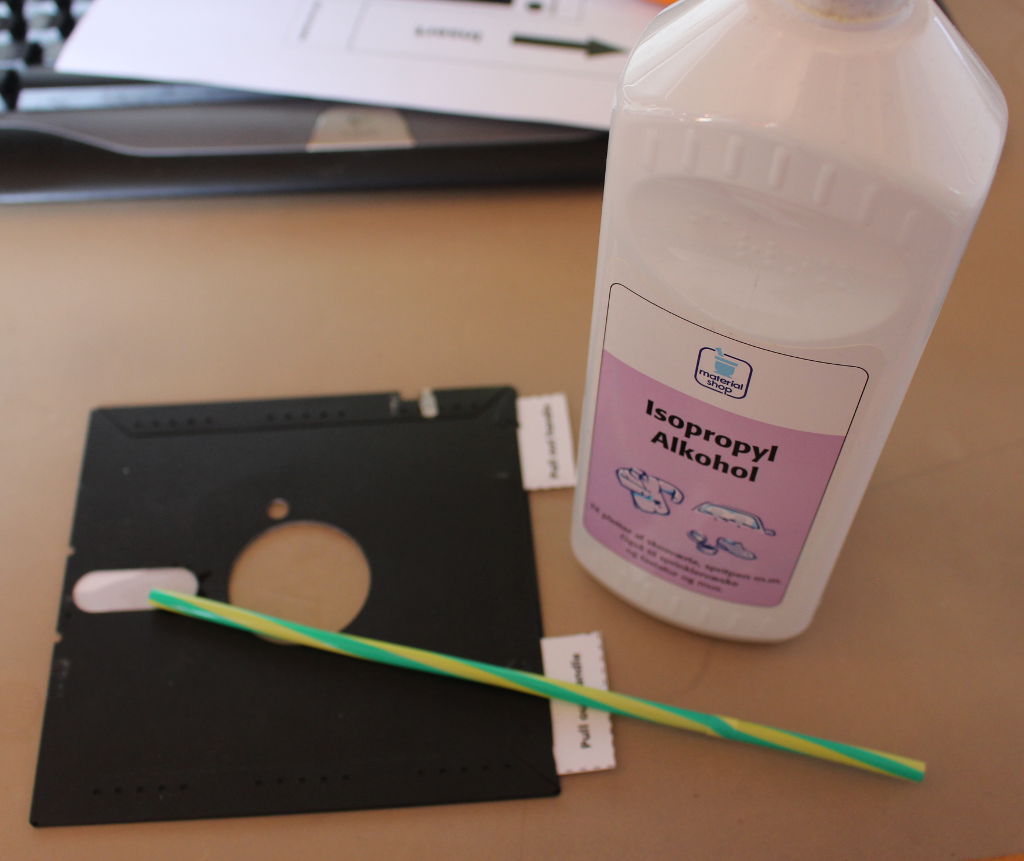 I’m using a straw as a pipette, a few drops of isopropylalcohol on the paper where the drive heads read the disk.
Insert the disk into the drive and close the lock. Make the drive work it’s head back and forth. If the disk drive is connected to the computer natively you can do a directory listing, or a disk copy which should move the head back and forth.
For the kryoflux setup a calibration test is great. Reading from the disk just makes it tell there is no disk in the drive.
I have yet to find an amount of cleanings one can do with these inlays, but depending on the amount of dirt that rubs off, you may want to change them often. I’ve tried 5 cleanings using the same paper, but at one time the paper will break.
Download PDF Template for cleaning disk.
Disclaimer: I take no responsibility if you break your drive using this tip. It worked for me, but might not work for you.
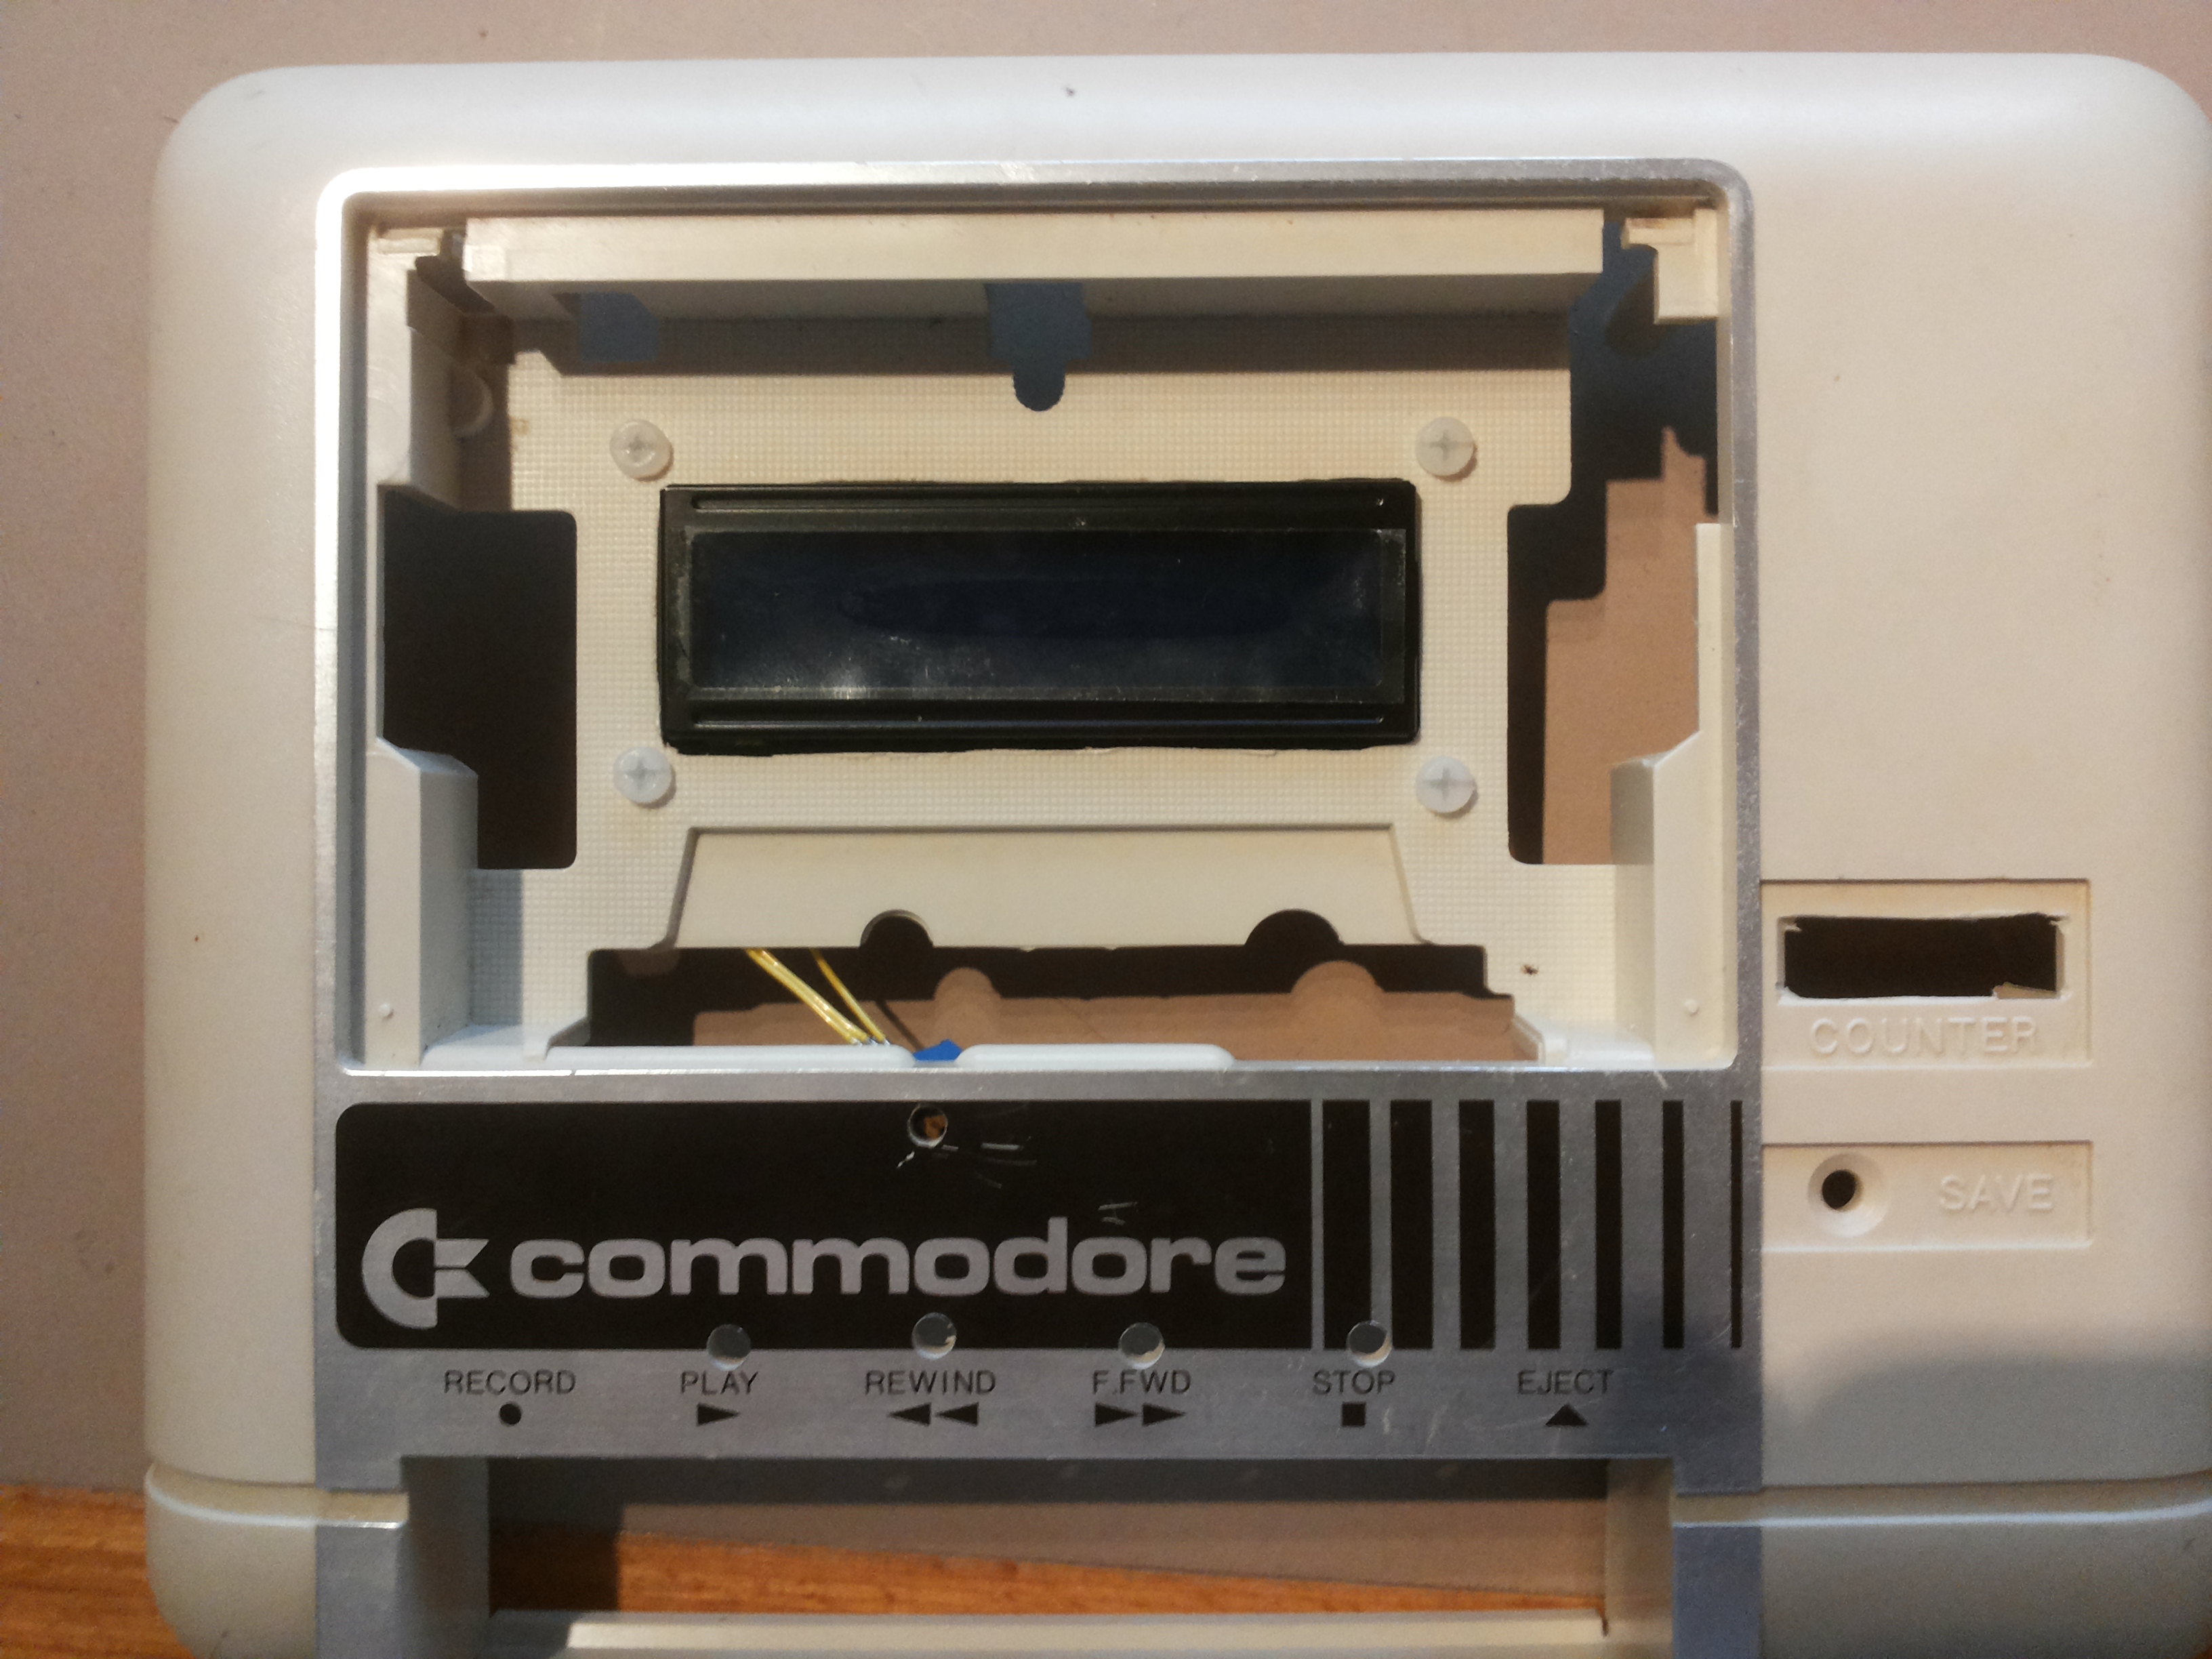
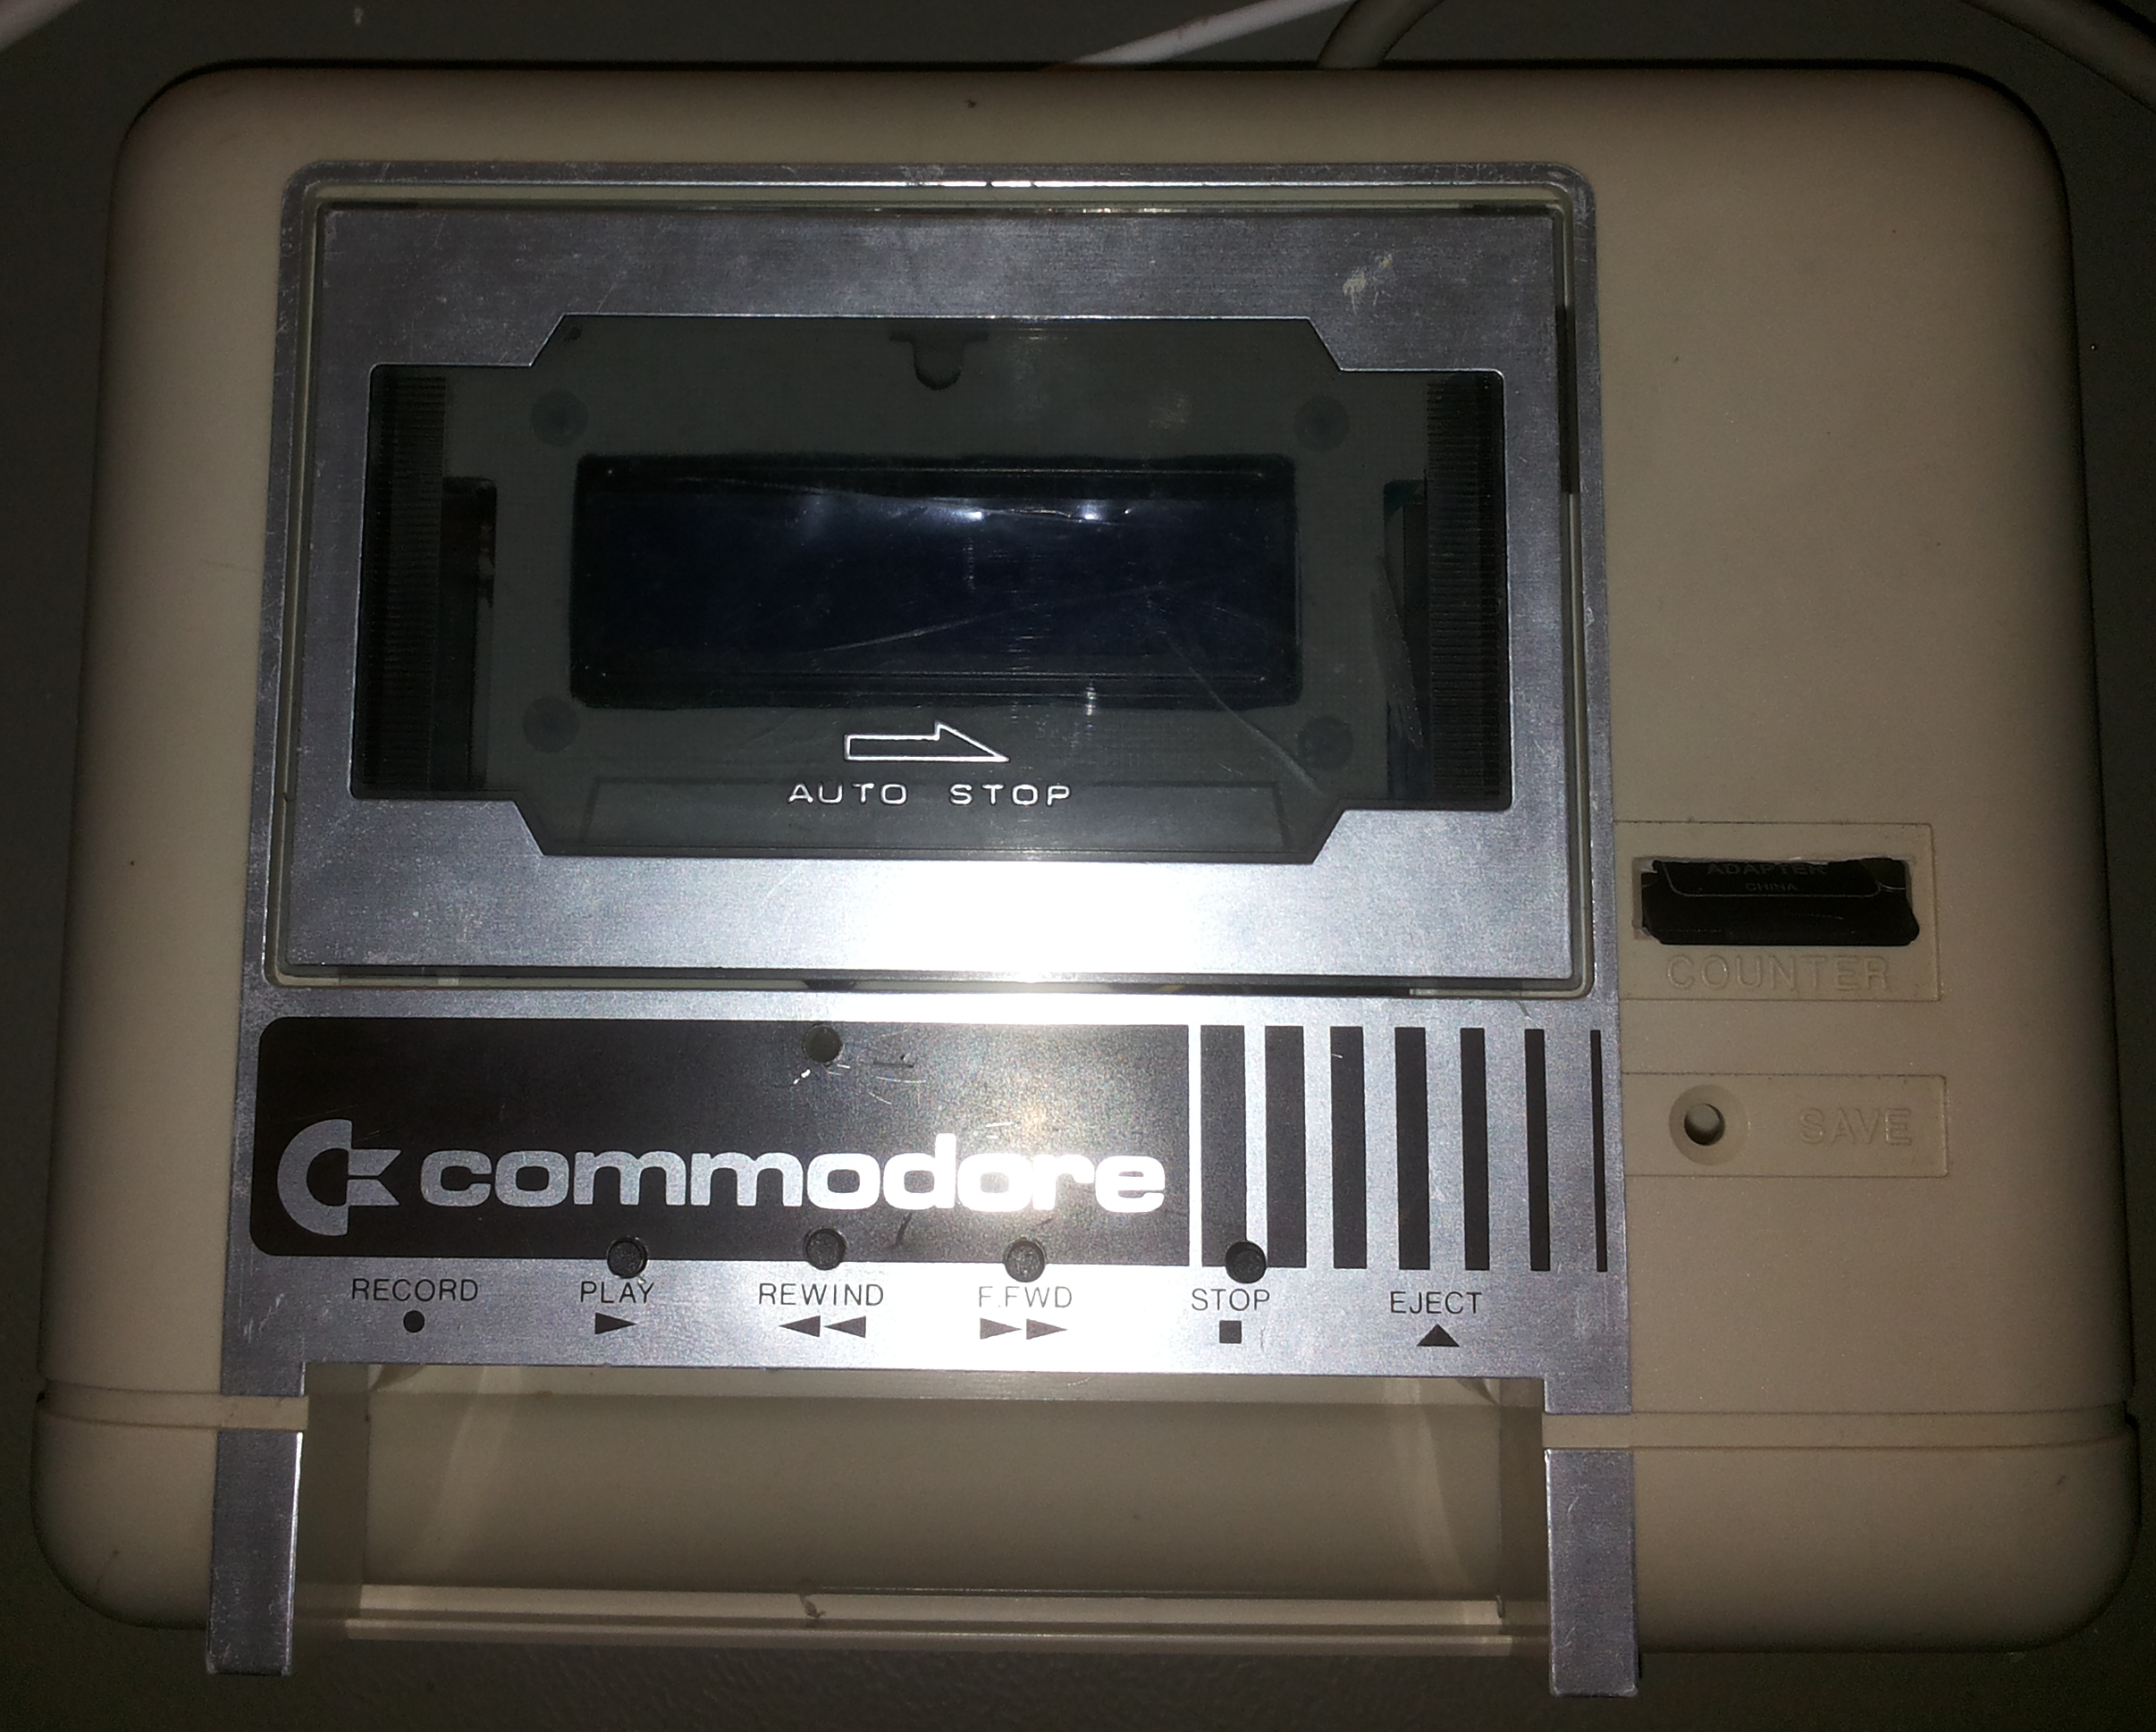
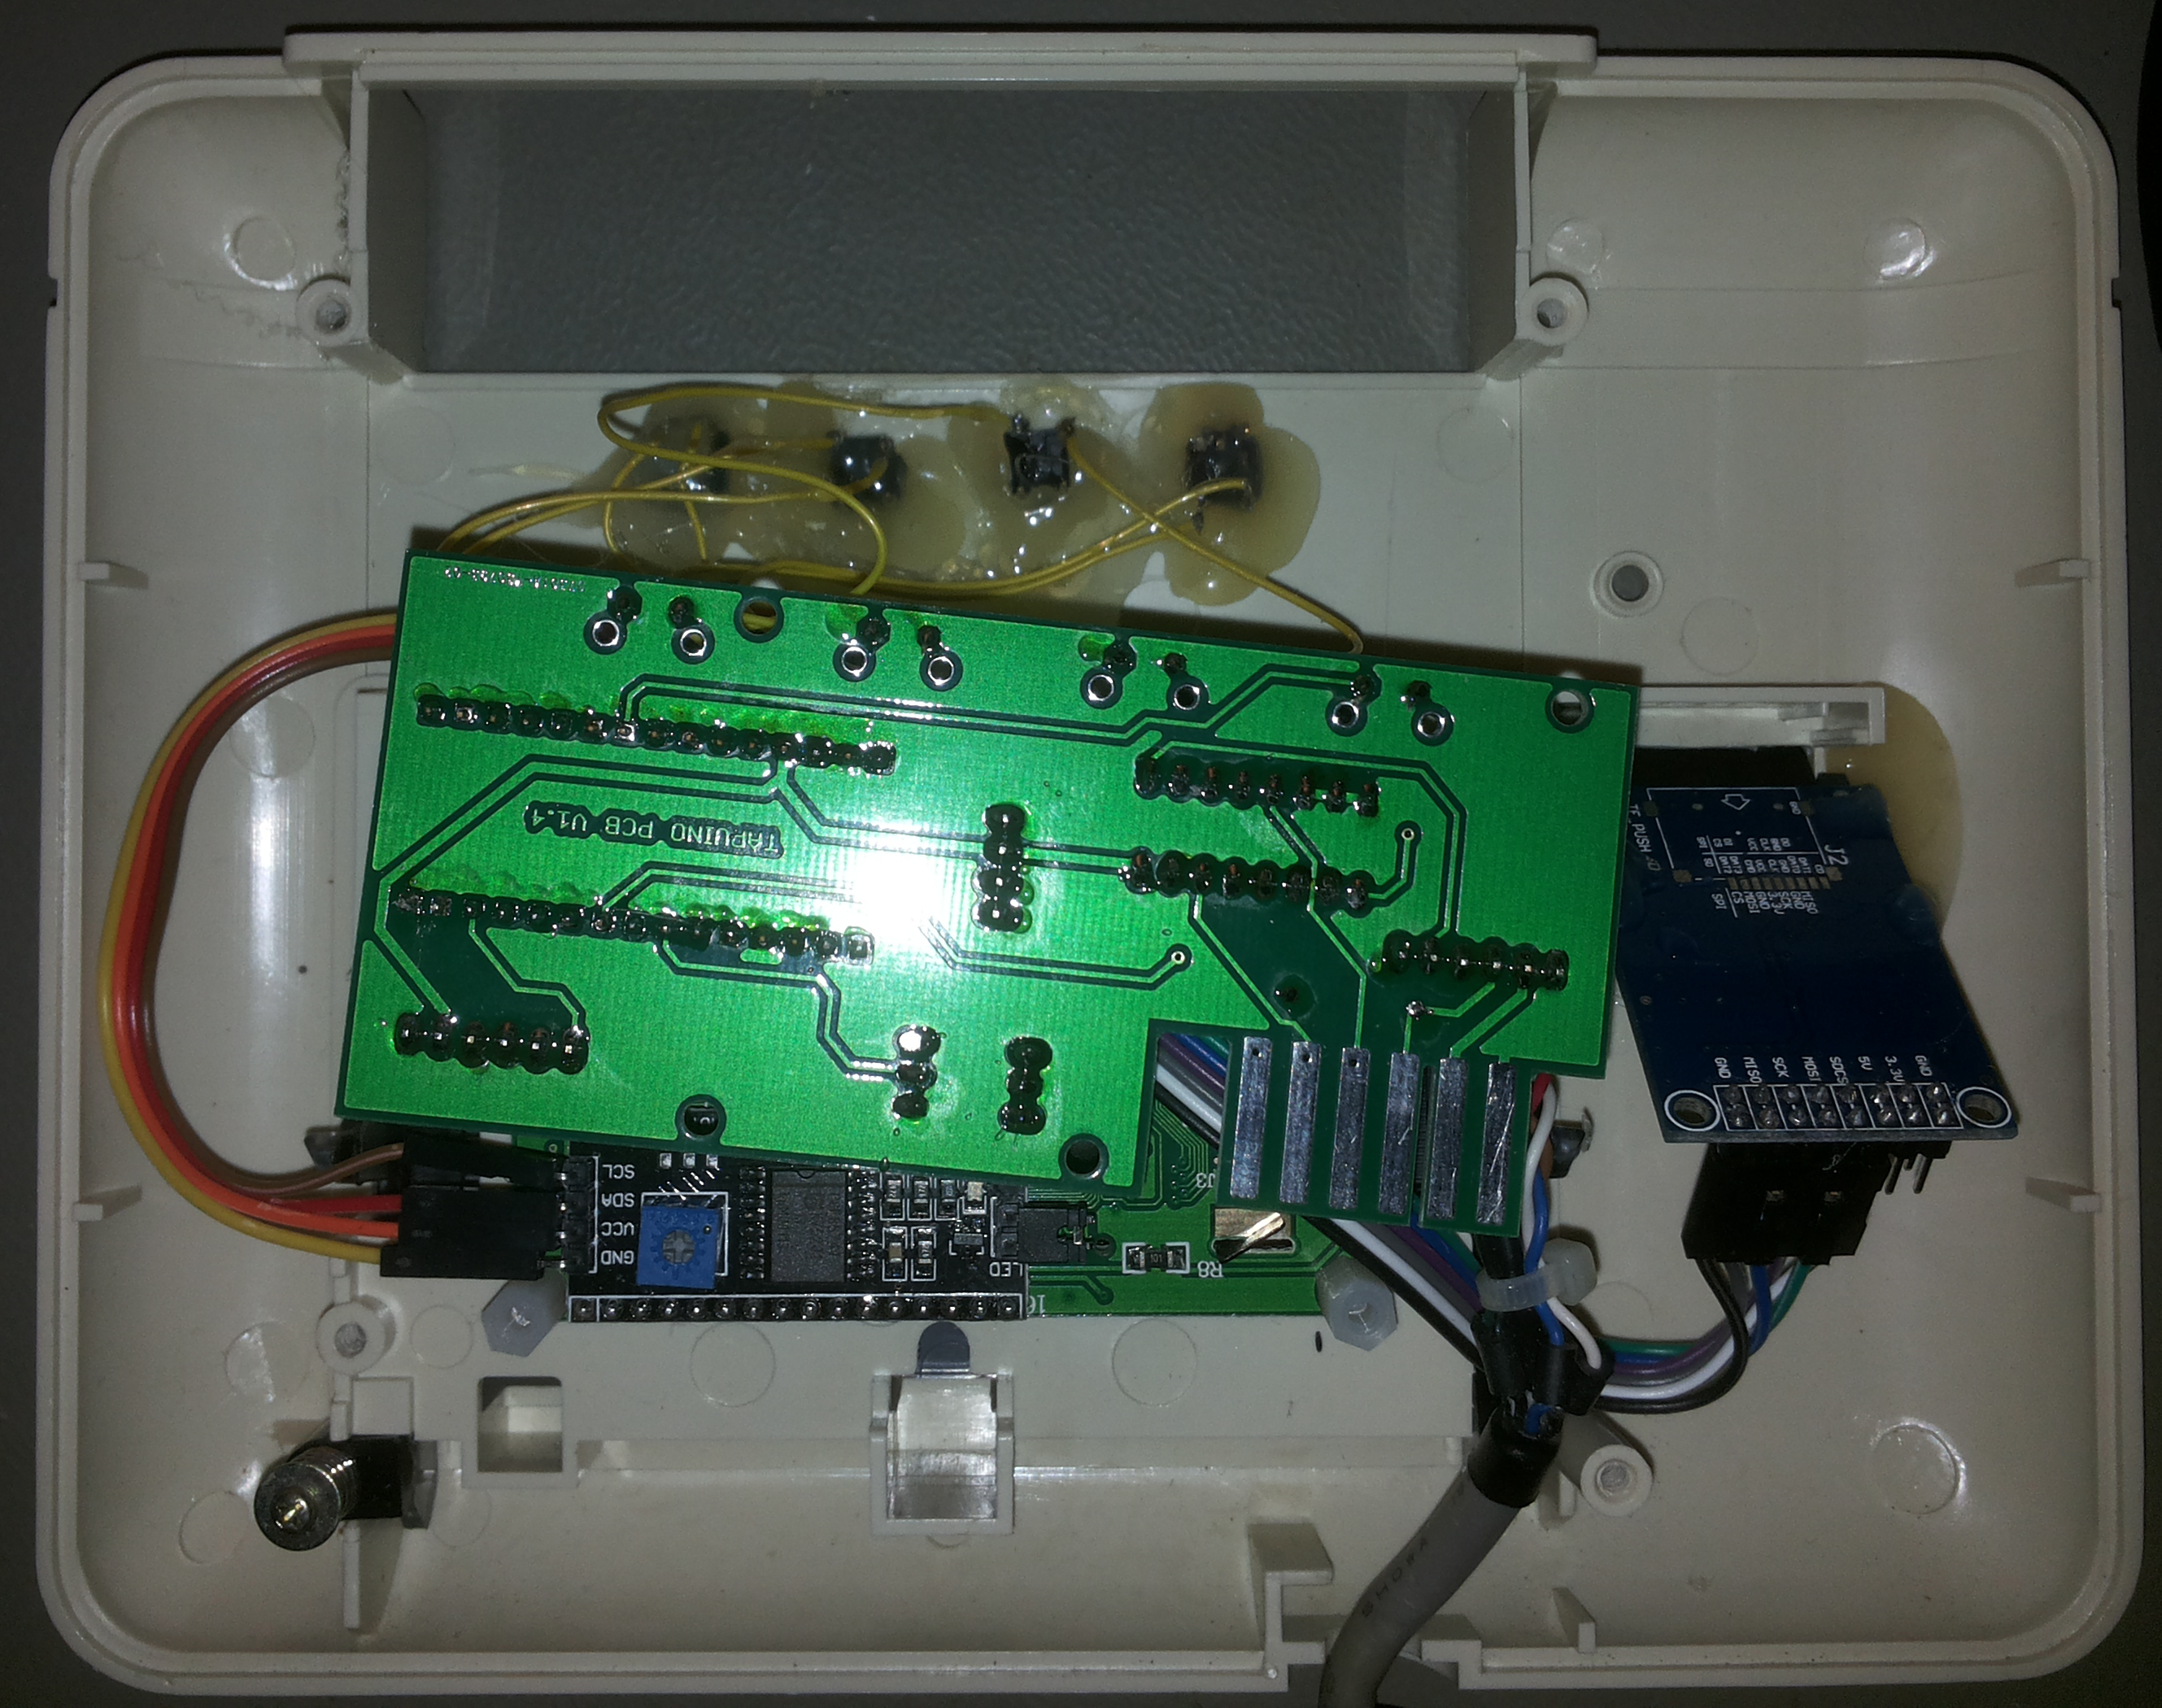
Thanks to Lars Møller who was so kind of donating a defective Commodore 1530 cassette player. Internal mechanism didn’t work, and the buttons was missing. I already had 2 tapuino v1.4 boards of spcbm (amibay) and of course the whole Tapuino concept by sweetlilmre / Peter Edwards. And I was meaning to do this anyway, put a tapuino into a C1530 that is, receiving a broken device was something I was waiting for, no way was I going to sacrifice a working piece of Commodore equipment.
At this time the internals aren’t finished, I still need to fasten the mainboard, cut a hole for the tape connector, and maybe even one for the usb head. I’m also considering to add a fake set of buttons, perhaps printet on a 3D printer.
Well for now things work as intended. Hotglue was used, a little too much and I had to replace 3 tactile buttons. The LED wasn’t supposed to be this one either. I had an other one which I moved the variable resistor for the contrast out, this was supposed to be set into the hole where the azimuth adjustment screw was supposed to be.
Enjoy the images and video.
Recently I aquired a GVP HD+ without any shell. It works perfectly and has 8 megs of ram on board.
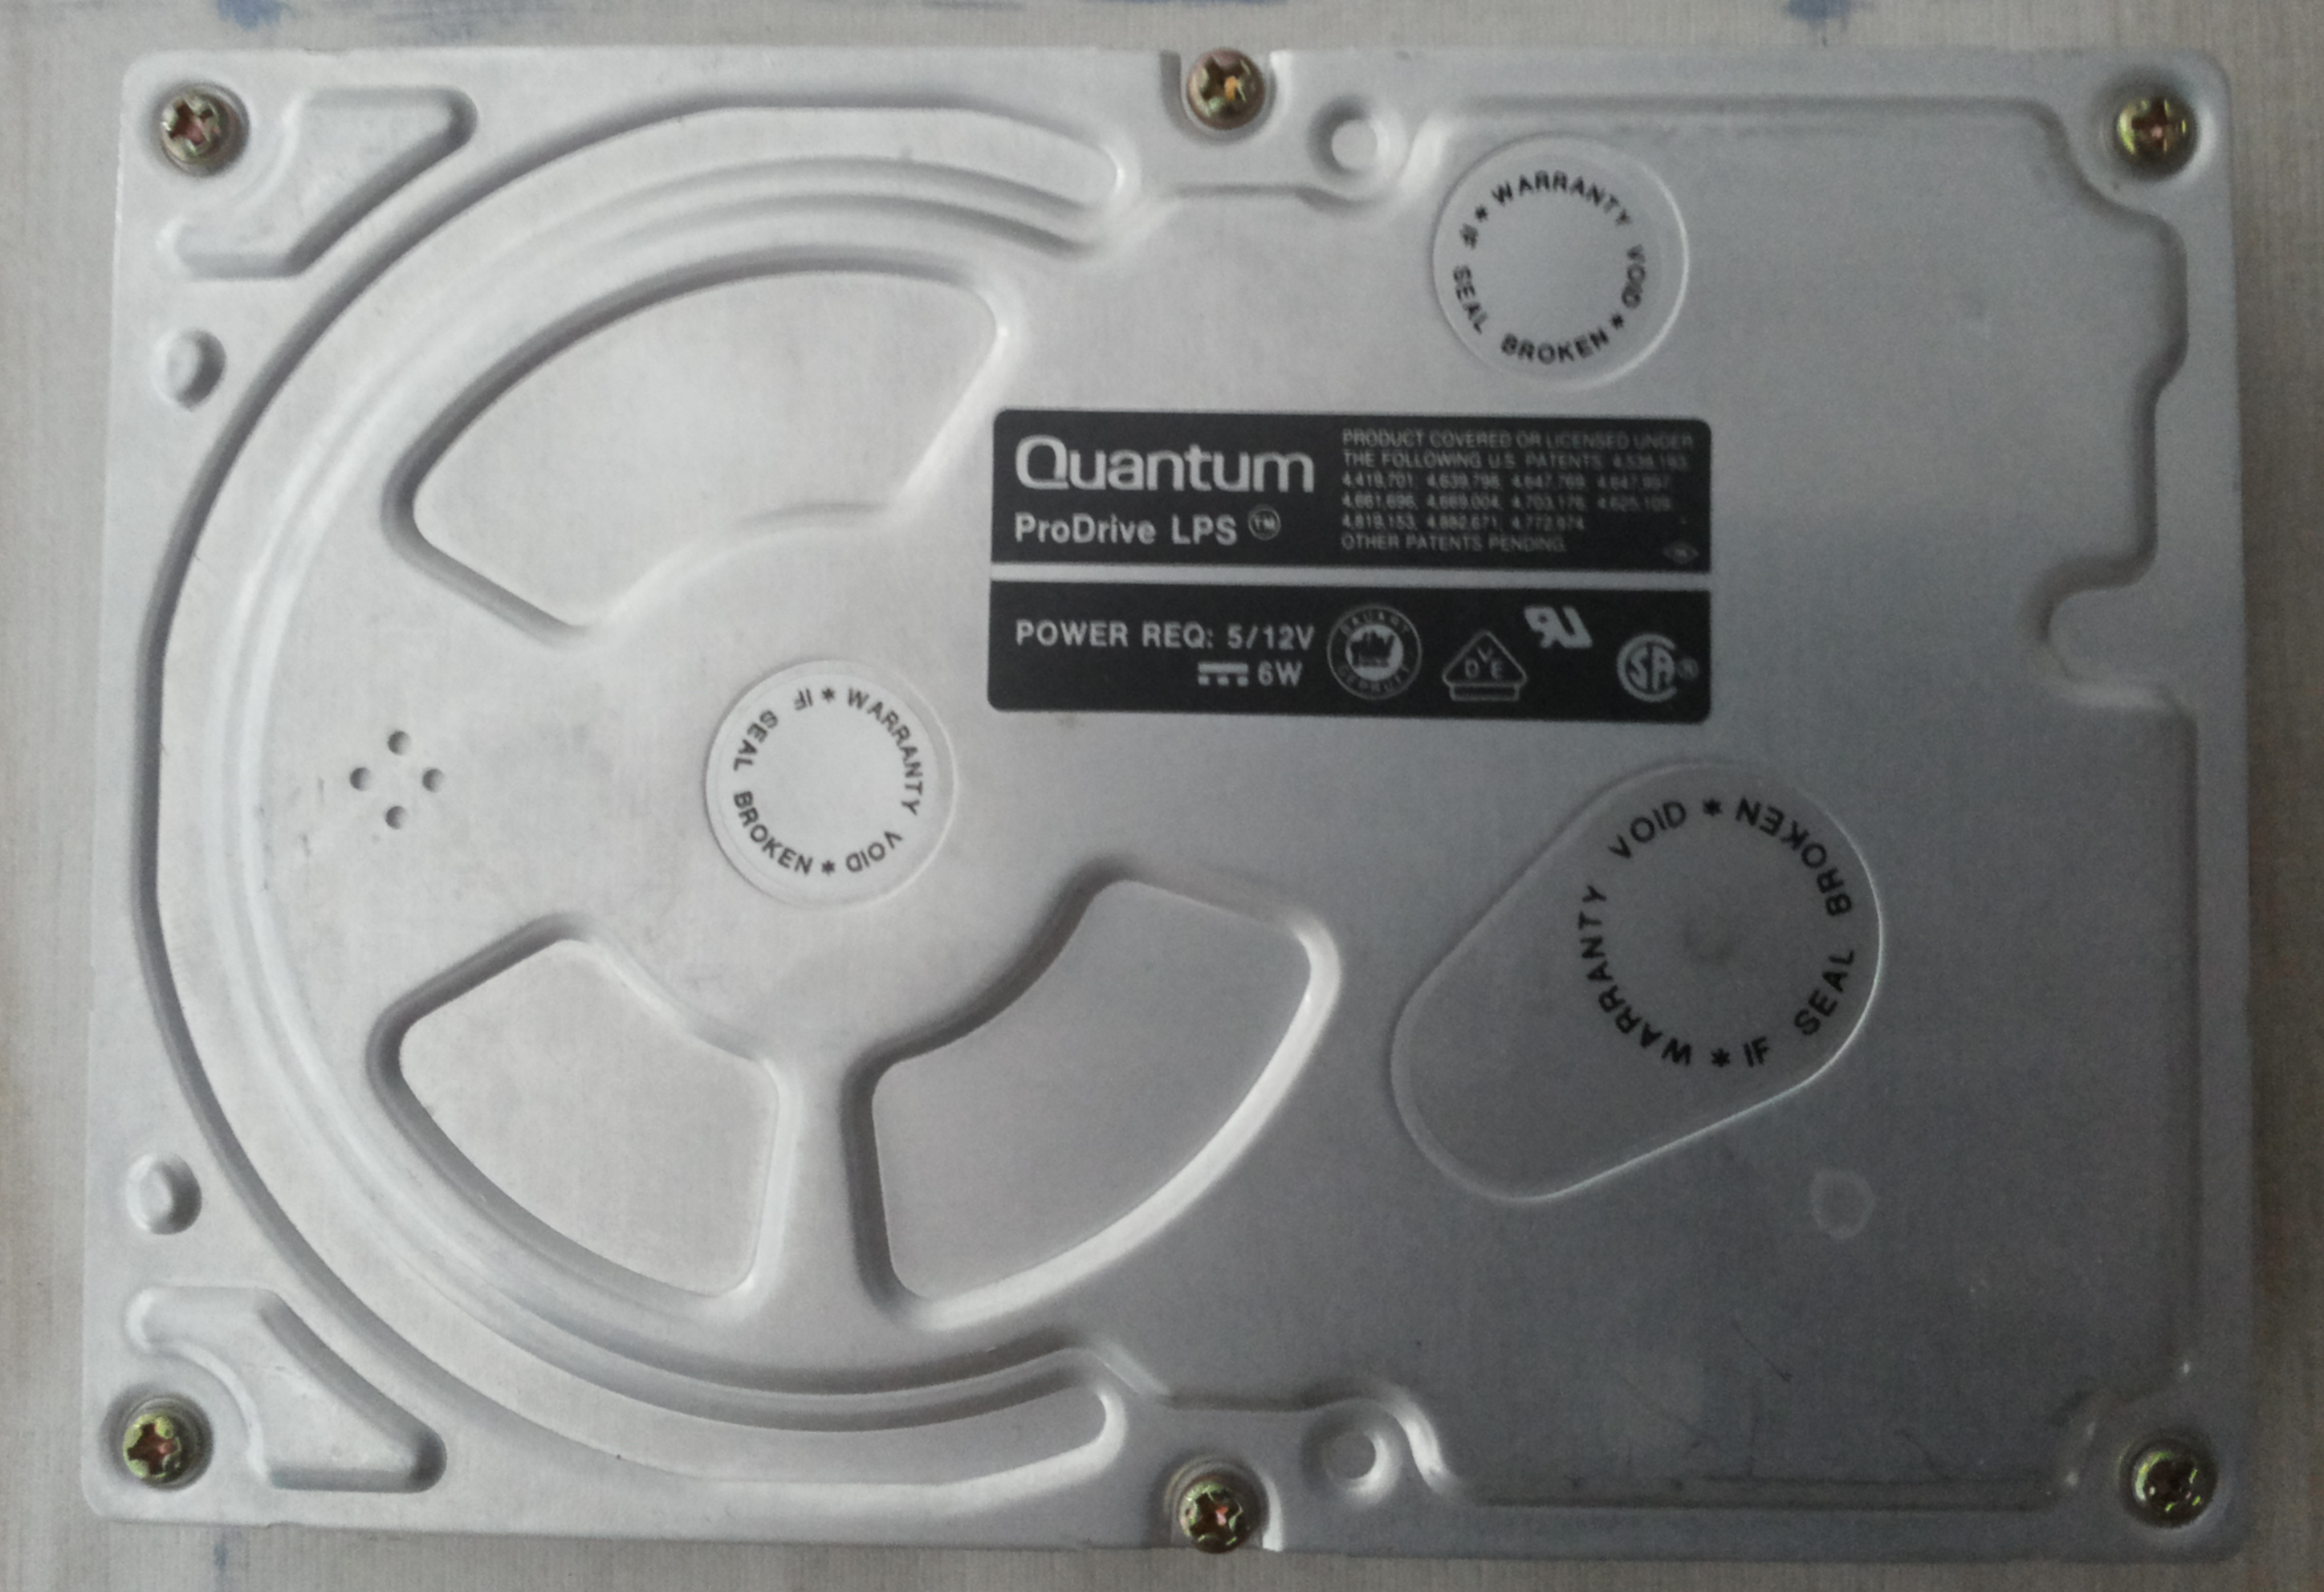
It came with a Quantum ProDrive LPS 50MB, unfortunately these old drives have a habit of getting bad blocks, I have 3-4 of these drives, all bad. The drives also “sing” while on. So it’s very noisy.
 I found a very small Compact Flash card as a test to replace this drive.

So here’s the setup with the SCSI Card Reader connected to the GVP HD+
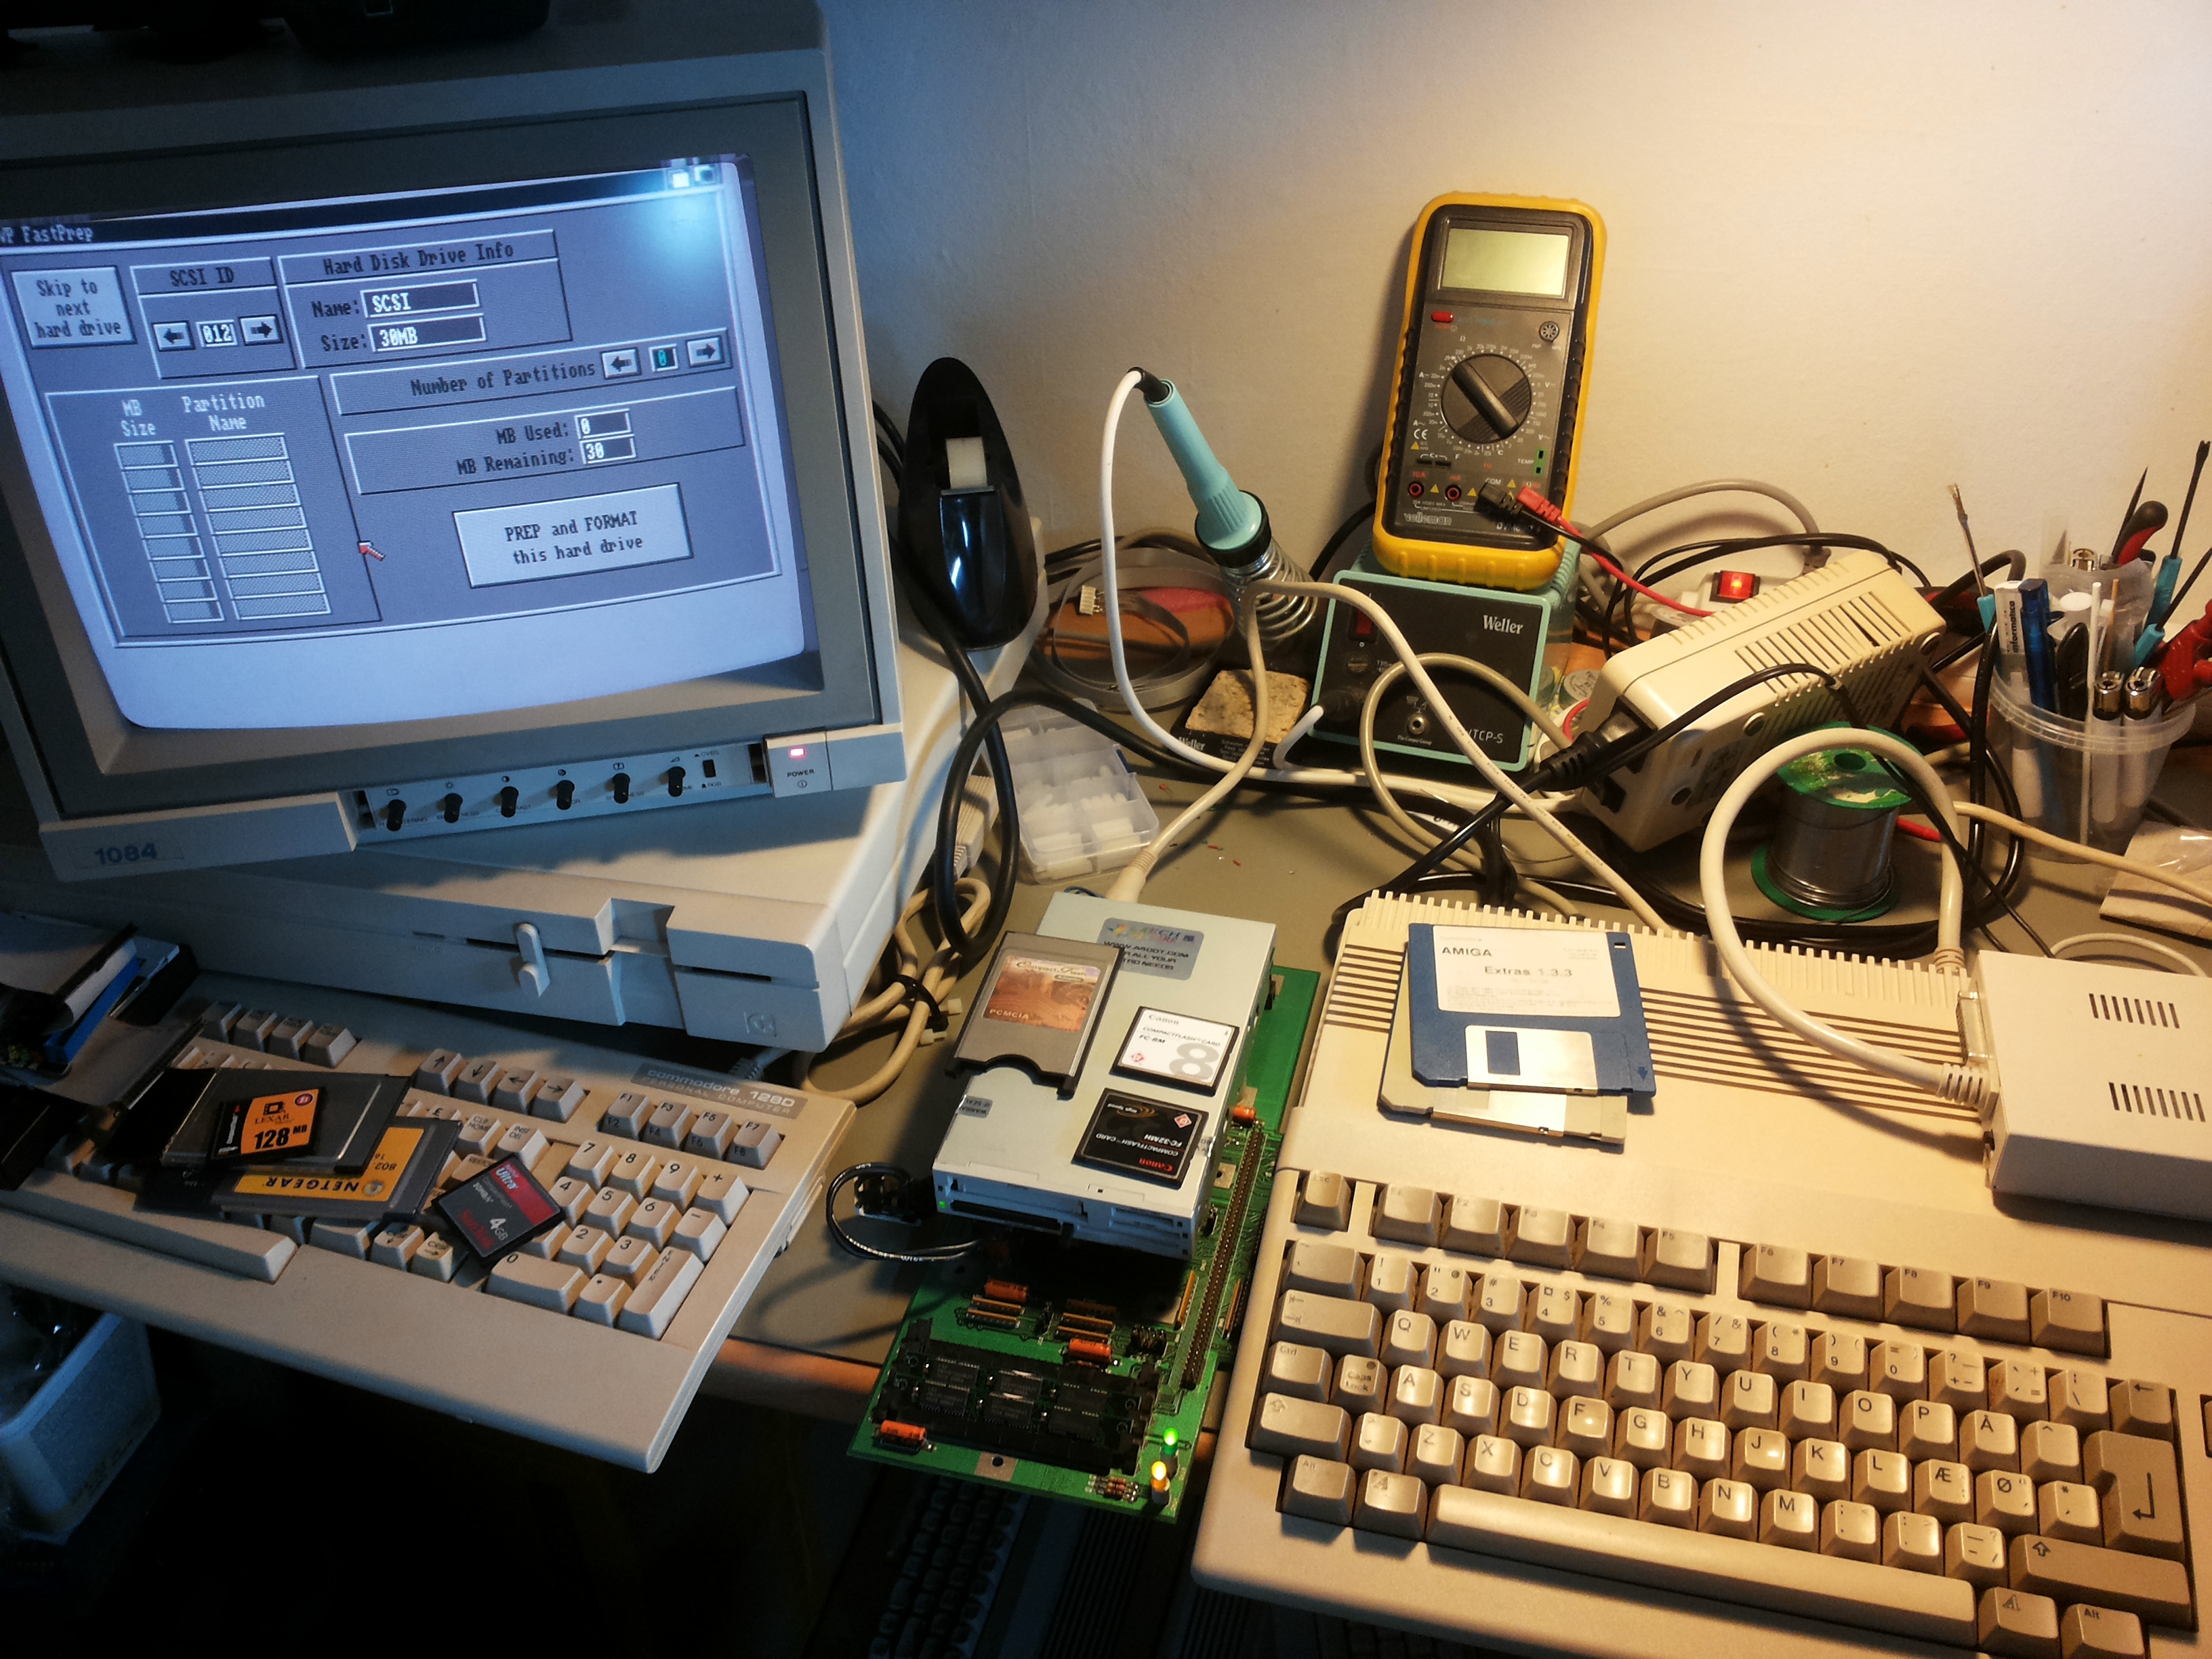
The SCSI Cardreader which I got off -the now dead- a4000t.com store (the link points to the wayback machines copy of the site).
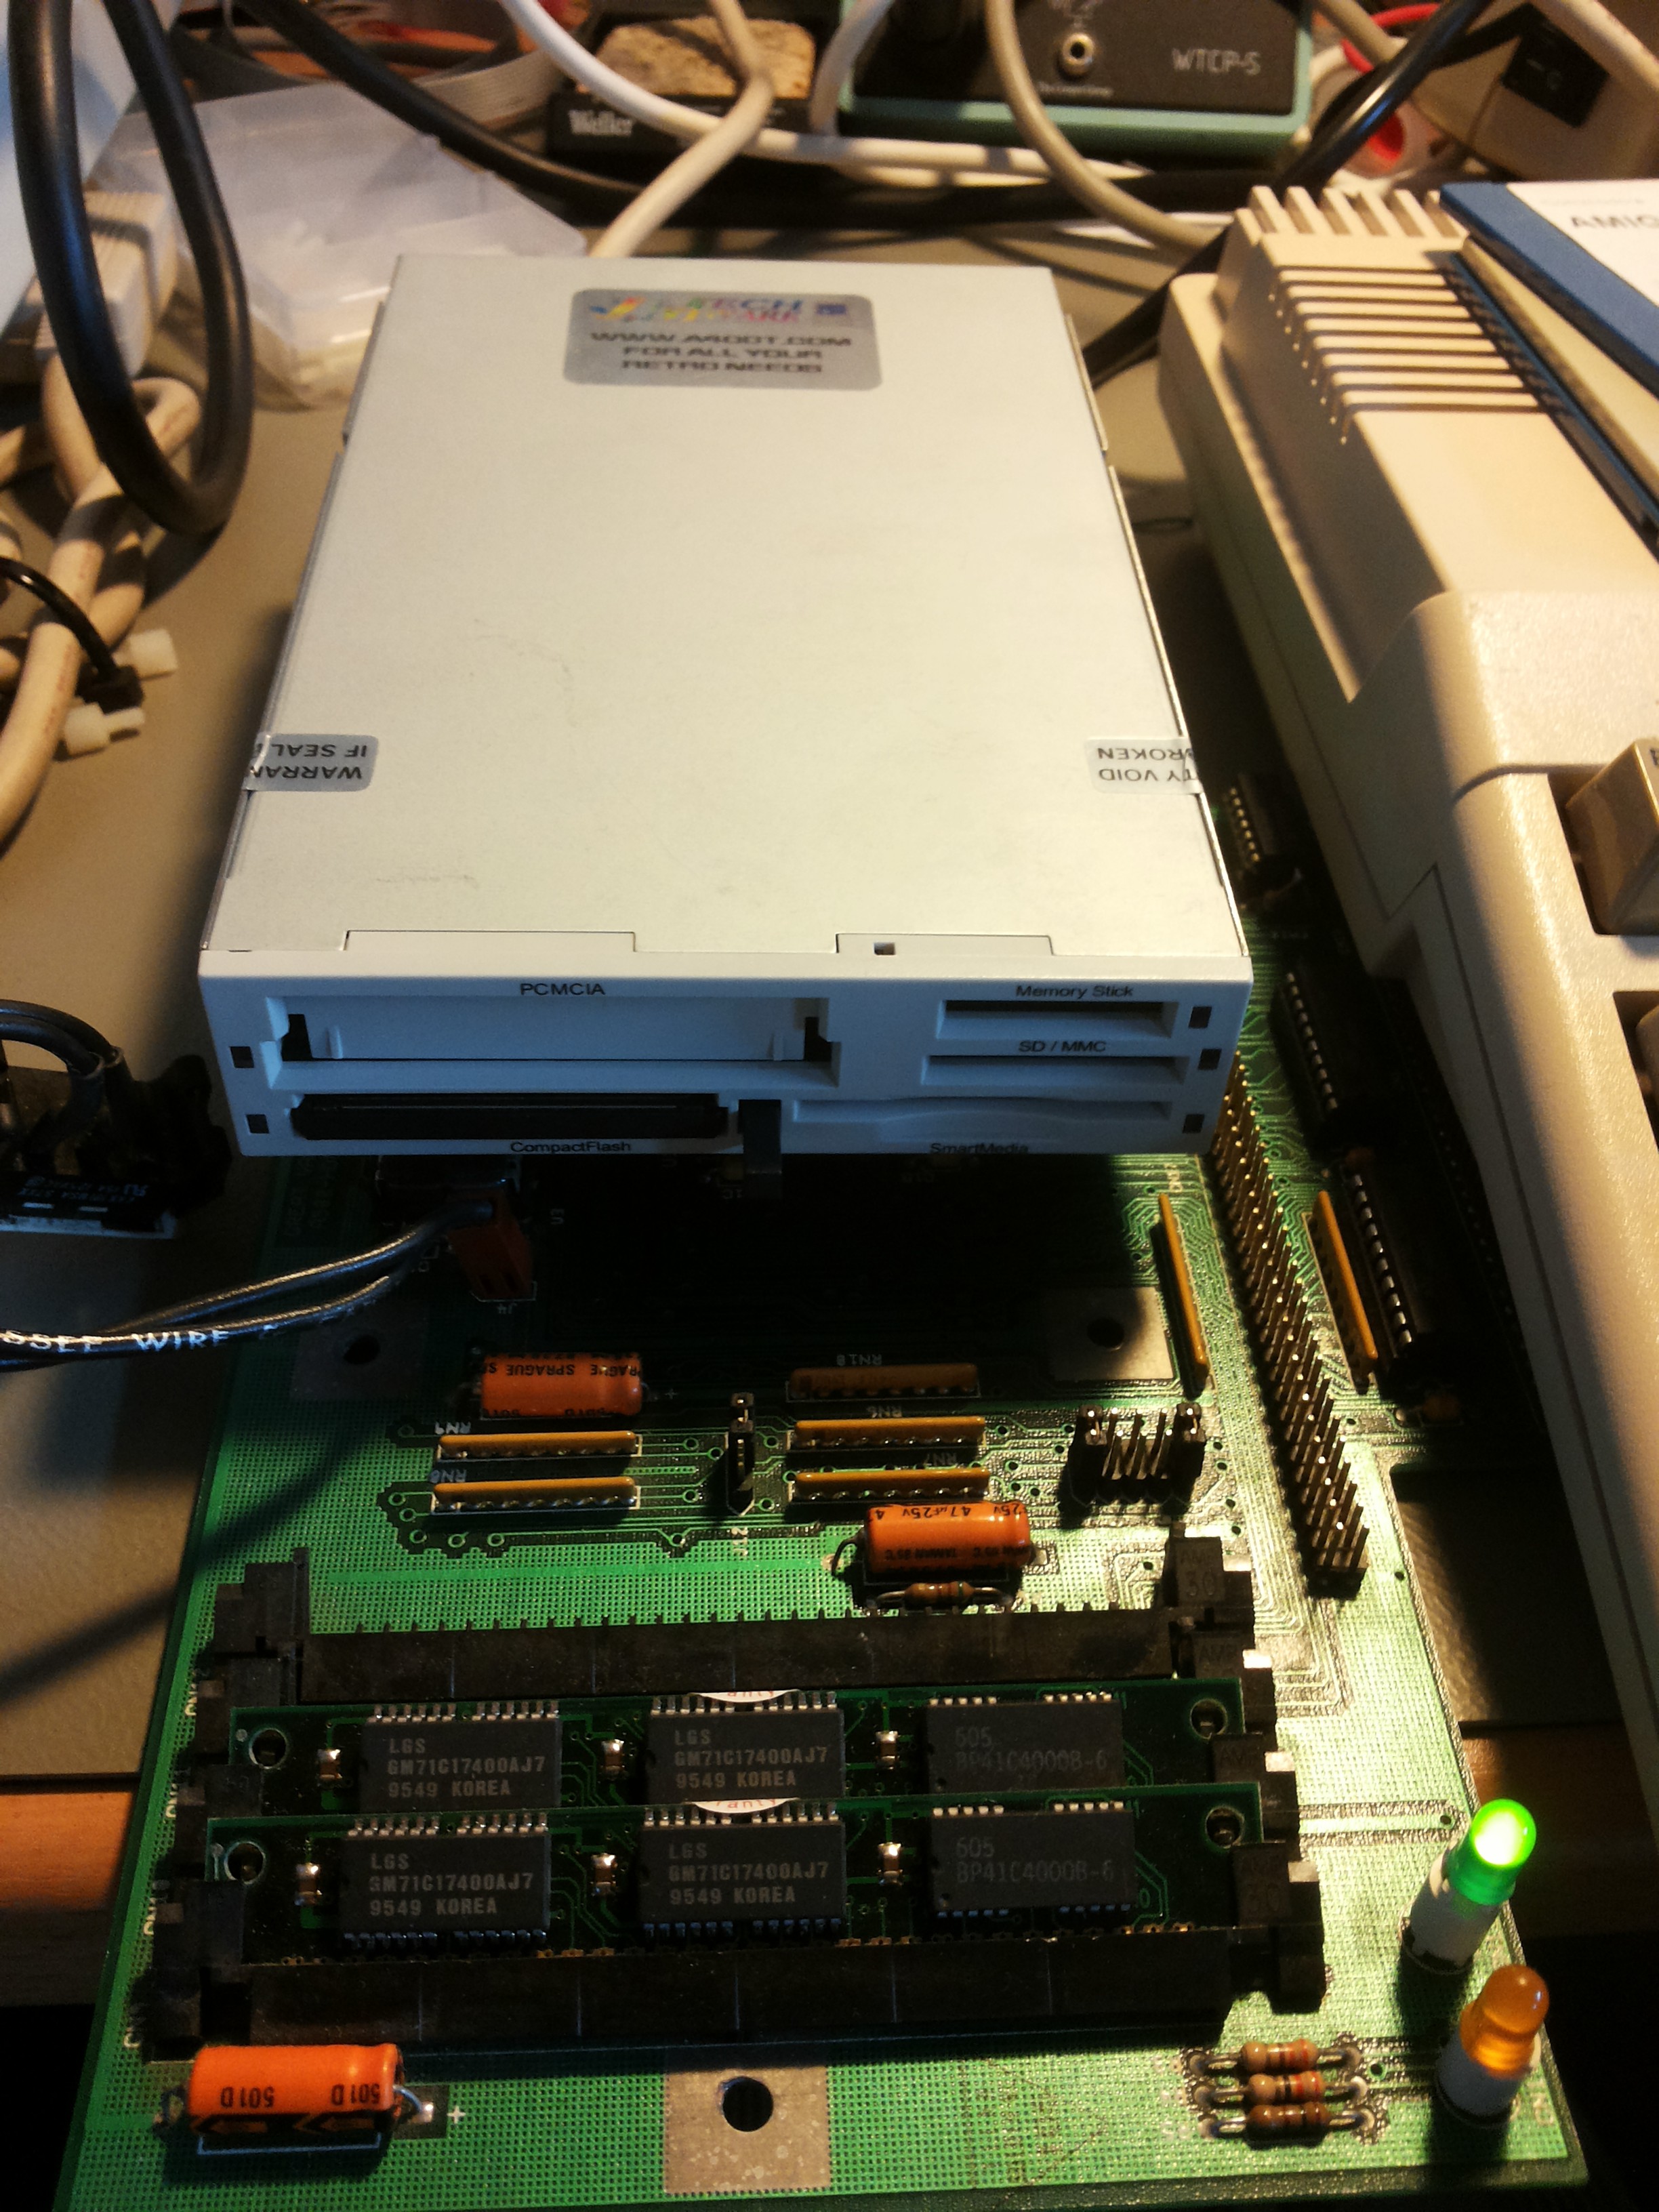
And it works perfectly using the GVP FastPrep software.
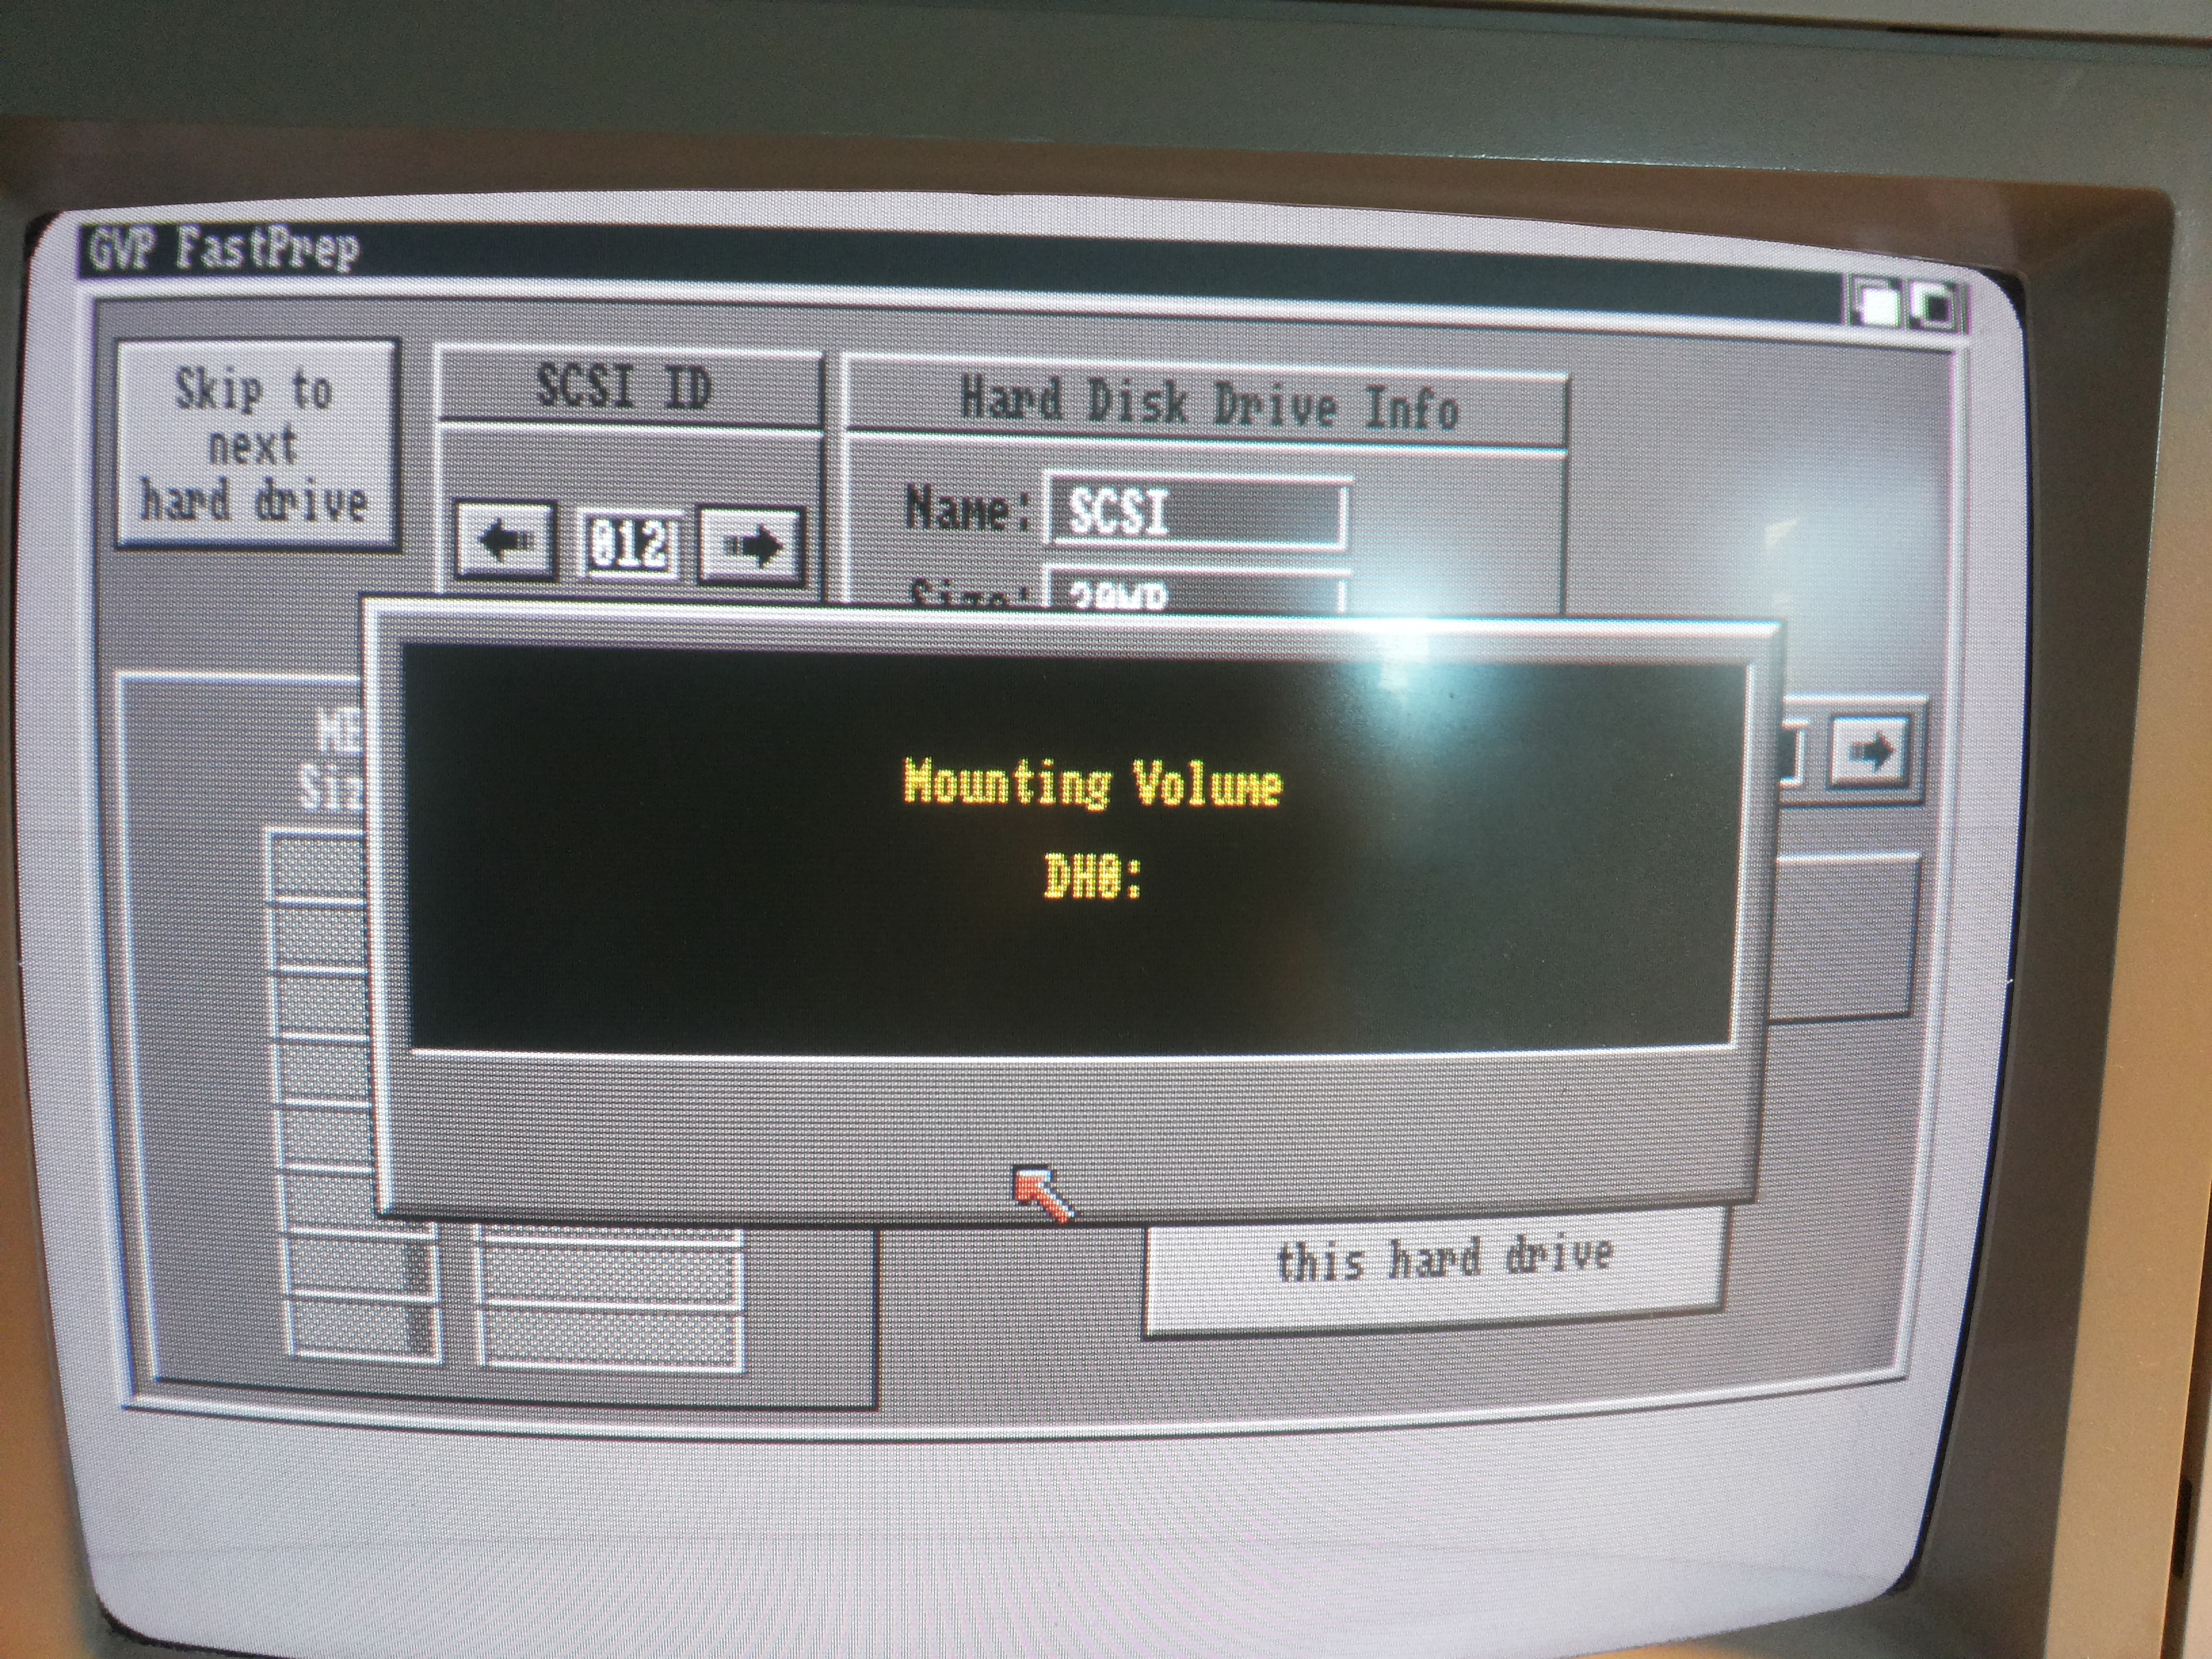
So the endresult is a silent GVP HD8+/HD+ with a card reader and easy access to the cards.
A note of the card reader is that each device is attached as LUN’s so If I have each type of card, I could have as many drives. The card reader takes Compact Flash, PCMCIA (the PCMCIA to CF works also), SD/MMC, Memory Disk and SmartMedia.
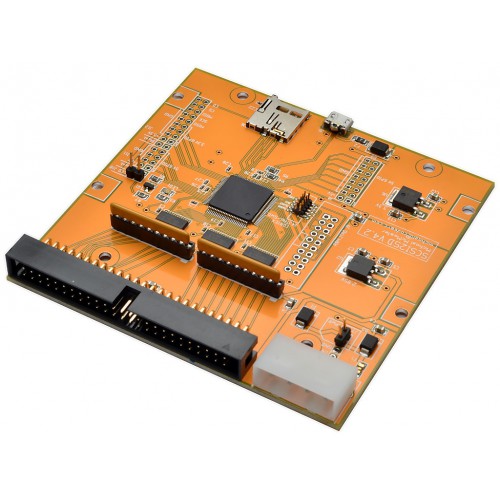 A guy on facebook posted a link to this device. It’s a SCSI2SD device, meaning that you can insert a micro SD into this, and attach the board to a SCSI bus.
This is great for a lot of Amiga systems as SCSI drives in 100% top shape are hard to come by. A lot still works, but the “singing” of the spindle is just annoying.
Adding this to a GVP HD+ and similar devices makes it possible to remove the internal fan wire, so that won’t make noise either.
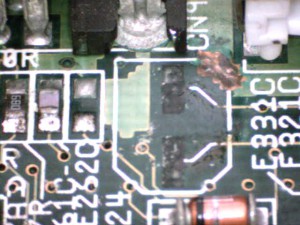 An other article has been moved from my old blog to here.
This shows a way to fix missing solderpads which are gone after i.e. too much corosion from capacitors or heat or other.
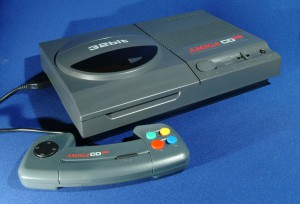 I know there are plenty of guides out there on how to burn ISO’s, but it’s easier for me to direct people to the same place, and can fix any mistakes there’ll be.
So I’ve made a guide on how to burn CDTV / CD32 CD’s.
I’ve created a guide to setup network on the Amiga.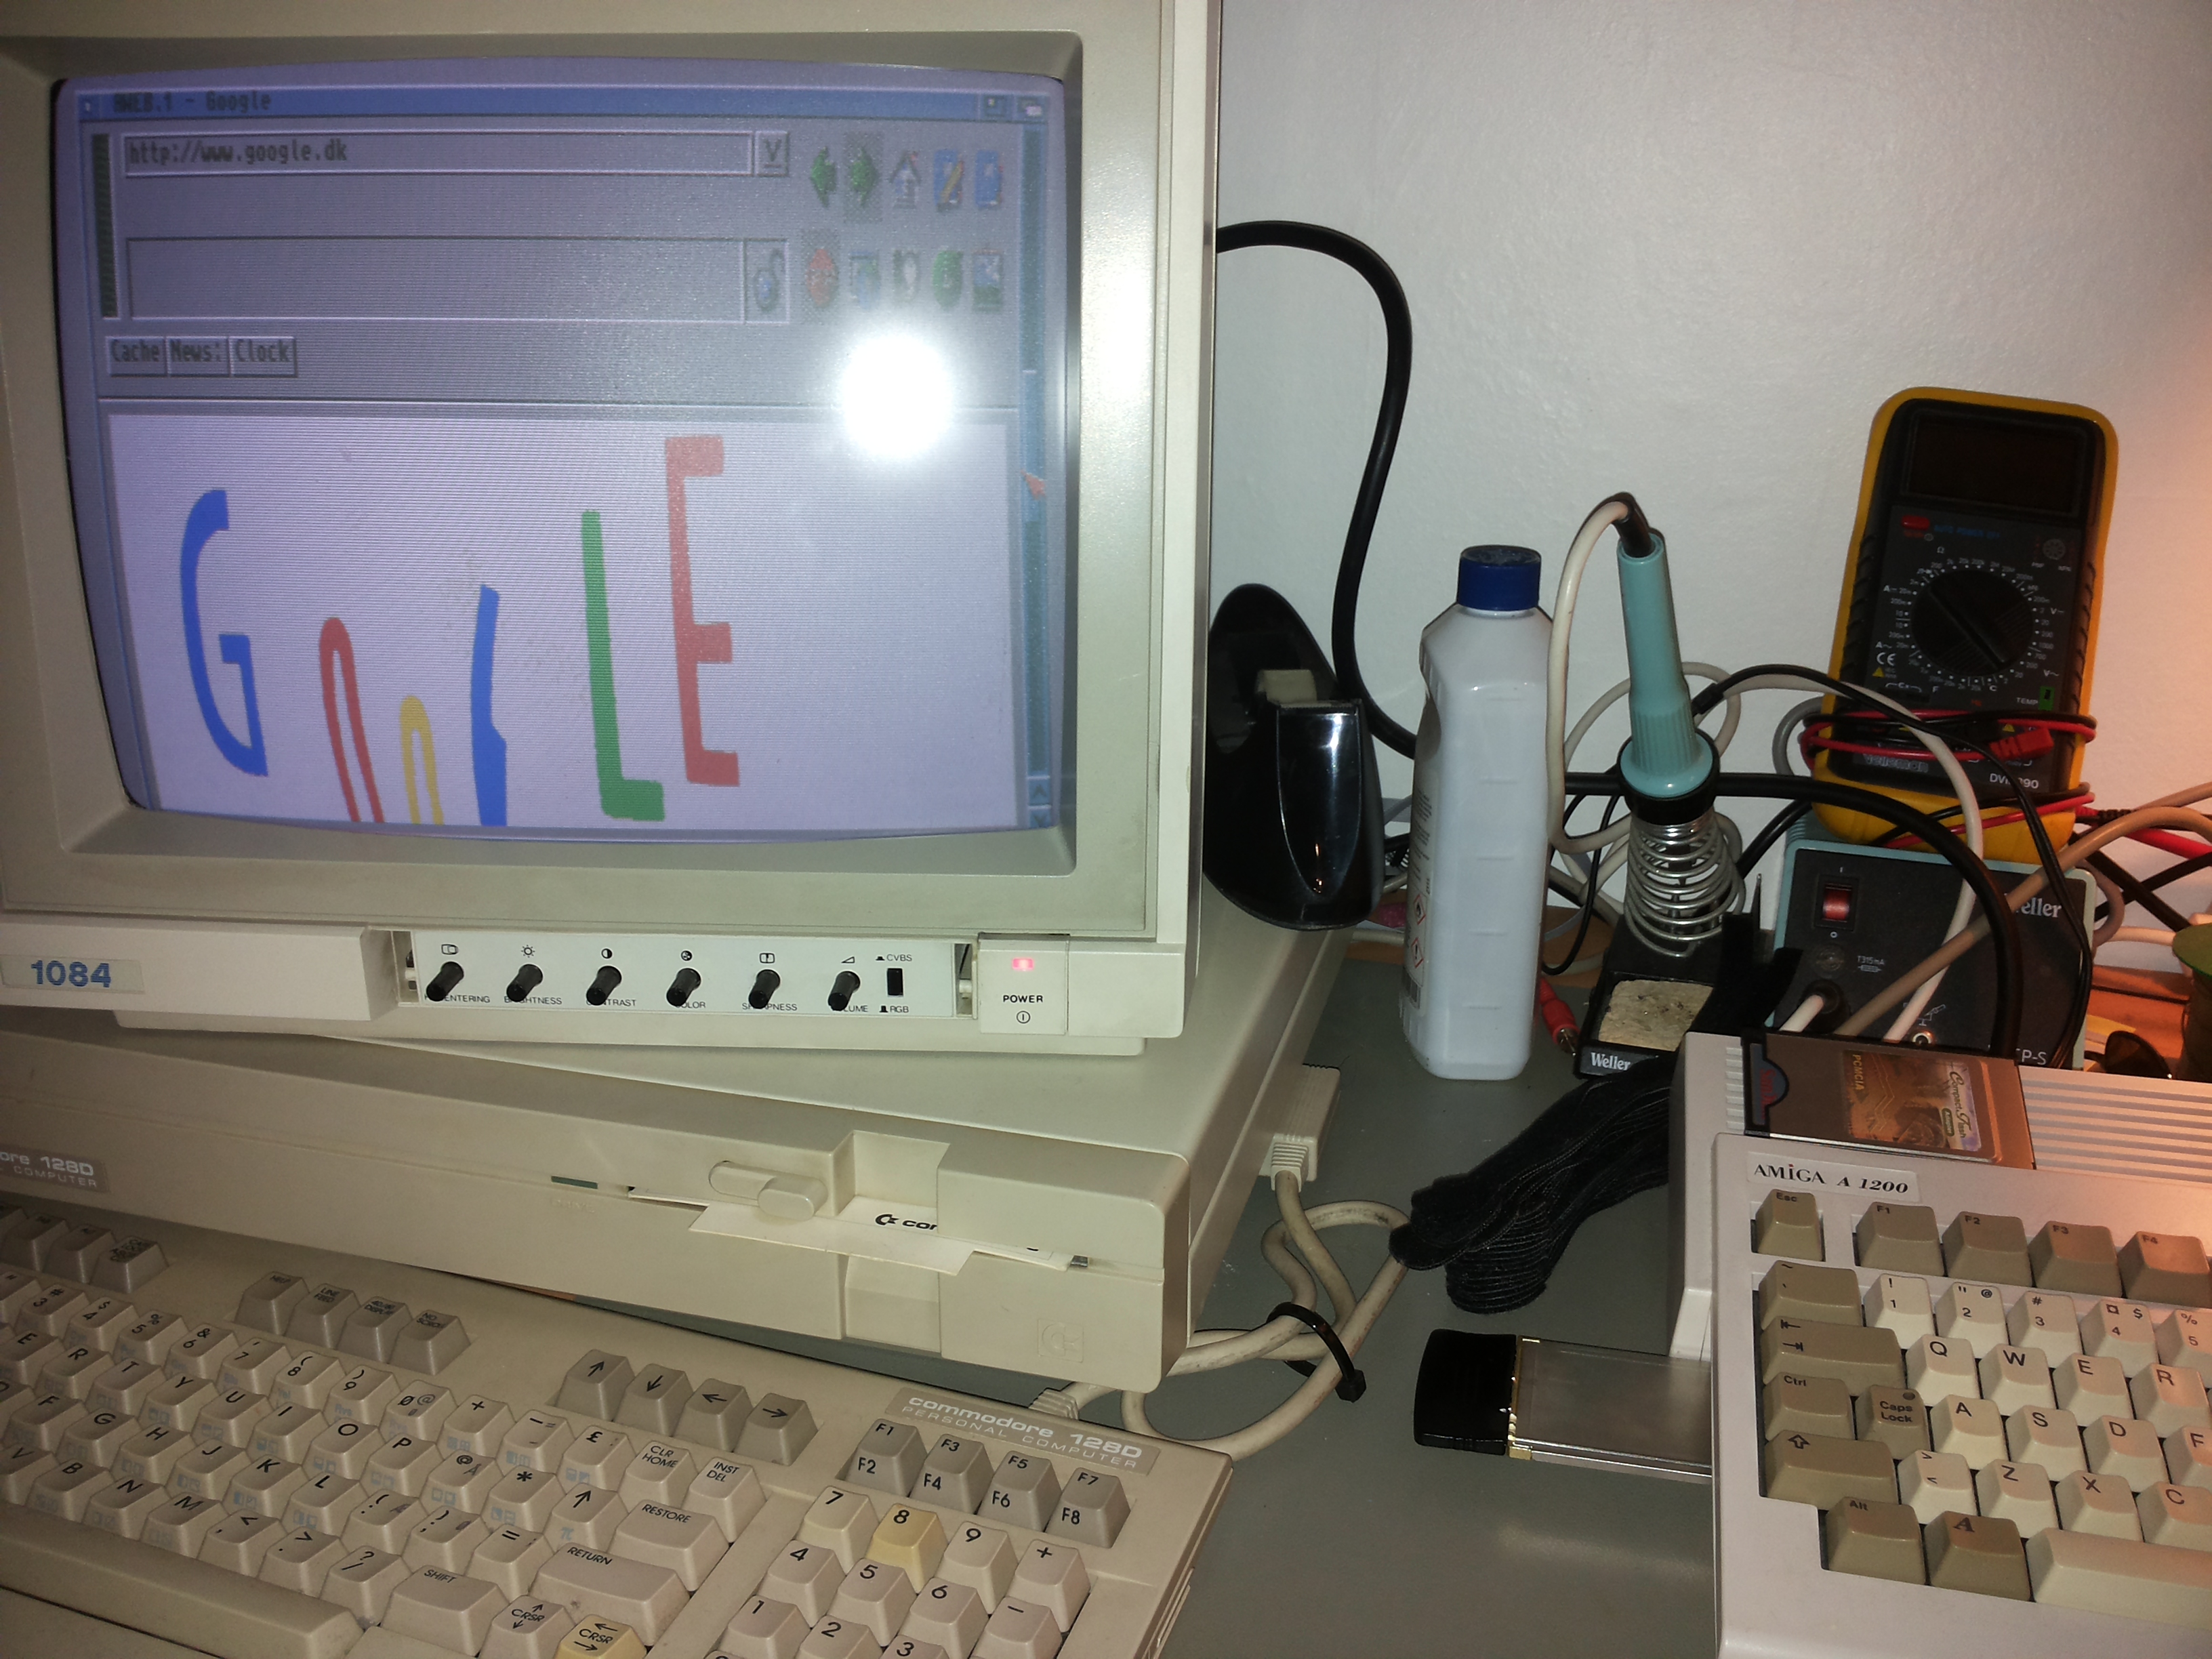
As a bonus I’ve added an all-in-one package for the network + most common pcmcia drivers.
You can find the page under the Articles menu, or go there directly.